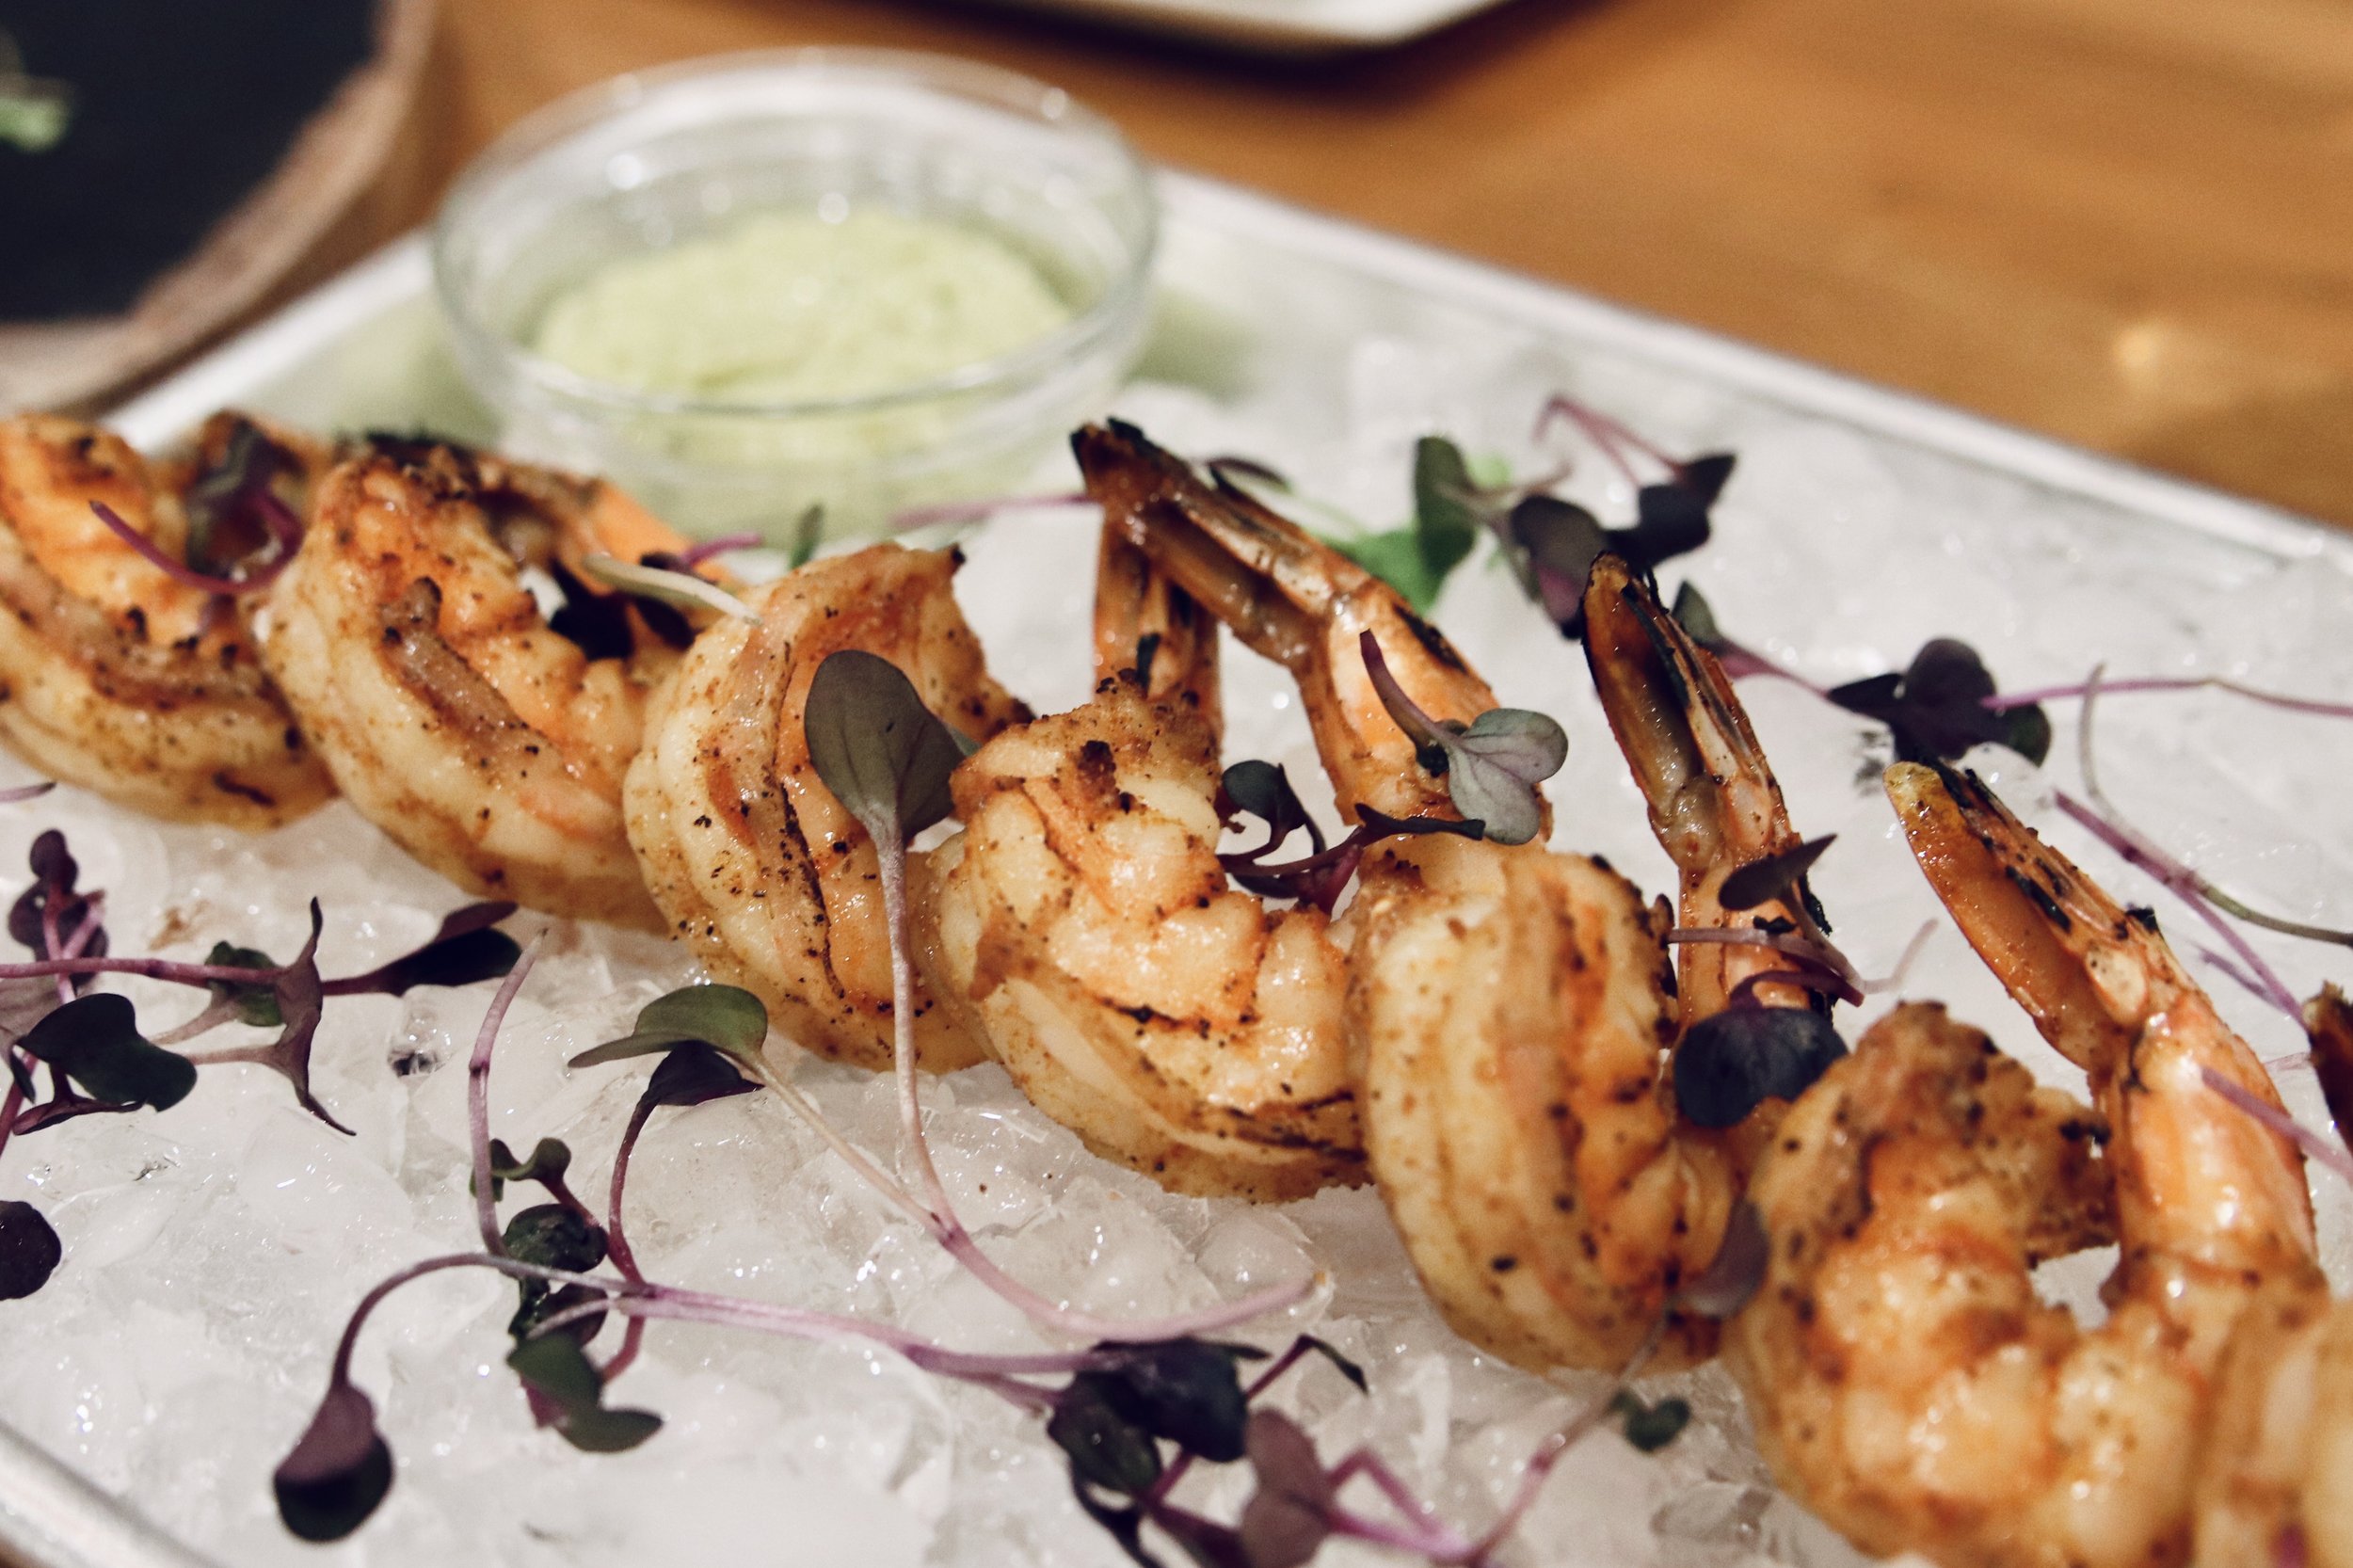
Roasted Shrimp Cocktail with Basil Pesto Mayo

An easy and Elegant Appetizer

INGREDIENTS

Makes 26-40 pieces depending on size of shrimp

  • 2 pounds large peeled and deveined

    shrimp 13-15 count (preferred) or 13-15 count

  • smoked paprika

  • garlic powder

  • kosher salt

  • black pepper

  • vegetable oil

Basil Pesto Mayo

  • 1 cup mayo

  • 1/4 cup store-bought basil pesto sauce (adjust amount to your own preference)

  • lemon zest (amount to taste)(optional)

  • parsley for garnish (optional)

INSTRUCTIONS

Step 1: Prep Shrimp

Preheat oven to 400 degrees F.

Place shrimp in a single layer on a sheet pan lined with foil. Make sure shrimp is patted dry.

Lightly sprinkle one side of the shrimp with 1 layer of each of the dry seasonings.

Lightly drizzle with vegetable oil.

Do not use too much oil or it will dilute the seasonings. For this particular recipe, I prefer vegetable oil over olive oil because I feel like the olive oil overpowers the flavor of the smoked paprika.

Use hands to toss shrimp so all sides are coated with the seasonings and oil.

Step 2: Roast Shrimp

Place shrimp in the oven and roast at 400 degrees F for 9 minutes exactly. Once done, immediately remove from oven and place shrimp on a plate to let rest for 10 minutes. Shrimp will continue to cook a bit while resting.

Letting shrimp rest on the pan may result in it being slightly overcooked from the heat of the pan which is why I recommend resting on a plate.

Step 3: Make Basil Pesto Mayo

Stir 1/4 cup of pesto sauce into the mayo. Mix in lemon zest if desired. Adjust to your own taste.

Refrigerate until ready to use.

Step 4: Refrigerate and Serve

Once shrimp has rested, taste one to make sure it is cooked to your liking.

If good, refrigerate until ready to serve.

This dish is best served chilled.

Once shrimp have been chilled, serve with basil pesto mayo and enjoy!


Easy Soy Sauce Chicken Wings

Juicy, succulent, delicious!

Makes 2 lbs party chicken wings

INGREDIENTS

  • 2 lbs party chicken wings

  • 1/2 cup black soy sauce

  • 1/2 cup shao xing wine

  • 1/2 tbs minced ginger

  • 1/2 tbs minced garlic

  • 2 tsp sugar

  • 8 pieces star anise


  • green onions for garnish (optional)

  • cilantro for garnish (optional)


INSTRUCTIONS

Step 1

In a small bowl, mix together the black soy sauce, shao xing wine, minced ginger, minced garlic and sugar. Mix until sugar has mostly dissolved.


Step 2

In a large oven-safe pot or baking dish, add chicken wings, marinade and the 8 pieces of star anise. Use your hands to toss wings and make sure everything is coated thoroughly. Arrange wings into one layer, skin side up, as much as possible. Let marinate for 20 minutes. Then flip wings skin side down and marinate for another 10 minutes.

Wings skin side down

Step 3

Bake wings skin side down at 350 degrees F for 40 minutes or until chicken is cooked through. Baking wings skin side down ensures the skin will absorb all of the marinade and develop a nice brown color.

Also, distribute star anise pieces under chicken wings so they can flavor the chicken evenly.


Step 4

When wings are done cooking, transfer them to a shallow bowl or a plate with a lip and pour remaining juice all over the wings.  

If desired, garnish with green onions and cilantro.

Serve and enjoy!


Watch Video


Deviled Eggs with Candied Bacon

A fantastic party appetizer!

Makes 24 pieces

INGREDIENTS

  • 1 dozen extra large eggs (plus 3-4 extra if desired)

  • mayonnaise

  • 3 slices thick-cut bacon

  • 1 1/2 tbs brown sugar

  • smoked paprika

  • fresh ground pepper

  • salt

INSTRUCTIONS

Step 1

Preheat your oven to 375 degrees F.

Place the bacon on a wire rack over a foil lined baking sheet. Season the top side of the bacon with pepper. Sprinkle brown sugar over each piece and use the back of a spoon to smooth into an even layer.

Cook in the center of the oven for 20-25 minutes. If using regular cut bacon rather than thick, do 16-20 minutes.

Remove bacon from the oven and let cool for at least 10 minutes. Bacon will get more crisp as it cools.

Once cooled, use a spatula to remove bacon from the wire rack and chop into small ¼ inch pieces.

Set aside to garnish the eggs.

Step 2

Place a dozen eggs into a deep pot and fill with cold water 1-2 inches above eggs. (If making this for guests, I like to add an extra 3-4 eggs for myself and also as an insurance policy if one of the eggs gets messed up while peeling)

Bring to a rolling boil over high heat. Once boiling, cover the pot and let sit for 10 minutes. After 10 minutes, rinse eggs under cold running water. Add cold water and ice to the same pot creating an ice bath and let sit for 10-12 minutes until eggs are cold to the touch. (This is an important step because the ice water stops the cooking process so you don’t get green yolks, and also causes the egg to contract from the shell, making it easier to peel)

Peel eggs under a small stream of cold running water. This also makes it easier to remove the shells.


Step 3

Slice eggs in half lengthwise and remove yolks. If needed, use a spoon to help remove the yolks. Use a fork to break up yolks as finely as you can.

Add mayonnaise and mix. Keep adding enough mayonnaise until it becomes the consistency of a thick guacamole.

Add salt and pepper to your own taste. Mayonnaise already has salt in it so I usually don’t need to add any.

Step 4

Use a spoon to add egg mixture to each egg white halve. Or, cut off the corner of a large ziploc bag and pipe egg mixture out of the bag. You can also use a star tip to make it look even fancier.

Garnish with smoked paprika and candied bacon.

Serve and enjoy!


Watch Video


Hong Kong Style Salt & Pepper Chicken Wings

Crispy, delicious, a party favorite!

INGREDIENTS

16-20 party chicken wings

Seasoning

  • ½ tsp salt

  • ½ tsp black pepper

  • ½ tsp sugar

  • 1 tsp five spice seasoning

  • ½ tsp garlic powder

  • ¼  tsp msg (optional)


Coating

  • ¼ cup corn starch

  • 1 tsp black pepper

  • ¼ tsp salt


Garnish

  • 2 stalks green onion (chopped)

  • 1 jalapeño (½ sliced, ½ chopped)

  • ½ tsp black pepper

  • ¼ tsp salt

  • ¼ tsp msg (optional)

INSTRUCTIONS

Step 1

Fill a deep pot ½ way with vegetable oil. Bring to 350 degrees F over medium heat.

Step 2

While oil is heating, mix together the seasonings and season all sides of chicken.

Step 3

In a shallow bowl, mix together the ingredients for the coating.

Step 4

Chop green onions. Then roughly chop ½ of the jalapeño. Do whole slices of the other ½ of the jalapeño for a variety of texture.

Step 5

When oil is at 350 degrees F, lightly coat seasoned chicken with the cornstarch mixture. Don’t let the chicken sit for too long or the moisture from the chicken will absorb the cornstarch and it won’t be as crispy. Drop chicken into hot oil and cook for 7 minutes or until chicken is cooked through. Work in batches depending on how many wings you have so you do not overcrowd the pot.

Step 6

Remove from oil and immediately toss with green onions and jalapeños. Toss with more salt, pepper and msg to your own taste.

Serve and enjoy!


Watch Video


Roasted Shrimp Cocktail with Smoked Paprika and Sriracha Mayo

An easy and Elegant Appetizer

INGREDIENTS

Makes 26-40 pieces depending on size of shrimp

  • 2 pounds large peeled and deveined

    shrimp (16-20 count) or (13-15 count)

  • smoked paprika

  • garlic powder

  • kosher salt

  • black pepper

  • vegetable oil

Sriracha Mayo

  • 1 cup mayo

  • 1/4 cup Sriracha sauce (adjust amount to your own preference)

  • parsley for garnish (optional)

INSTRUCTIONS

Step 1: Prep Shrimp

Preheat oven to 400 degrees F.

Place shrimp in a single layer on a sheet pan lined with foil. Make sure shrimp is patted dry.

Lightly sprinkle one side of the shrimp with 1 layer of each of the dry seasonings.

Lightly drizzle with vegetable oil.

Do not use too much oil or it will dilute the seasonings. For this particular recipe, I prefer vegetable oil over olive oil because I feel like the olive oil overpowers the flavor of the smoked paprika.

Use hands to toss shrimp so all sides are coated with the seasonings and oil.

Step 2: Roast Shrimp

Place shrimp in the oven and roast at 400 degrees F for 9 minutes exactly. Once done, immediately remove from oven and place shrimp on a plate to let rest for 10 minutes. Shrimp will continue to cook a bit while resting.

Letting shrimp rest on the pan may result in it being slightly overcooked from the heat of the pan which is why I recommend resting on a plate.

Step 3: Make Sriracha Mayo

Stir 1/4 cup of Sriracha sauce into the mayo. Adjust to your own taste.

Refrigerate until ready to use.

Step 4: Refrigerate and Serve

Once shrimp has rested, taste one to make sure it is cooked to your liking.

If good, refrigerate until ready to serve.

This dish is best served chilled.

Once shrimp have been chilled, serve with Sriracha mayo and enjoy!


Watch Video


Spicy Tofu Skin Salad

Blog Image - Tofu Skin Salad.png

Tasty and low calorie!

INGREDIENTS

Makes a shareable appetizer plate for 3-4 people

(Amounts are approximate, adjust to your own taste)

  • dried tofu skin sheets (aka dried bean curd sheets)

  • 1 1/2 tsp regular soy sauce

  • 1 1/2-2 tsp hot sesame oil

  • 1/2-1 tsp sugar

  • 1-2 stalks green onions, chopped

  • 1-2 tbs cilantro, chopped

  • torn cilantro for garnish (optional)

  • shredded carrots for garnish (optional)

  • pinch of salt (optional)

Image 1 Dried Tofu Skin Sheets aka Dried Beancurd Sheets

Image 1 Dried Tofu Skin Sheets aka Dried Beancurd Sheets

Image 2 Small plate with sheets roughly broken into 2x1 pieces

Image 2 Small plate with sheets roughly broken into 2x1 pieces

Image 3 Hot sesame oil

Image 3 Hot sesame oil

INSTRUCTIONS

Step 1: Break Dried Tofu Skin Sheets

Break the dried tofu skin sheets into roughly 2x1 inch pieces. Fill a small plate with the smaller pieces as shown in image 02 under the ingredients list.

Step 2: Boil Tofu Skin

Place dried tofu skins in a pot of boiling water. Boil for 3 minutes or until fully soft. Remove tofu skin and strain under cold water until they are cold.

Use a salad spinner to drain the tofu skins thoroughly. Then pat dry with paper towels.

Use a salad spinner to remove excess water from tofu skin and pat dry with paper towels or the marinade will become too watery.


Step 3: Mix Salad and Refrigerate

In a bowl, toss all of the ingredients together. Adjust seasonings to your preference. Once everything is mixed to your liking, garnish with chopped or torn cilantro.

Refrigerate the salad for at least 30 minutes before serving to let all the flavors absorb and develop.

If you’re short on time, just eat it right away :)


Watch Video


Lemon Quinoa Salad with Roasted Shrimp

Blog Image - Lemon Quinoa with Roasted Shrimp.png

Healthy and Delicious!

INGREDIENTS

Serves 4

QUINOA

  • 2 cups uncooked quinoa

DRESSING

  • zest and juice from 3 lemons

  • 2/3 cup shaved parmesan cheese

  • 1/2 cup extra-virgin olive oil

  • 2 tsp kosher salt

  • 1 tsp black pepper

  • 2 cups arugula

  • 2 tbs capers, drained

ROASTED SHRIMP

  • 20 large shrimp, peeled and deveined (16-20 count)

  • garlic powder

  • smoked paprika

  • kosher salt

  • black pepper

  • extra-virgin olive oil

INSTRUCTIONS

*This dish can be served warm OR chilled. I prefer chilled but my fiancé prefers warm so we just decide based on the situation that day. For warm, just skip the refrigeration for step 1 and 3*

Step 1: Prep Quinoa

Cook quinoa according to package instructions. Refrigerate until cooled completely.

Step 2: Mix Dressing and Quinoa

Place cooled quinoa in a large mixing bowl. Add arugula, lemon zest, lemon juice, capers, cheese, olive oil, 2 tsp salt and 1 tsp pepper. Toss everything together. Adjust salt, pepper and amount of cheese to your own taste.

[If concerned about salt level, try 1 1/2 tsp salt first and add from there]

Step 3: Roast Shrimp

Preheat oven to 400 degrees F. Place shrimp in 1 layer on a foil lined sheet pan. Sprinkle with one light layer of garlic powder, paprika, salt and pepper. Drizzle with olive oil. Use your hands to toss and mix everything so the shrimp is coated on all sides with seasoning and oil. Roast in oven for 8-10 minutes, just until pink and firm and cooked through (I do 8 minutes). Refrigerate until ready to serve.

When ready to serve, plate quinoa first and arrange shrimp on top.

[Note: This can also be served as a warm dish. Just skip the refrigeration for step 1 and 3]


Watch Video


Simple Mo Gua (Fuzzy Melon) Soup

Blog Image - Mo Gua Soup.png

Warm, soothing, delicious

INGREDIENTS

Serves 4-5

  • 6 cups chicken broth

  • 8 dry black mushrooms

  • 1 medium Mo Gua melon (Fuzzy Melon)

  • 2 cups warm water (for soaking mushrooms)

INSTRUCTIONS

Step 1: Soak Mushrooms

Soak mushrooms in 2 cups of warm water for 1 hour or until fully softened. Do not throw away the water. 

As the mushrooms soak, they will flavor the water. Save water to add in soup later. Remove stem and slice mushrooms into small slices once they have softened.

Step 2: Prep Mo Gua Melon

Peel the melon with a vegetable peeler. Roughly slice into half moon shapes about 1/4-1/2 inch thick or to preferred shape that is not too thick.

Step 3: Boil Soup

Bring chicken broth to a boil. Add mushroom flavored water to the pot and reduce heat so that the soup is at a low boil. Add mushrooms and melon to the pot and cook at a low boil for 10-20 minutes until the melon is cooked to your desired doneness. I do mine for about 15 minutes.

Enjoy!


Watch the video


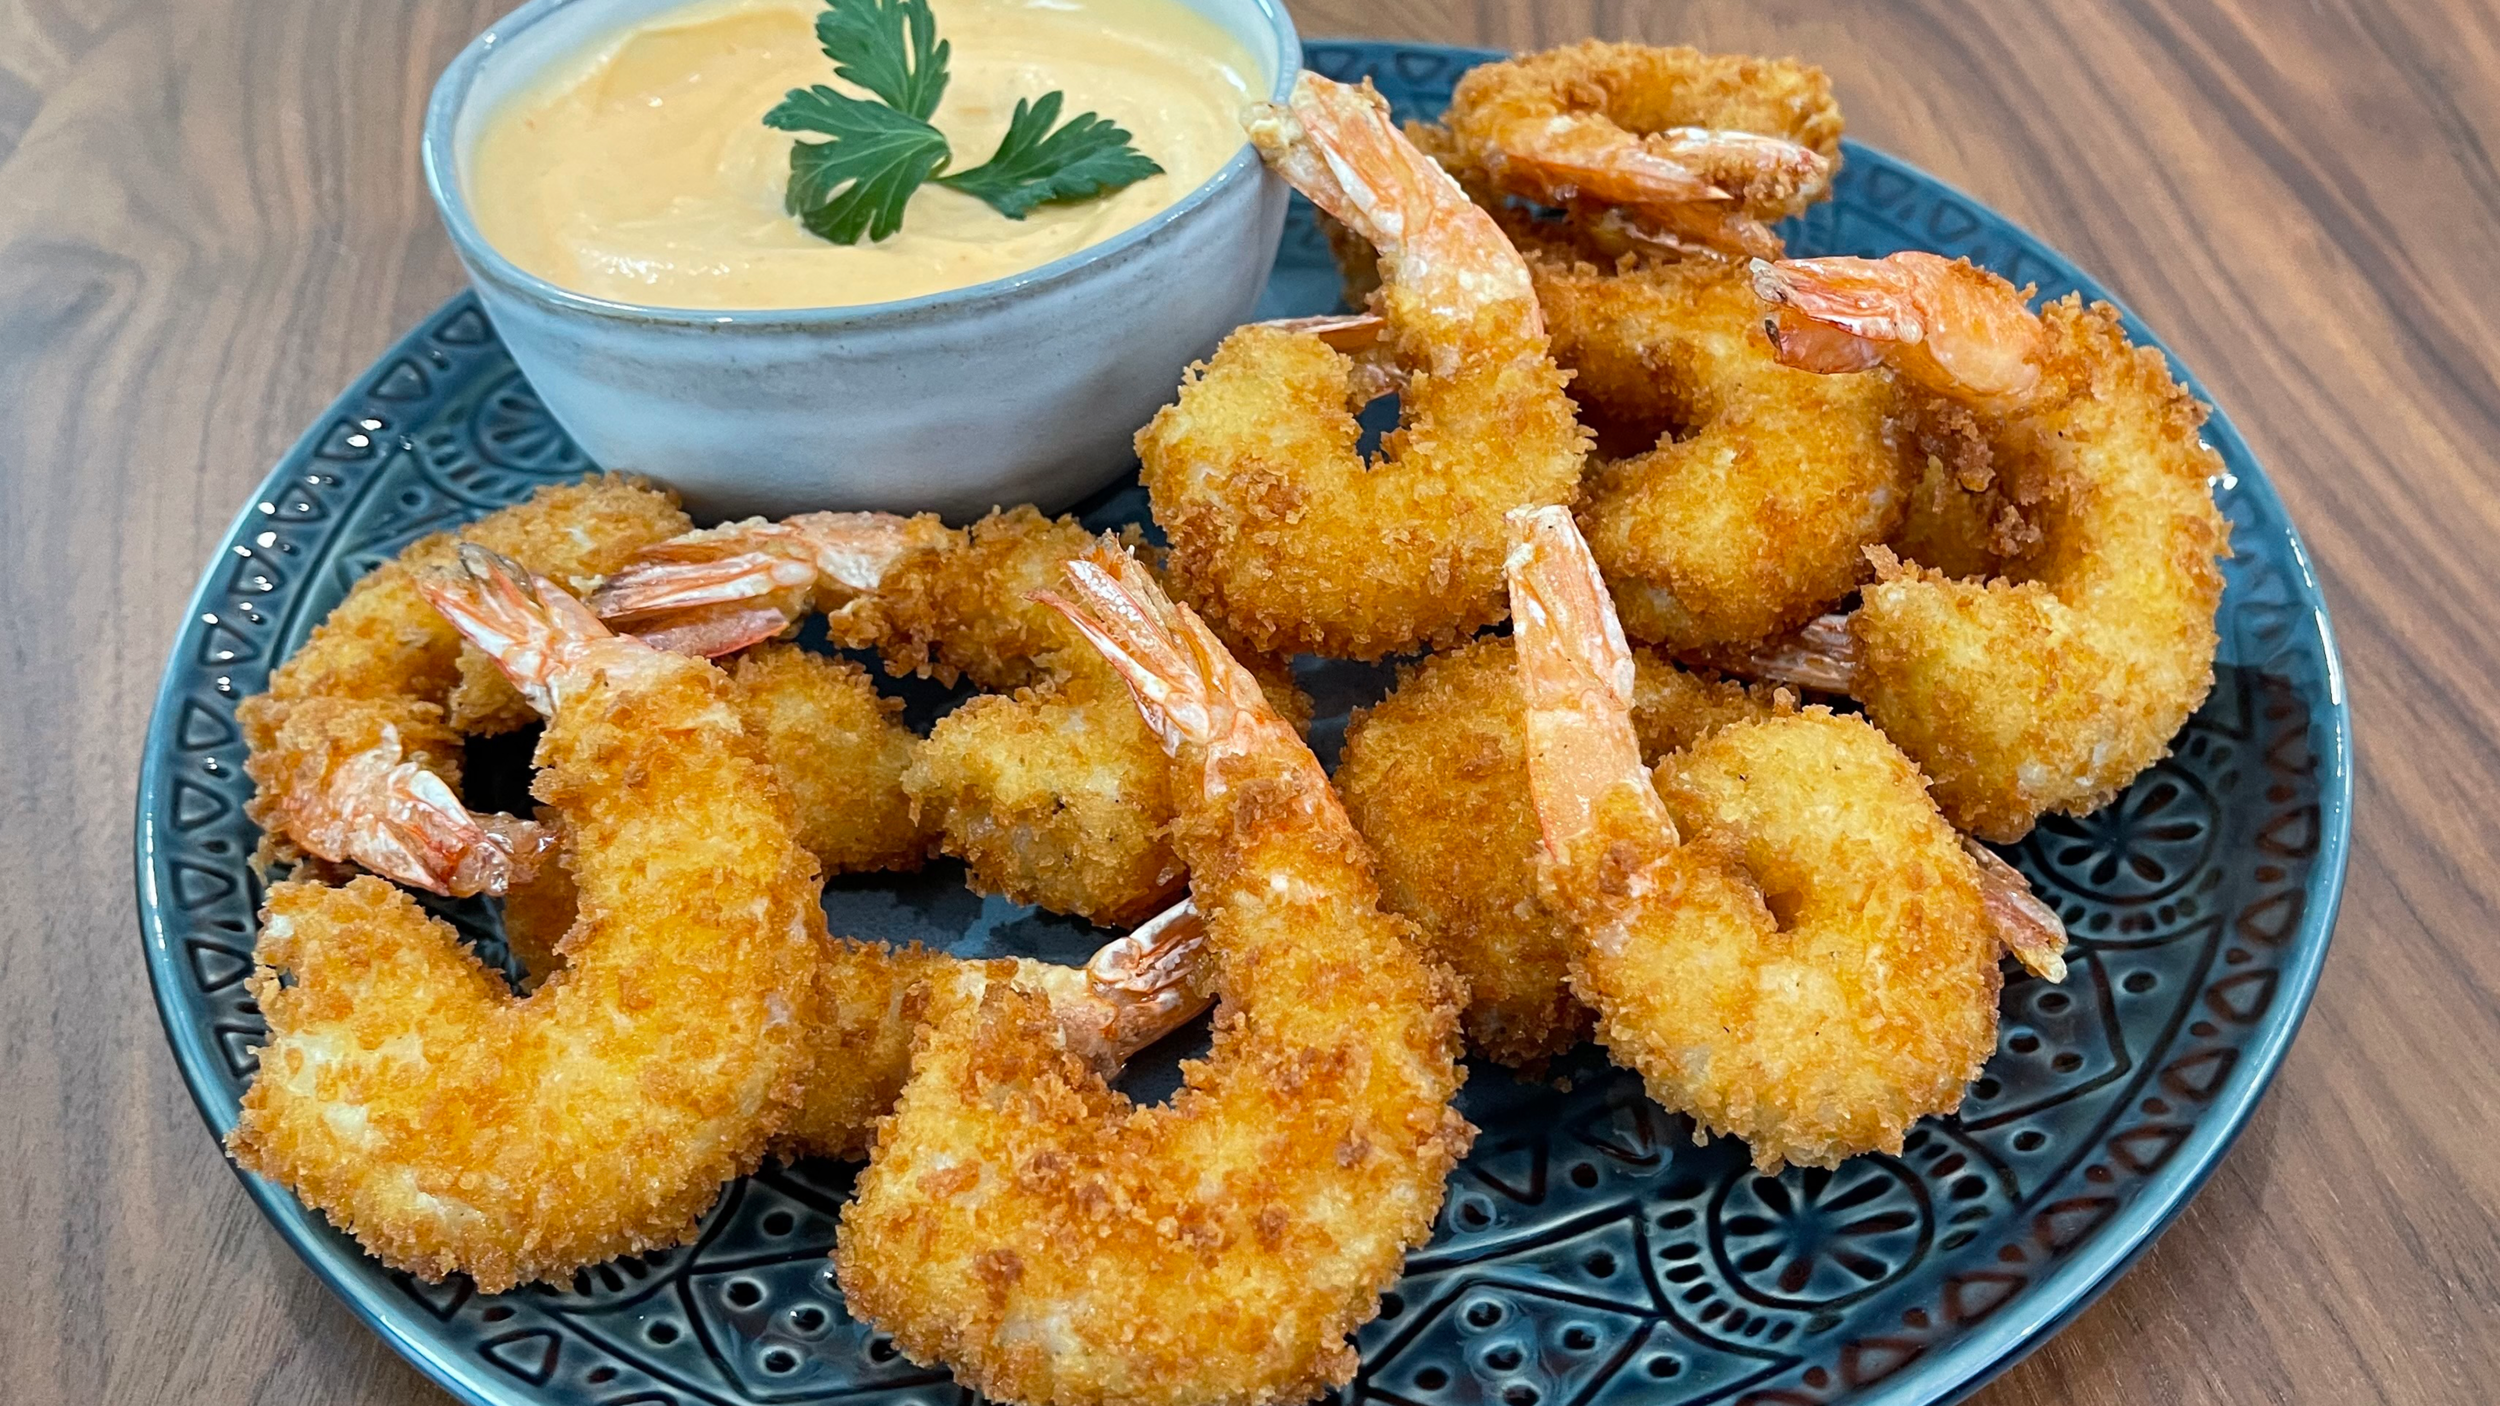
Panko Fried Shrimp with Sriracha Mayo

Blog Image - Panko Fried Shrimp.png

Crispy and Delicious!

INGREDIENTS

Makes 16-20 pieces

Sriracha Mayo

  • Sriracha sauce (amount to taste)

  • 1 cup mayo

  • parsley for garnish (optional)

Fried Shrimp

  • 1/2 cup all-purpose flour

  • 1/2 cup corn starch

  • 2 eggs

  • 1-2 cups Panko breadcrumbs

  • vegetable oil, for deep frying

  • 1 pound large peeled and deveined shrimp (16-20 count)

  • kosher salt

  • black pepper

INSTRUCTIONS

Step 1: Prep Sriracha Mayo

Stir 1 to 3 tbs of Sriracha sauce into the mayo. Adjust to your own taste. Refrigerate until ready to use.

Step 2: Prep the Shrimp

Pat shrimp dry and sprinkle with one light layer of Kosher salt and pepper. Toss shrimp so all the pieces are coated.

Step 3: Coat Shrimp with Panko Breadcrumbs

Thoroughly mix flour and cornstarch in a shallow bowl. Beat eggs in a second bowl. Add Panko to a third bowl. Holding the tail, dredge each shrimp in the flour/cornstarch mixture to coat the whole shrimp except the tail. Then dip whole shrimp including tail into the beaten egg and finally coat with the Panko breadcrumbs. Press Panko on the shrimp to make sure they adhere to the shrimp.

Step 4: Deep fry Shrimp

Fill a medium pot half way with oil and heat to 320-350 degrees. Use a cooking thermometer to check temperature.

Don’t have a thermometer?

Drop a piece of Panko in the oil. If it sizzles and floats to the top, your oil should be ready.

Deep fry 4-5 pieces for about 1 minute or until cooked through. Continue to do them in batches of 4-5 so you don’t overcrowd the pot which will drop the oil temperature. If doing a larger quantity, consider using a larger pot.

Place cooked shrimp on a plate with a paper towel to absorb the excess oil while you cook the rest. If you wish, try a bite and decide if you would like to sprinkle the rest with some Kosher salt.

Serve with Sriracha Mayo and enjoy!


Watch the video


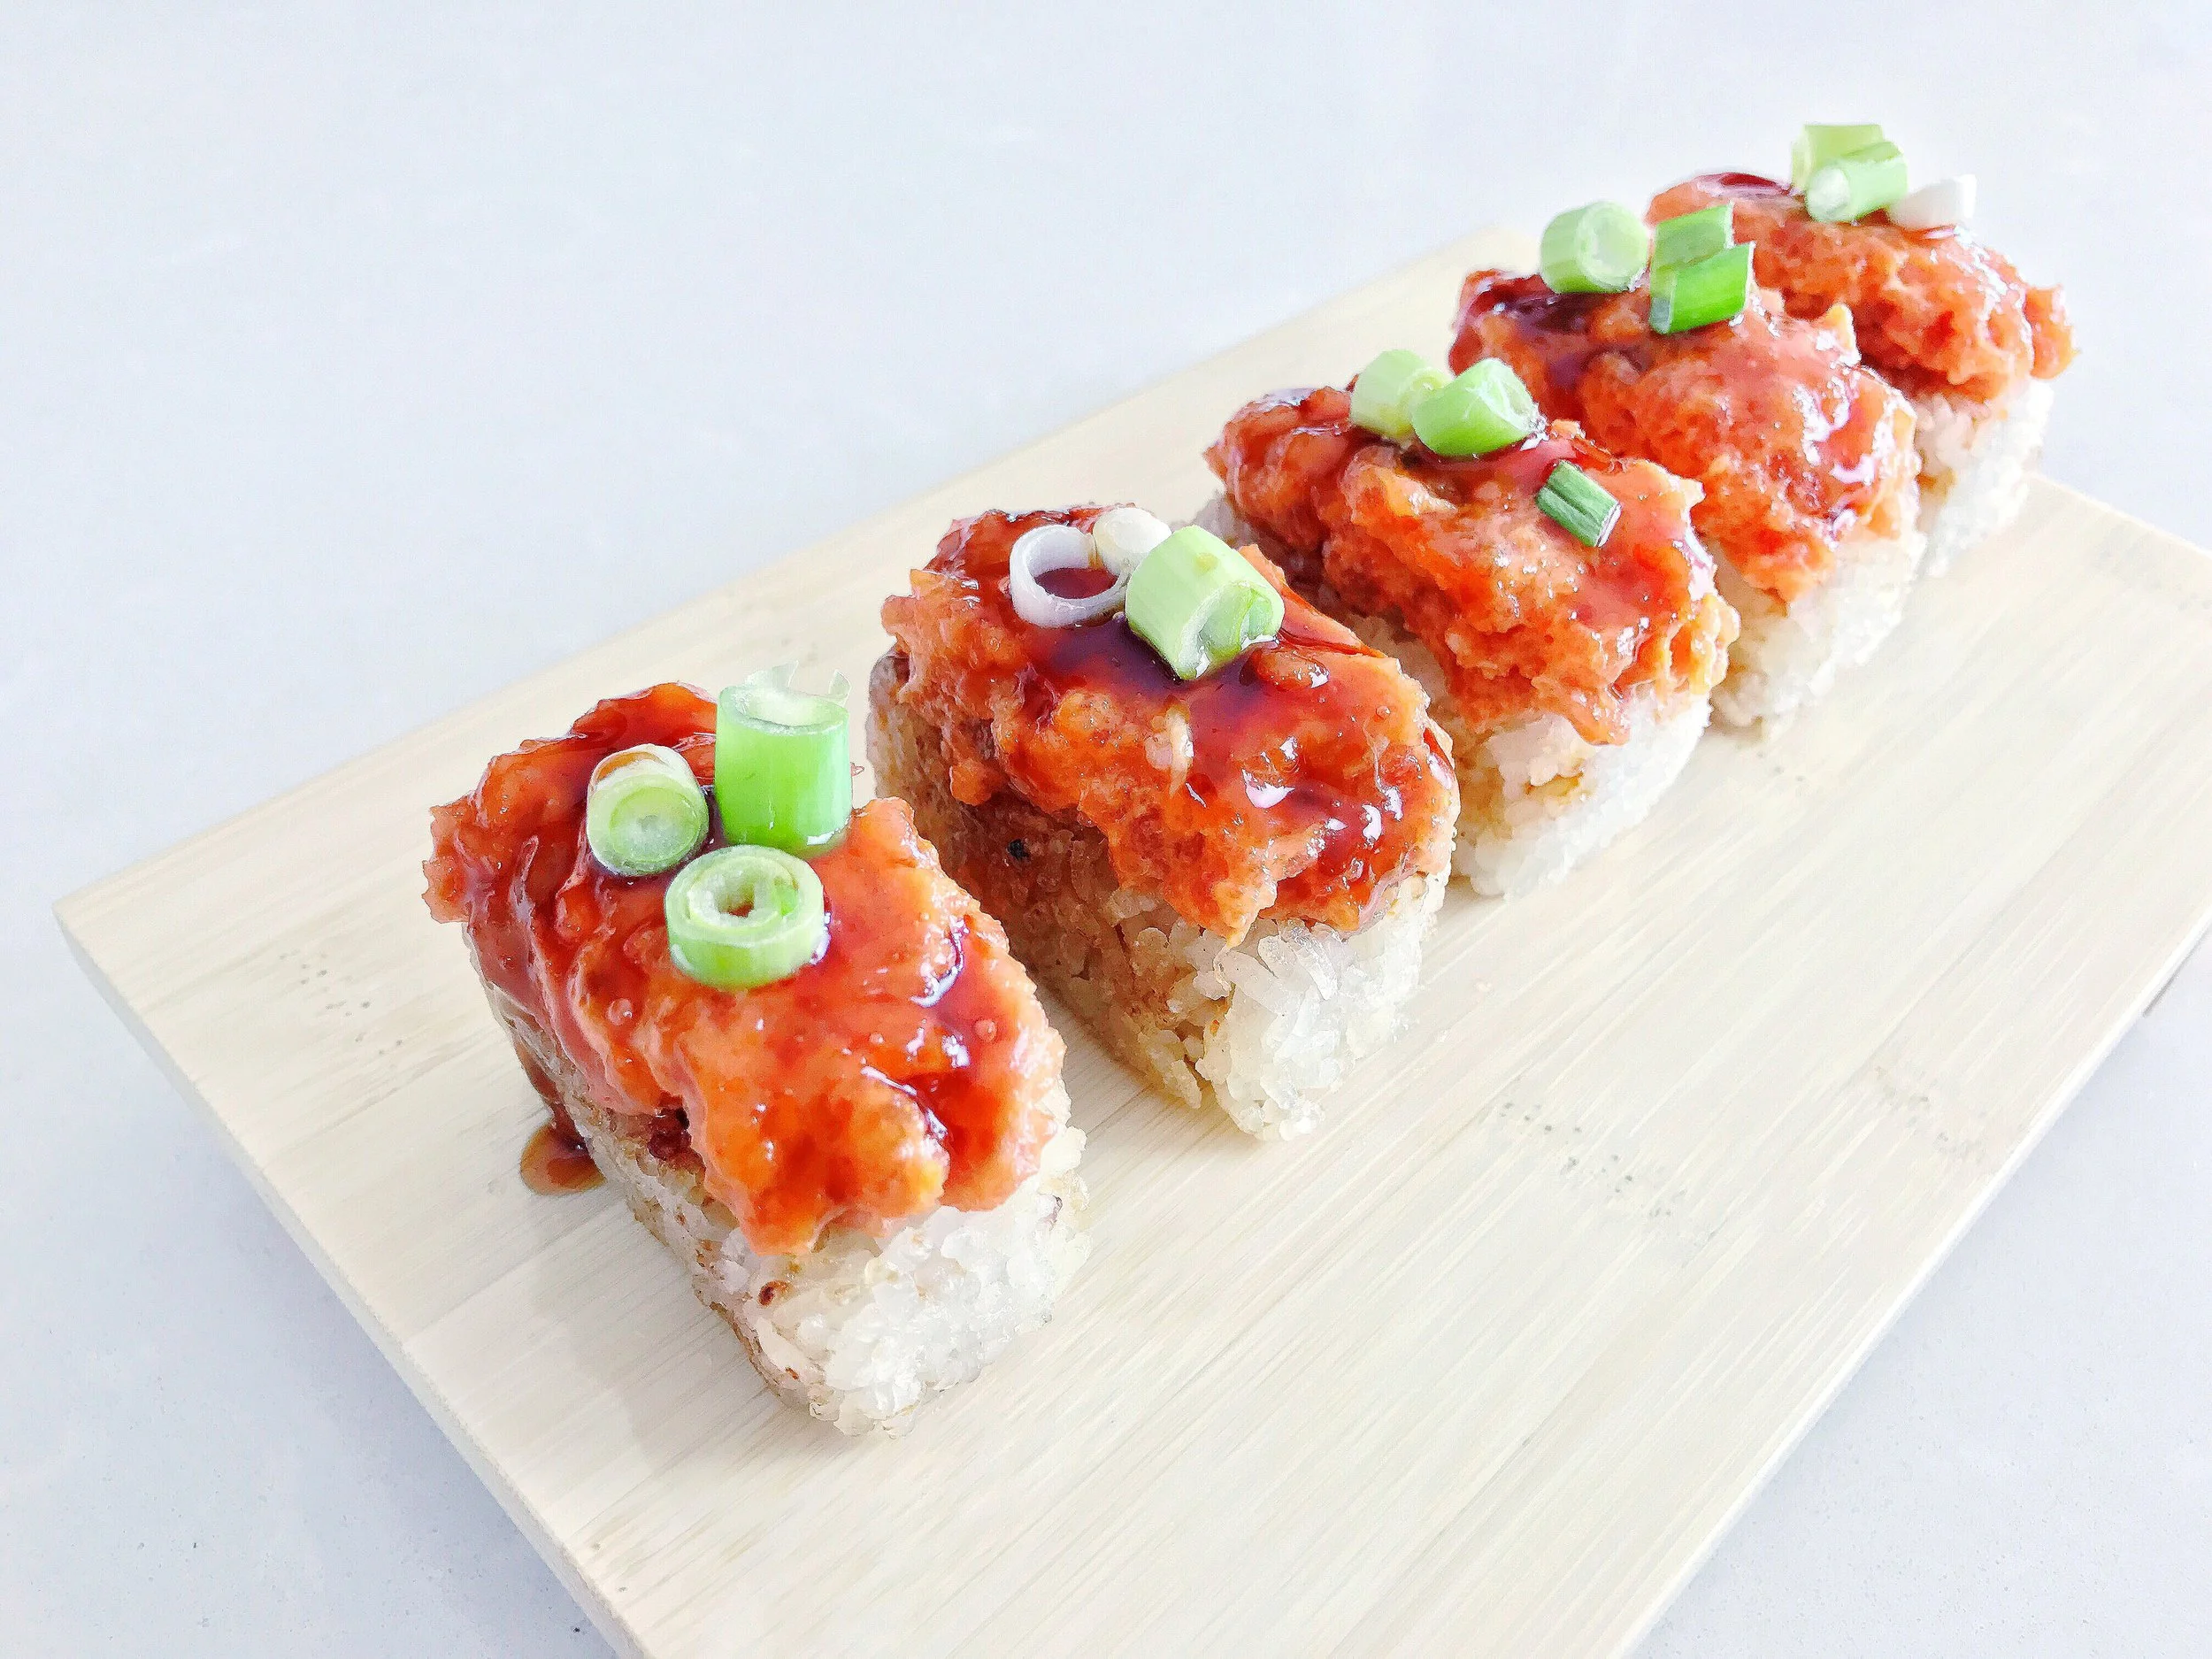
Crispy Rice With Spicy Tuna

One of my favorite appetizers!

INGREDIENTS

Makes approx. 24 pieces

  • 1 lb fresh sushi-grade ahi tuna

  • 2 tbs Sriracha sauce

  • 1 tbs sesame oil

  • 1 tsp hot chili oil

  • 1/4 cup mayonnaise

  • 1/2 cup chopped green onion

  • soy sauce

  • unagi sauce

  • 3 cups freshly cooked Japanese white rice (short or medium grain)

SPECIAL TOOLS: Japanese rice mold Link to product

INSTRUCTIONS

Step 1: Prepare the spicy tuna mixture

  1. Roughly chop the tuna

  2. Use a food processor to chop the tuna into a soft consistency. (You can also do by hand if you don't have a food processor)

  3. Combine the tuna, Sriracha sauce, sesame oil, hot chili oil and mayo and mix it well

  4. Refrigerate until ready to use

Step 2: Make the crispy rice

  1. Form the rice into rectangle shapes using the rice mold Link to product

  2. Be sure to pack it tightly so they don't fall apart

  3. Cook the pieces in batches depending on your pan size. You don't want to overcrowd the pan or they the pieces won't crisp nicely.

  4. Gently cook the pieces in a pan over medium heat with a dash of sesame oil

  5. When the rice starts to crisp, lightly brush all sides with soy sauce (Don't overdo it or the pieces will fall apart from the moisture)

  6. Cook for another 2-3 minutes or until all the pieces are browned

  7. Remove from the heat

  8. Repeat this process for as many pieces as you need.

Step 3: Assemble them

  1. Use small spoon to top each rectangle of rice with the spicy tuna mixture

  2. Brush the top with unagi sauce

  3. Garnish with green onions


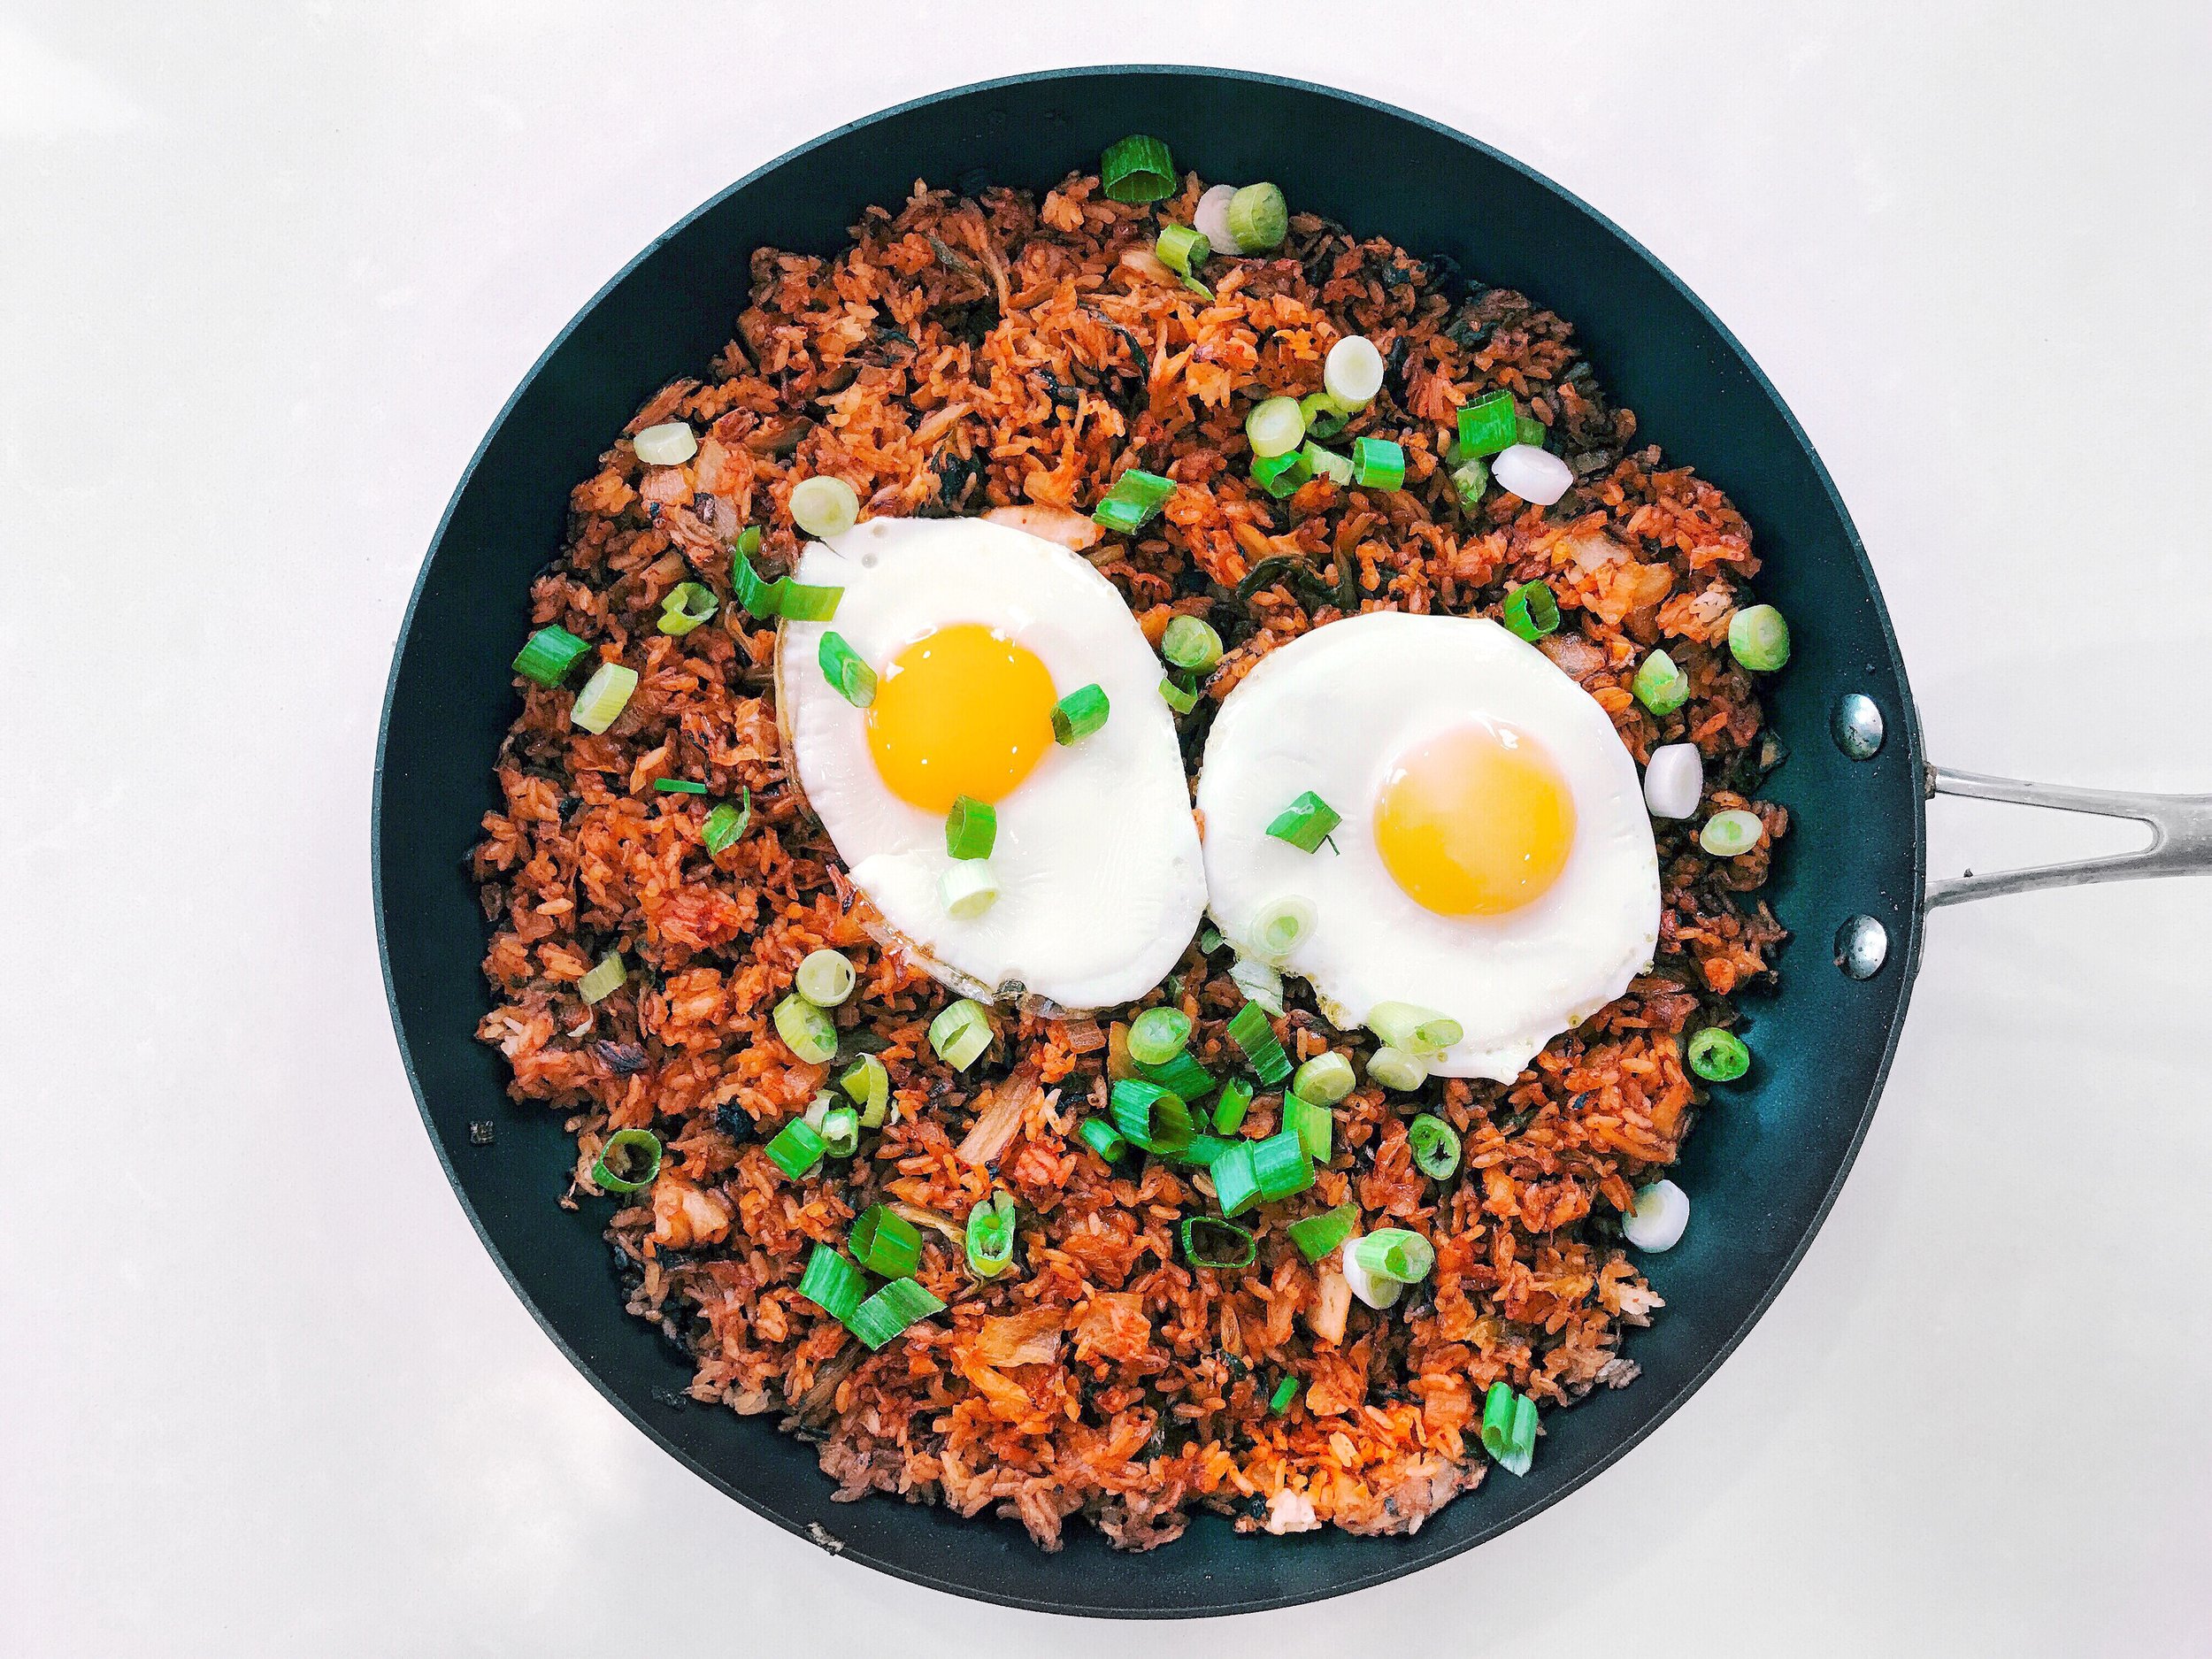
Kimchi Fried Rice

Easy and satisfying!

INGREDIENTS

SERVES 2

  • 3 tablespoons extra-virgin olive oil

  • 3/4 cup chopped yellow onion

  • 3 garlic cloves, finely chopped

  • Kosher salt

  • 1 1/2 cups kimchi, chopped

  • 3 teaspoon soy sauce

  • 3 cups cooked short or medium grain white rice

  • 3 scallions, chopped

  • 3 tsp Korean chili sauce (adjust amount to your taste) Use your favorite one. I use this.

  • 2 eggs ( I like jumbo  size)

  • 1 tbs butter

INSTRUCTIONS

Step 1: Start by cooking the eggs so you have them ready once the rice is done. You can cook the eggs however you like but this if my fool proof method for making perfect no-hassle sunny side up eggs.

  1. Preheat your oven to 400 degrees

  2. Preheat your oven-safe non-stick pan in the oven for 5 minutes

  3. Once the pan is preheated, take it out and add the butter and 2 eggs

  4. Put pan back in the oven and let the eggs cook for 3-6 minutes depending on your oven

Step 2: Make the kimchi fried rice

  1. Heat 3 tablespoons of olive oil in a large nonstick skillet over medium heat

  2. Add the onions, garlic and a pinch of salt

  3. Cook and stir until the onions begin to soften and just begin to brown, about 10 minutes

  4. Turn the heat to high and add the kimchi and cook for 2 or 3 minutes

  5. Next, add the soy sauce and stir

  6. Once the kimchi starts to crisp, add in the rice and stir until mixed well

  7. Then add in the Korean chili sauce and mix well

  8. Cook the rice until it is hot and to your desired crispiness

  9. Then let it sit for a minute or 2 to develop a crisp crust on the bottom (optional)

  10. Once it is ready, top it with the eggs and green onions


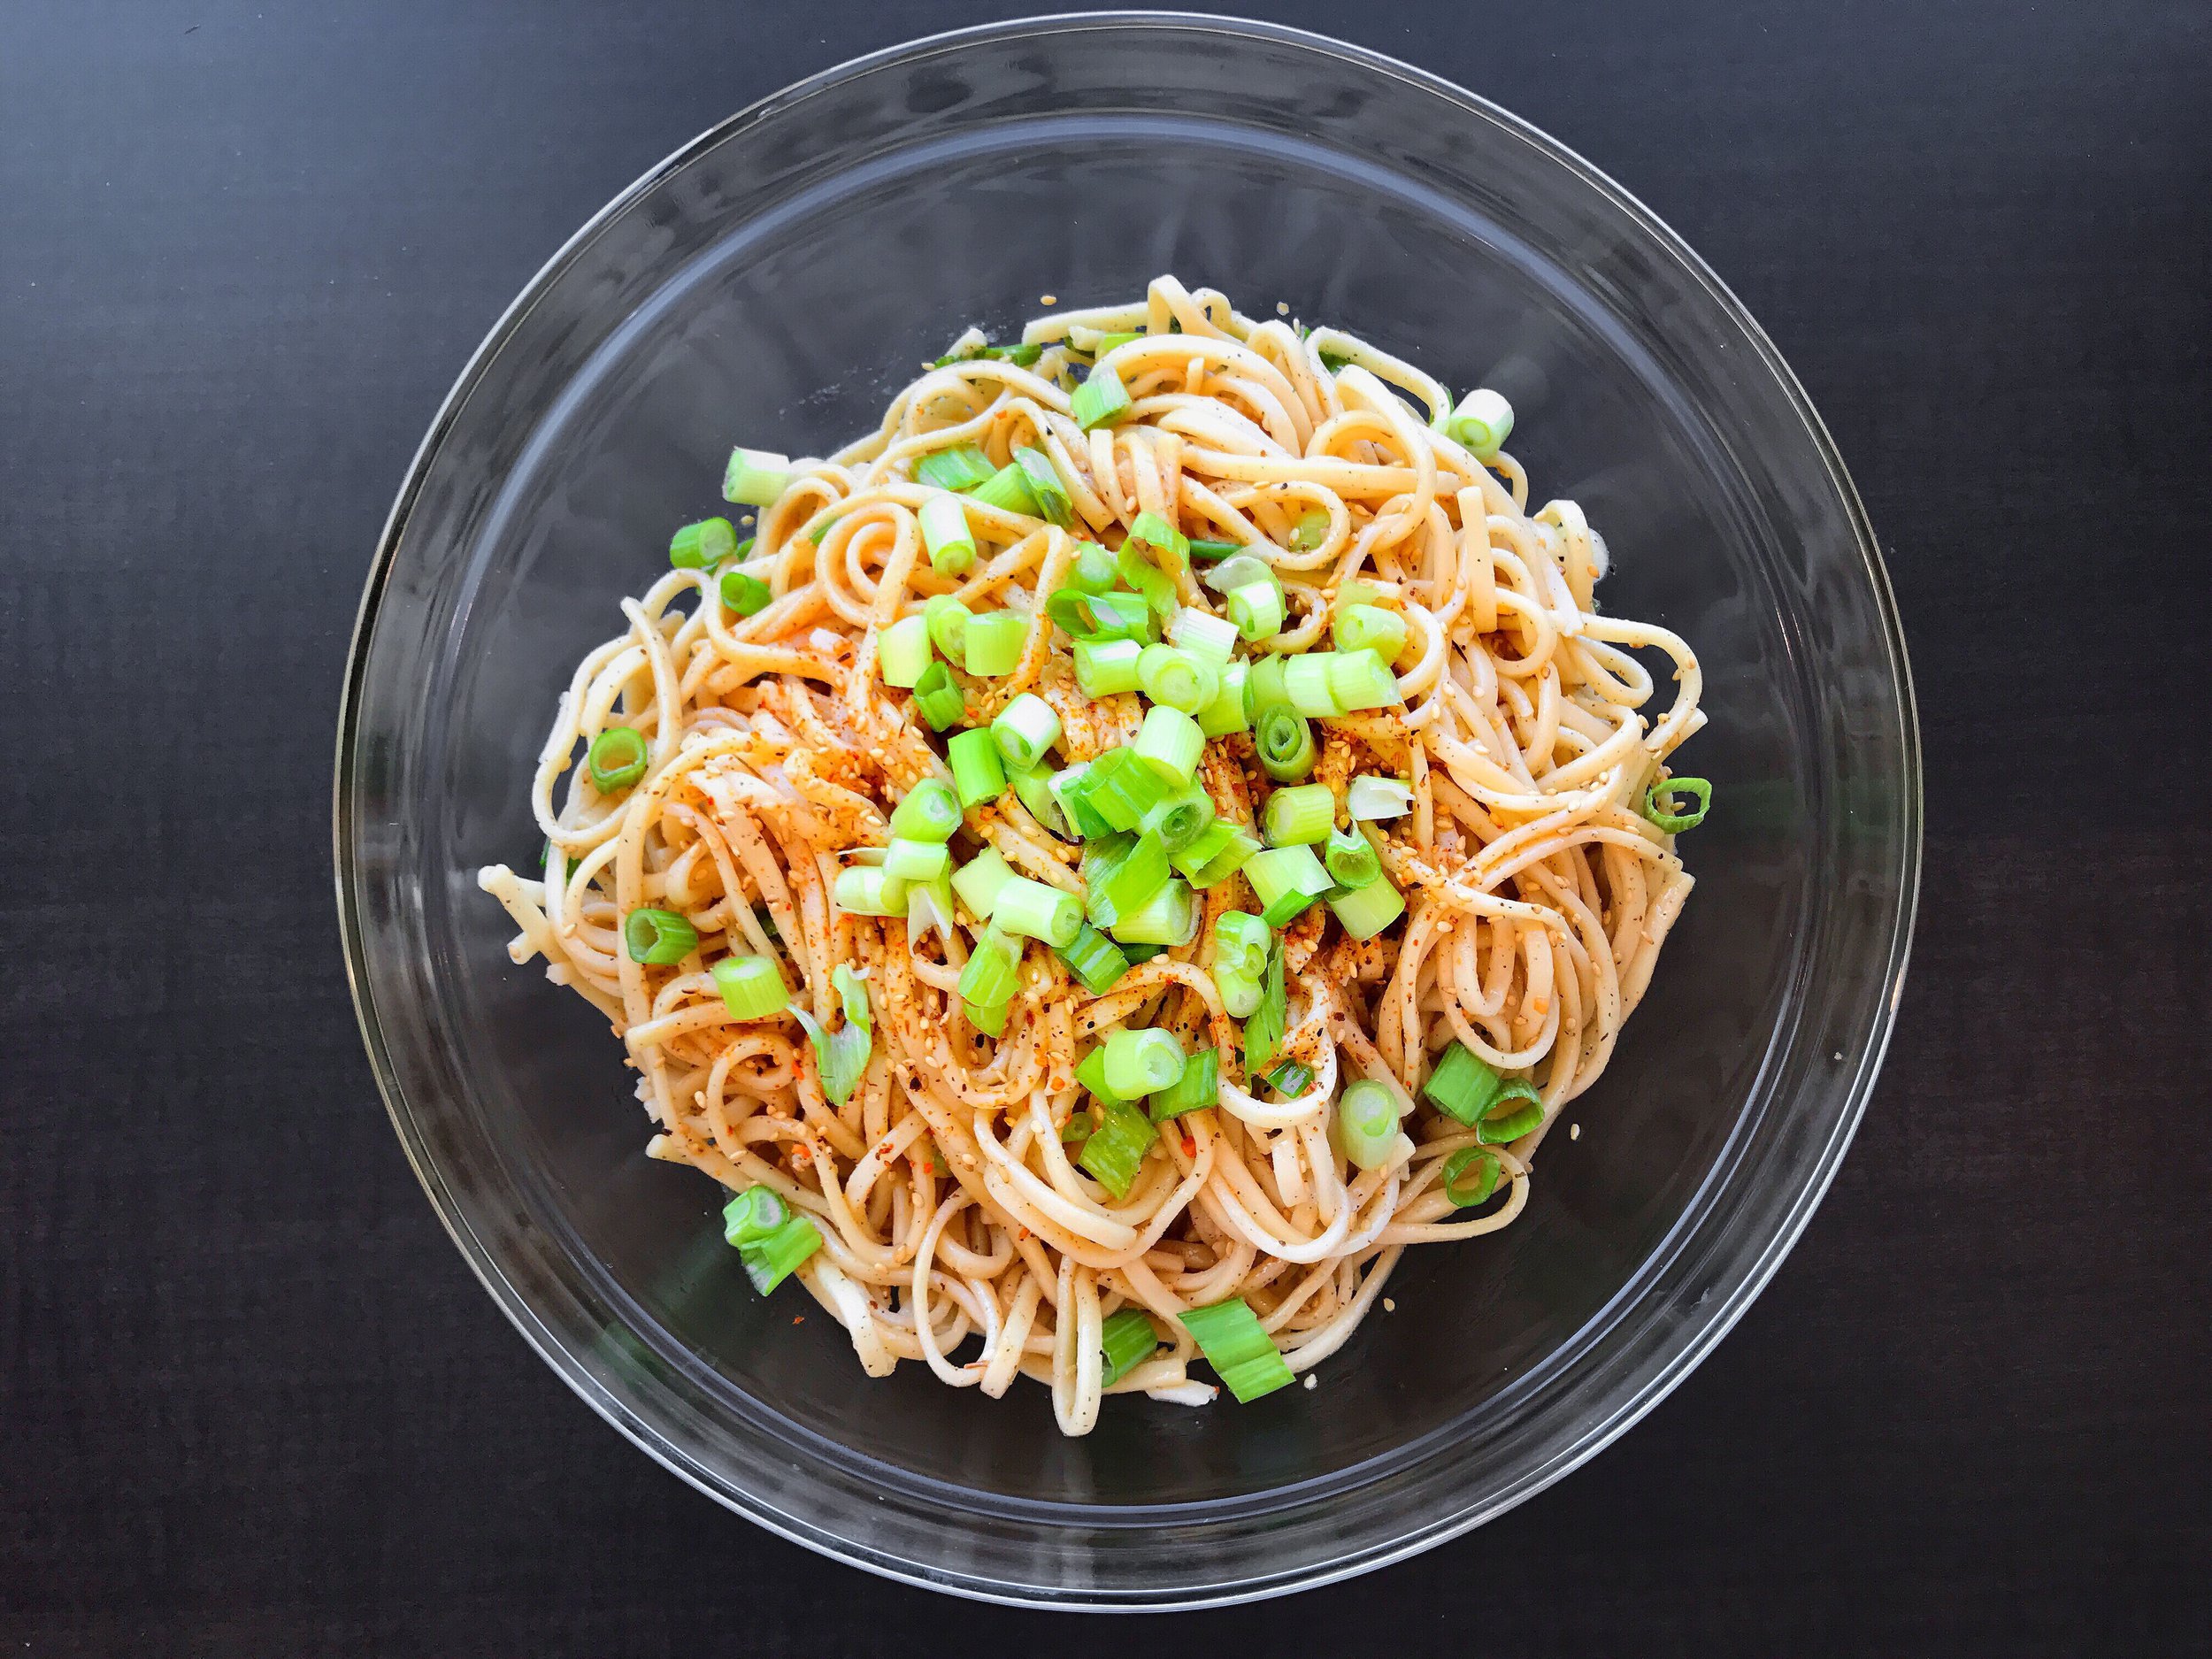
Cold Udon Noodle Salad

A crowd favorite!

INGREDIENTS

  • 1 package dry udon noodles 500g (17-18oz)

  • 1/4 cup sugar

  • 1/2 tsp pepper

  • 1/4 tsp japanese chili pepper (amount to taste) Link to product

  • 1/2 cup vegetable oil

  • 1/3 cup sesame oil

  • 1/4 cup soy sauce

  • 5 tbs seasoned rice vinegar

  • 1 cup chopped green onion (amount to taste)

  • toasted sesame seeds (amount to taste)

  • 1 tsp aji-no-moto msg (optional but highly recommended for maximum flavor)

INSTRUCTIONS

Step 1: You can do this step the day before serving

  1. Boil noodles according to the package instructions 

  2. Rinse and drain noodles in cold water

  3. Cover and refrigerate noodles for at least 2 hours to get them nice and cold

Step 2:

  1. Whisk together the rest of the ingredients to make the dressing

  2. You can refrigerate the dressing until it is ready to use

Step 3:

  1. Gently mix together the noodles and dressing

  2. If the noodles seem stuck together, just work the dressing into the noodles and loosen them up.

  3. Add the toasted sesame seeds and green onion (save some green onion for garnish on top.

  4. Garnish the top with more sesame seeds and green onion