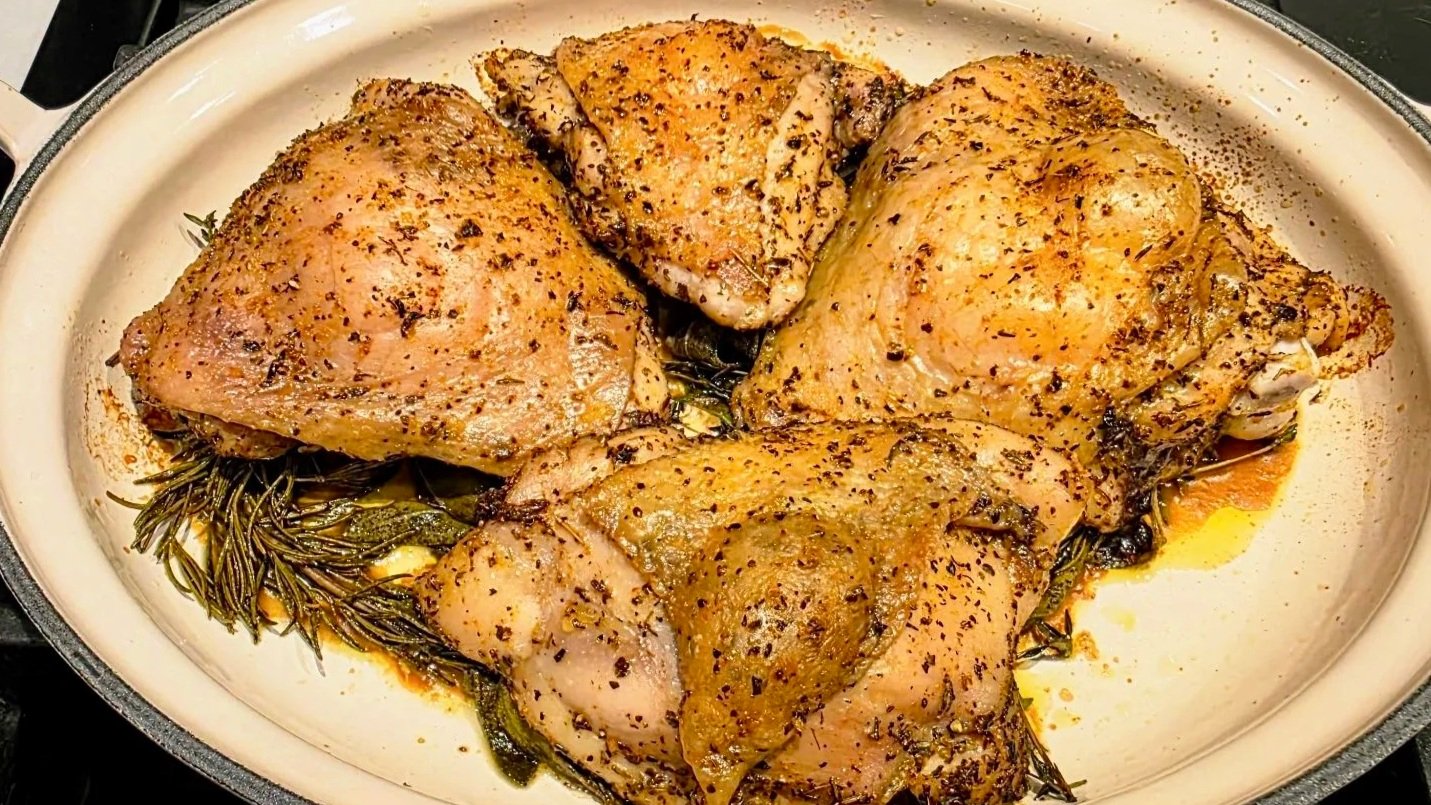
Herb-Roasted Chicken Thighs

If I could only make one chicken recipe for the rest of my life, this would be it.


INGREDIENTS

Makes 8 chicken thighs

  • 8 bone-in, skin-on chicken thighs

  • 10–12 sprigs fresh rosemary (about 1½ [0.5-oz] packages)

  • 10–15 sprigs fresh thyme (about 1 [0.5-oz] package)

  • Granulated garlic

  • Herbes de Provence

  • Diamond Crystal kosher salt

  • Freshly ground black pepper

  • Good olive oil

INSTRUCTIONS

Step 1: Preheat the oven

Preheat the oven to 400°F.

Step 2: Prep and season the chicken

On a cutting board, trim any excess skin and fat from the chicken thighs.
Drizzle a light coating of olive oil over the chicken—just enough to help the seasonings adhere without making the pieces oily.
Season both sides evenly with kosher salt, black pepper, granulated garlic, and Herbes de Provence.

Step 3: Make the herb bed

On a baking sheet, arrange the rosemary and thyme in an even layer just large enough to sit beneath all eight chicken thighs.
Tuck in any stray stems so they don’t overexpose and burn. If a few herb tips are still uncovered, spoon a little olive oil over them to keep them from drying out.
Place the chicken thighs on top of the herbs, fitting them close together so they’re touching slightly, but still in one layer (a little overlap is fine).
As the chicken roasts, the heat will draw the oils out of the rosemary and thyme, infusing everything with incredible flavor.

Step 4: Roast the chicken

Roast for 40 minutes, or until the internal temperature reaches at least 165°F.
Let the chicken rest for 3–5 minutes before serving so the juices redistribute and the meat stays perfectly tender.


Grilled Lamb Chops with Rosemary & Garlic

The flavor is incredible!


INGREDIENTS

Level: Easy

Makes 8 lamb chops

  • 8 frenched lamb chops

  • 3 large garlic cloves

  • 1 ½ tablespoons fresh rosemary leaves

  • 2 ½ tablespoons olive oil

  • 1 tbs minced fresh Italian parsley

  • coarse Kosher salt

  • freshly ground black pepper

INSTRUCTIONS

Step 1: Prepare the Lamb

If necessary, separate the lamb chops. Trim any excess fat, but leave a small amount for flavor. (It's important to remove most of the excess fat as it won't have time to render down during the quick cooking process and can cause flare-ups on the grill.) Season both sides of each chop generously with salt and pepper.

Step 2: Craft the Marinade

In a food processor, first mince the rosemary and garlic. (This ensures they're finely chopped before adding the oil.) Add the olive oil and pulse until combined. (If you don't have a food processor, finely mince the rosemary and garlic by hand, then mix in the olive oil.)

Step 3: Marinate

In a large bowl, combine the seasoned lamb chops and marinade. Use your hands to gently massage the marinade into each chop, ensuring they are evenly coated. Refrigerate for at least 1 hour, or longer for deeper flavor.

Step 4: Grill and Savor

30 minutes before grilling, remove the lamb chops from the refrigerator to allow them to come to room temperature.


Preheat your grill to high heat with the lid closed for at least 15 minutes, or until the internal temperature reaches 500°F.

Place the lamb chops on the grill, starting with the thickest pieces first. Gently press down for good contact with the grates. Set a timer for 2 minutes, then grill with the lid open for 2-3 minutes per side for medium-rare doneness.

Begin checking the thinnest chop for your desired doneness after the initial 2 minutes on the second side. For a medium-rare cook, the internal temperature should reach 130°F when measured in the thickest part of the chop with an instant-read thermometer. Alternatively, you can make a small cut to visually check.

Remove the chops from the grill as they reach your preferred doneness.

Allow the chops to rest for 5 minutes before serving to allow the juices to redistribute. Garnish with minced parsley and enjoy!


Watch Video

Soboro Don with Ground Beef

MY Grandma’s recipe


INGREDIENTS

Level: Easy

Serves 1 - 2

Ground Beef

  • 1/2 pound ground beef w/ 20% fat

  • 1 tablespoon neutral oil

  • 1 teaspoon chopped ginger

  • 2 tablespoons sugar

  • 3 tablespoons soy sauce

  • 1 tablespoon saké

Scrambled Eggs

  • 4 eggs

  • 3 tablespoons sugar

  • 1/4 teaspoon salt

  • 1/4 teaspoon MSG

For Serving

  • Cooked Japanese short-grain rice (approximately 2 cups uncooked)

  • 1 scallion, chopped

  • Japanese red pickled ginger (optional)

INSTRUCTIONS

Step 1: Prepare the Ground Beef

Heat the oil in a skillet over medium-high heat. Add the ginger and sauté briefly until fragrant. Crumble in the ground beef and cook, breaking it up with a spatula, until browned and cooked through. Drain any excess fat.

Step 2: Season the Beef

Stir in the sugar, soy sauce, and saké. Reduce heat to low and simmer, stirring occasionally, until the liquid has mostly evaporated and the flavors have melded. Remove from heat and cover to keep warm.

Step 3: Prepare the Scrambled Eggs

In a bowl, whisk together the eggs, sugar, salt, and MSG until well combined.

Step 4: Cook the Eggs

Pour the egg mixture into a dry, unheated nonstick skillet. Turn on the heat to medium-low heat and allow the eggs to rest undisturbed for 1-2 minutes, just until they begin to set around the edges. With a heat-resistant silicone spatula, or a similar utensil like a wooden spoon or chopsticks, softly fold and stir the eggs, forming delicate curds. As the eggs start to cook more quickly, stir more frequently, ensuring to scrape the bottom of the pan to prevent sticking. Continue this gentle folding and stirring until the eggs are softly set and still beautifully creamy, approximately 6-7 minutes.

Step 5: Assemble

Divide the rice among bowls. Spoon the ground beef over half of the rice and the scrambled eggs over the other half. Place a mound of sliced scallions in the center of the dish. Serve with a side of Japanese red pickled ginger, if desired, for a tangy accent.


Watch Video

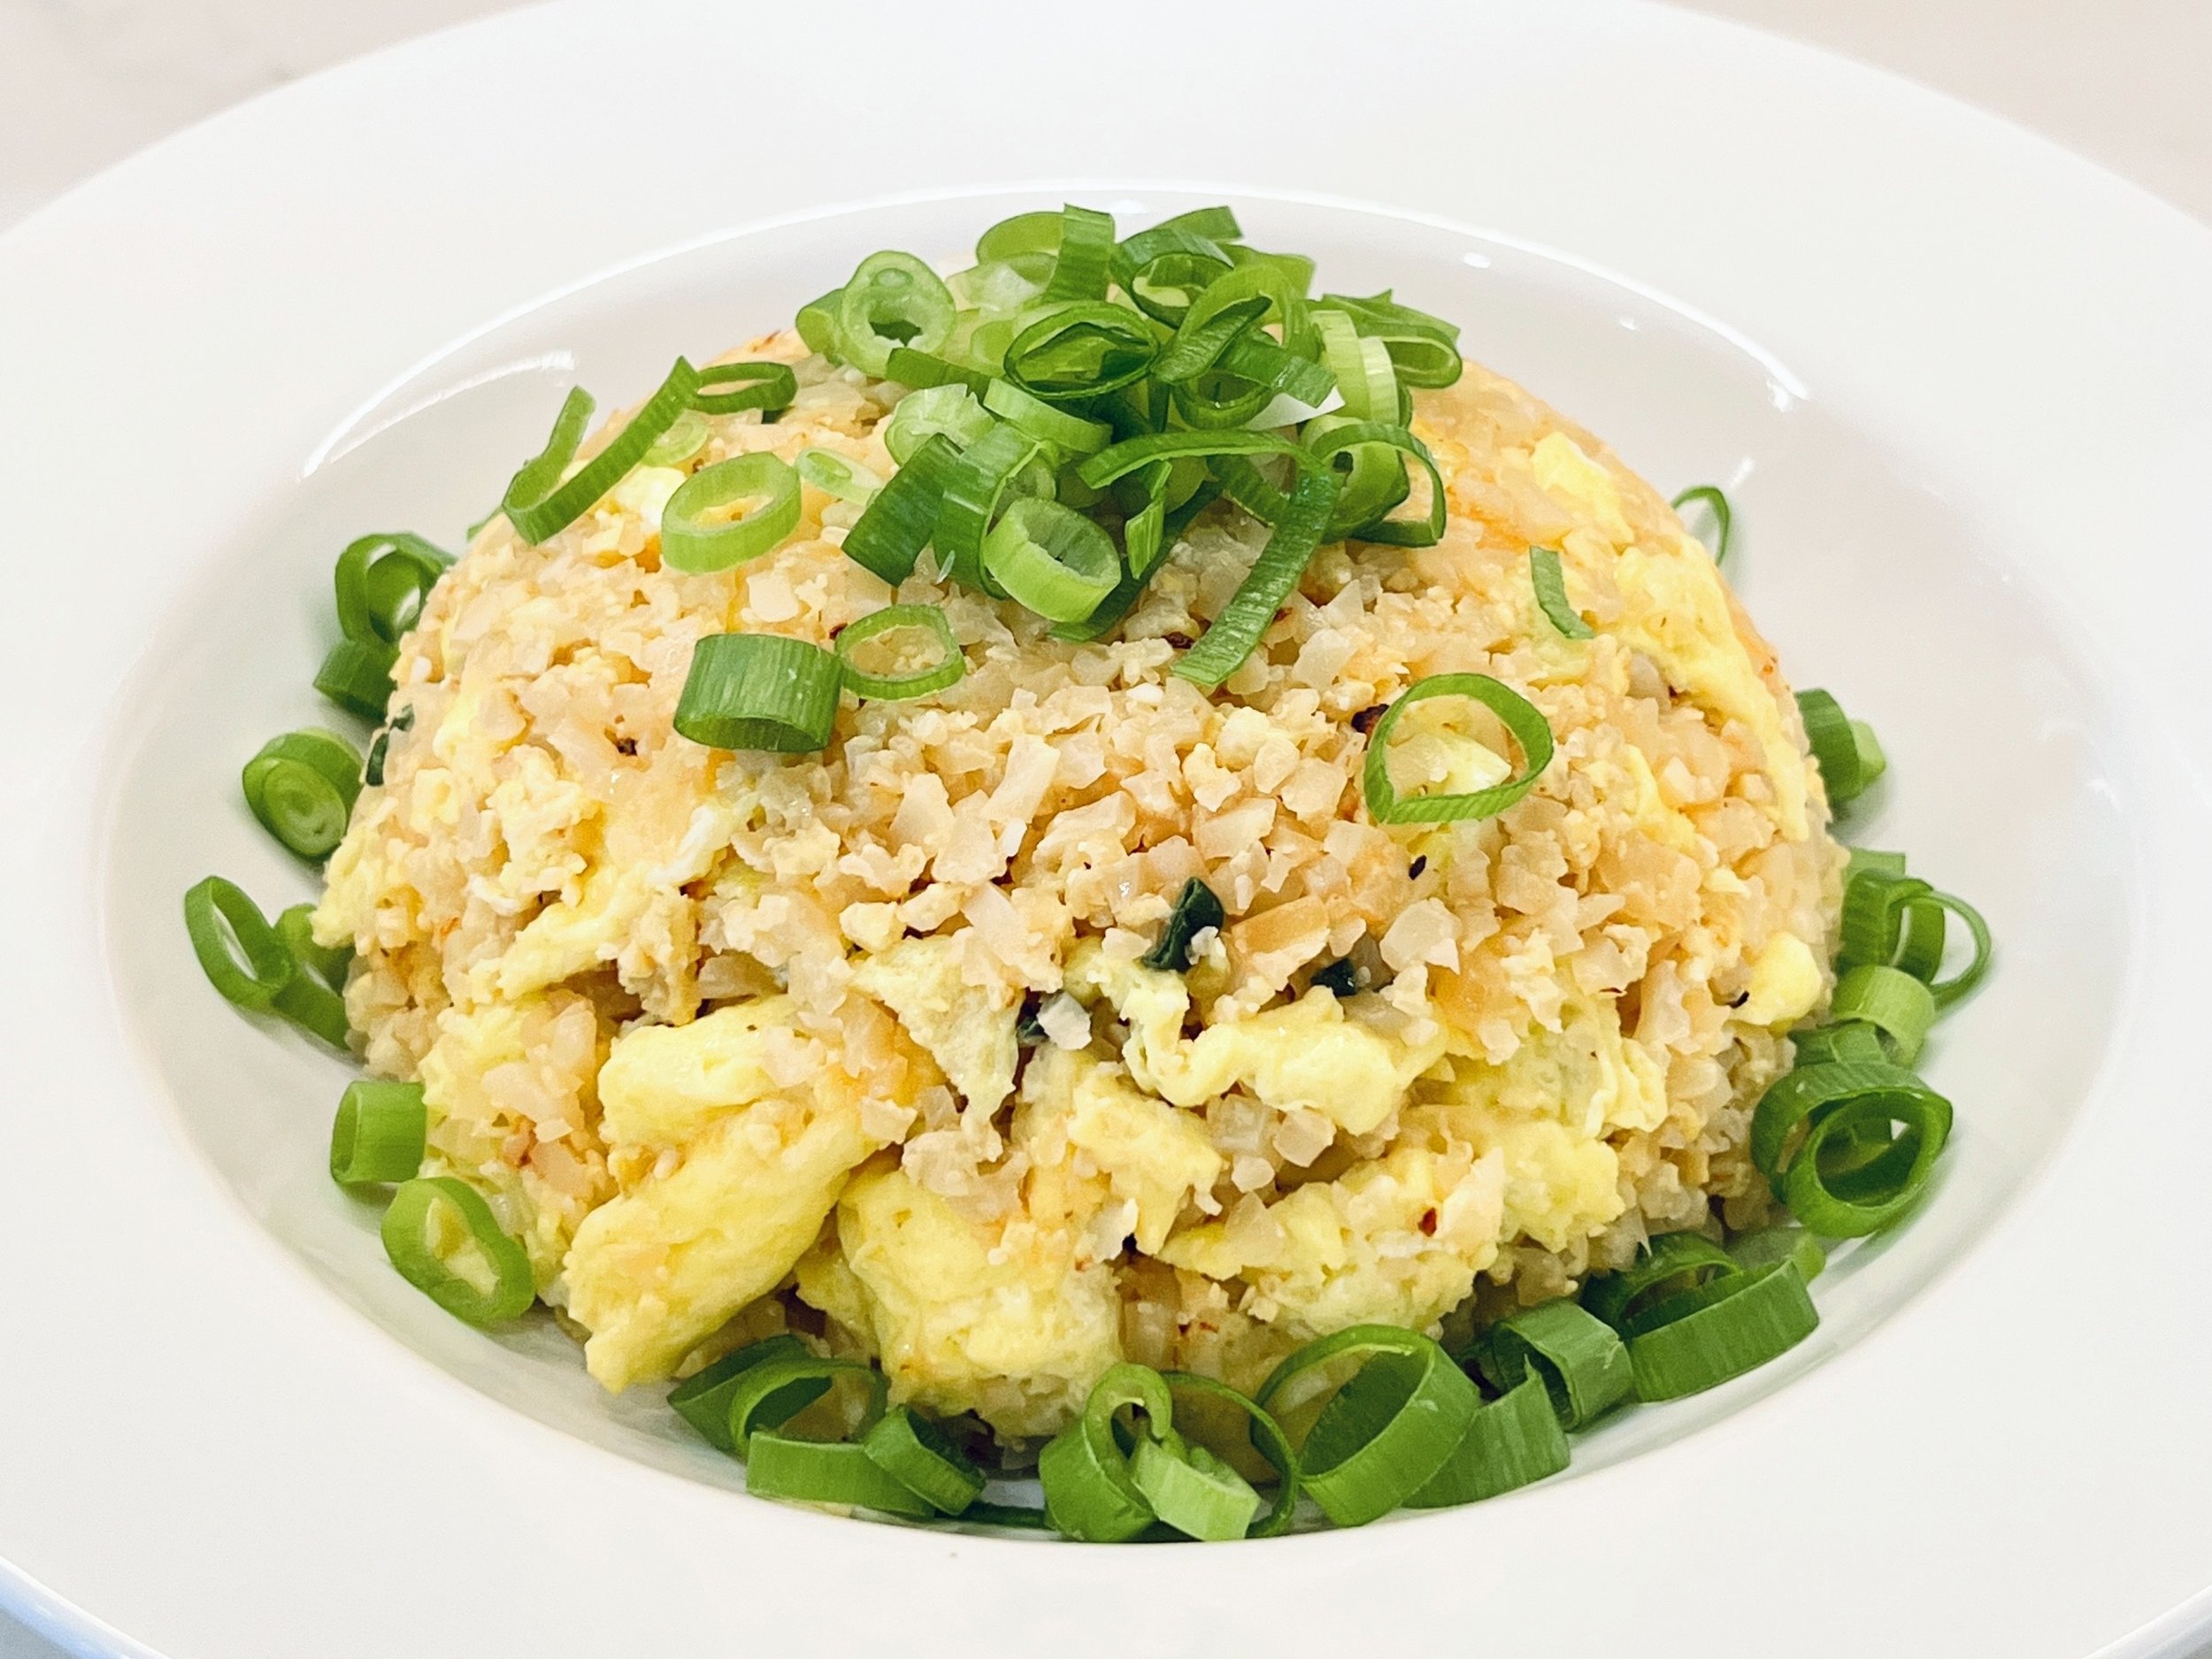
Garlic Cauliflower Fried Rice

Tasty Low Carb Dish!


INGREDIENTS

Level: Easy

Serves 1

  • 12oz cauliflower rice (microwaved from frozen)

  • 3 eggs

  • 2 scallions, chopped

  • 1/8 large yellow onion, chopped

  • 3 large cloves garlic, minced

  • 2 tbs butter

  • 1/2 tbs soy sauce

  • 1/4 tsp fresh ground pepper

  • 1/4 tsp kosher salt

  • 2 tbs olive oil

  • 1/4 tsp msg (optional)

INSTRUCTIONS

Step 1: Prep

  • Beat 2 eggs in one bowl and the remaining egg in another.

  • Set aside.

Step 2: Scramble eggs

  • Heat your non-stick skillet over medium-high heat. Add 1 tbsp olive oil and swirl to coat.

  • Pour in the 2 beaten eggs and gently scramble until cooked through but still glossy, reducing heat slightly if needed. Remove and set aside.

  • Wipe out the pan with paper towel to remove any burnt bits.

Step 3: Cook vegetables

  • Add the remaining olive oil to the skillet and cook the onions with a pinch of salt until translucent and browned.

  • Add the garlic and a handful of scallions, stir-fry for 30 seconds.

Step 4: Fry cauliflower rice

  • Stir in the heated cauliflower rice. Pour in the remaining beaten egg and immediately mix vigorously to ensure each grain of rice is coated in egg. This will give your cauliflower rice a delightful rice-like texture.

  • Add soy sauce, pepper, MSG (if using), and butter. Stir-fry until butter melts, adjusting heat as needed.

Step 5: Combine, season, and finish

  • Add the scrambled eggs, breaking them up as desired. Stir to combine and heat through.

  • Taste and adjust seasonings to your liking (more soy sauce, salt, pepper, etc.).

  • Garnish with the remaining scallions and serve immediately.


Watch Video

Crispy Baked Chicken Katsu Thighs

Easy & healthy

INGREDIENTS

Level: Easy

Makes up to 4 chicken thighs

Chicken Katsu Thighs

  • 4 boneless skinless chicken thighs

  • 1 beaten egg

  • 2 tbs flour

  • 3/4 cup panko

  • kosher salt

  • freshly ground black pepper

  • olive oil

  • Tonkatsu sauce (store bought or homemade)

Homemade Tonkatsu Sauce

This Tonkatsu sauce recipe is adapted from Namiko Hirasawa Chen's version. I've adjusted the measurements for convenience without changing the delicious flavor ratios.

(Whisk all ingredients until thoroughly combined and sugar has mostly dissolved)

  • 1/4 cup + 1 tbs ketchup

  • 1/4 cup Worcestershire sauce

  • 2 tbs sugar

  • 2 tbs oyster sauce

Shredded Cabbage Salad (Optional)

  • 2-3 cups shredded cabbage

  • sesame dressing (store bought or homemade)

INSTRUCTIONS

Step 1: Prep

Preheat oven to 350 degrees F and line a baking sheet with foil.

Step 2: Toast Panko

Heat a skillet over medium heat. Add 1 tbsp olive oil and swirl to coat. Add panko and toast, stirring constantly, until golden brown. Transfer to a shallow dish to cool.

Step 3: Bread Top of Chicken

Season both sides of chicken thighs with salt and pepper. Next, put flour, egg and toasted panko into 3 separate shallow bowls. Then place each thigh top-side down into the flour, then the egg, then the toasted panko, pressing gently to make sure the bread crumbs adhere. Then, place the thigh panko-side up on a foil lined baking sheet.

Step 4: Bake

Bake the chicken for 35 minutes, or until cooked through.

Step 5: Serve

Slice the chicken katsu and serve alongside shredded cabbage and rice. Drizzle your favorite sesame dressing over the cabbage.

Serve Tonkatsu sauce on the side to keep the panko breading nice and crispy.


Watch Video


Easy Soy Sauce Chicken Wings

Juicy, succulent, delicious!

Makes 2 lbs party chicken wings

INGREDIENTS

  • 2 lbs party chicken wings

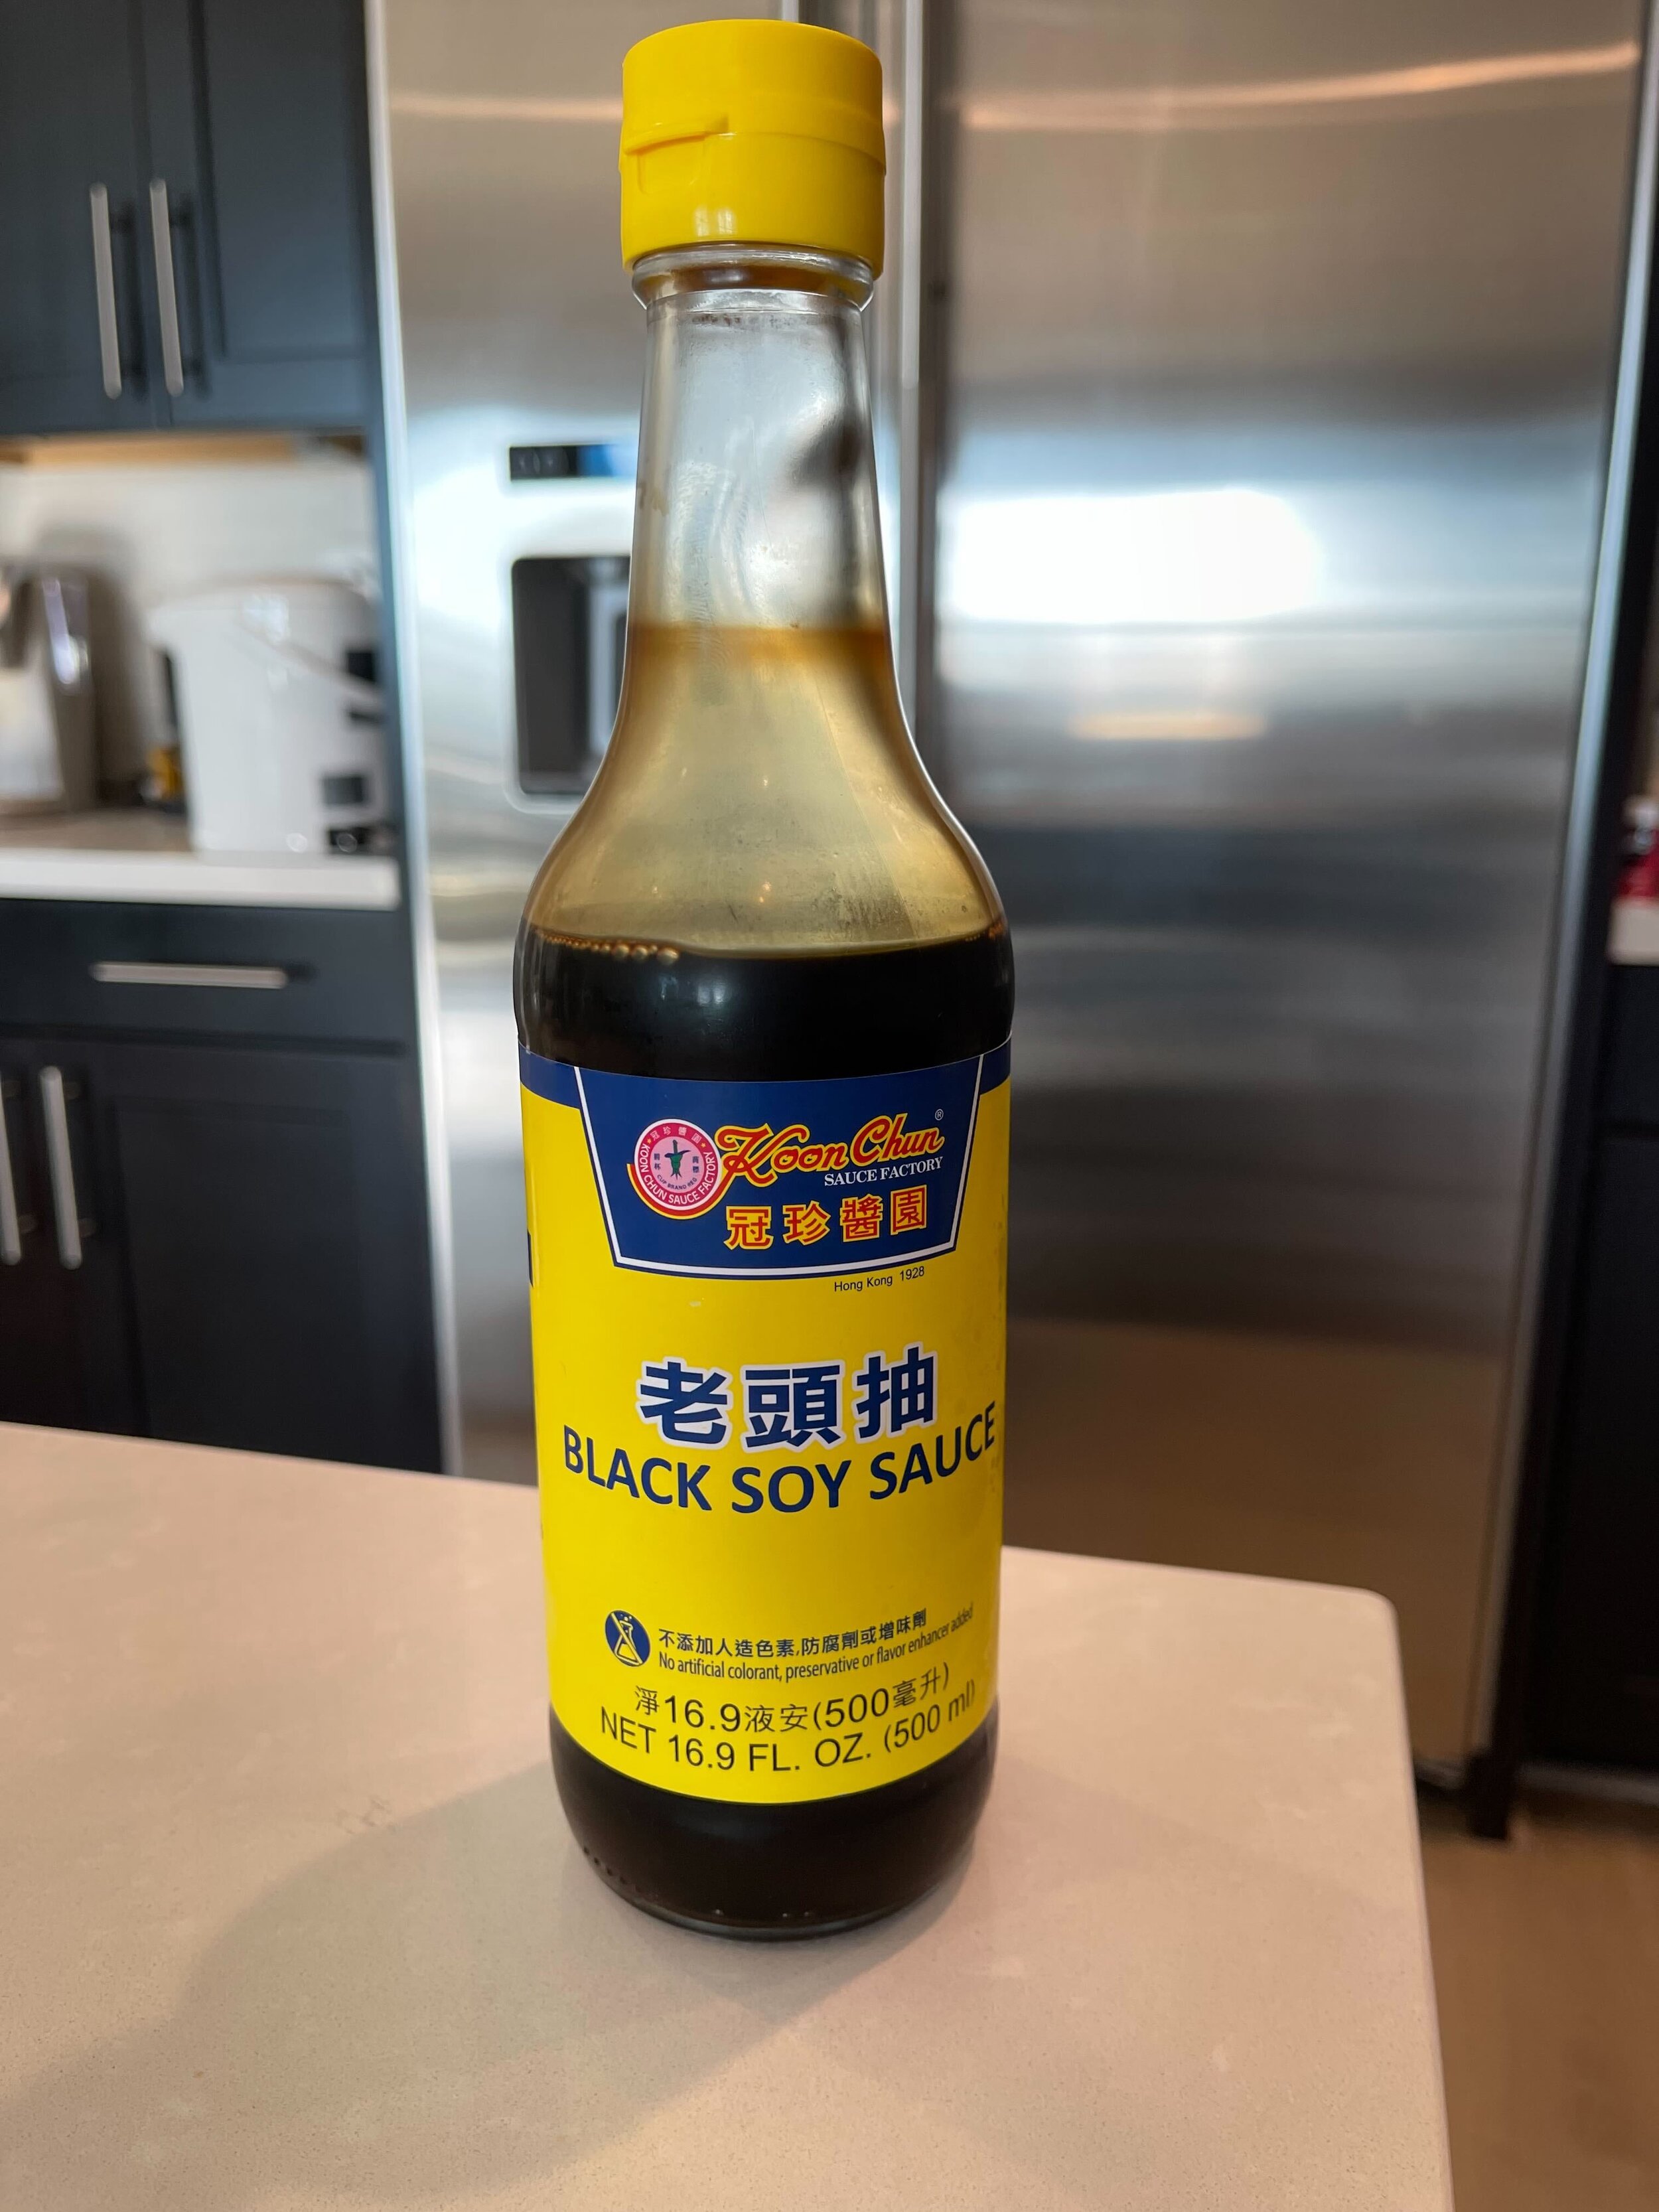
  • 1/2 cup black soy sauce

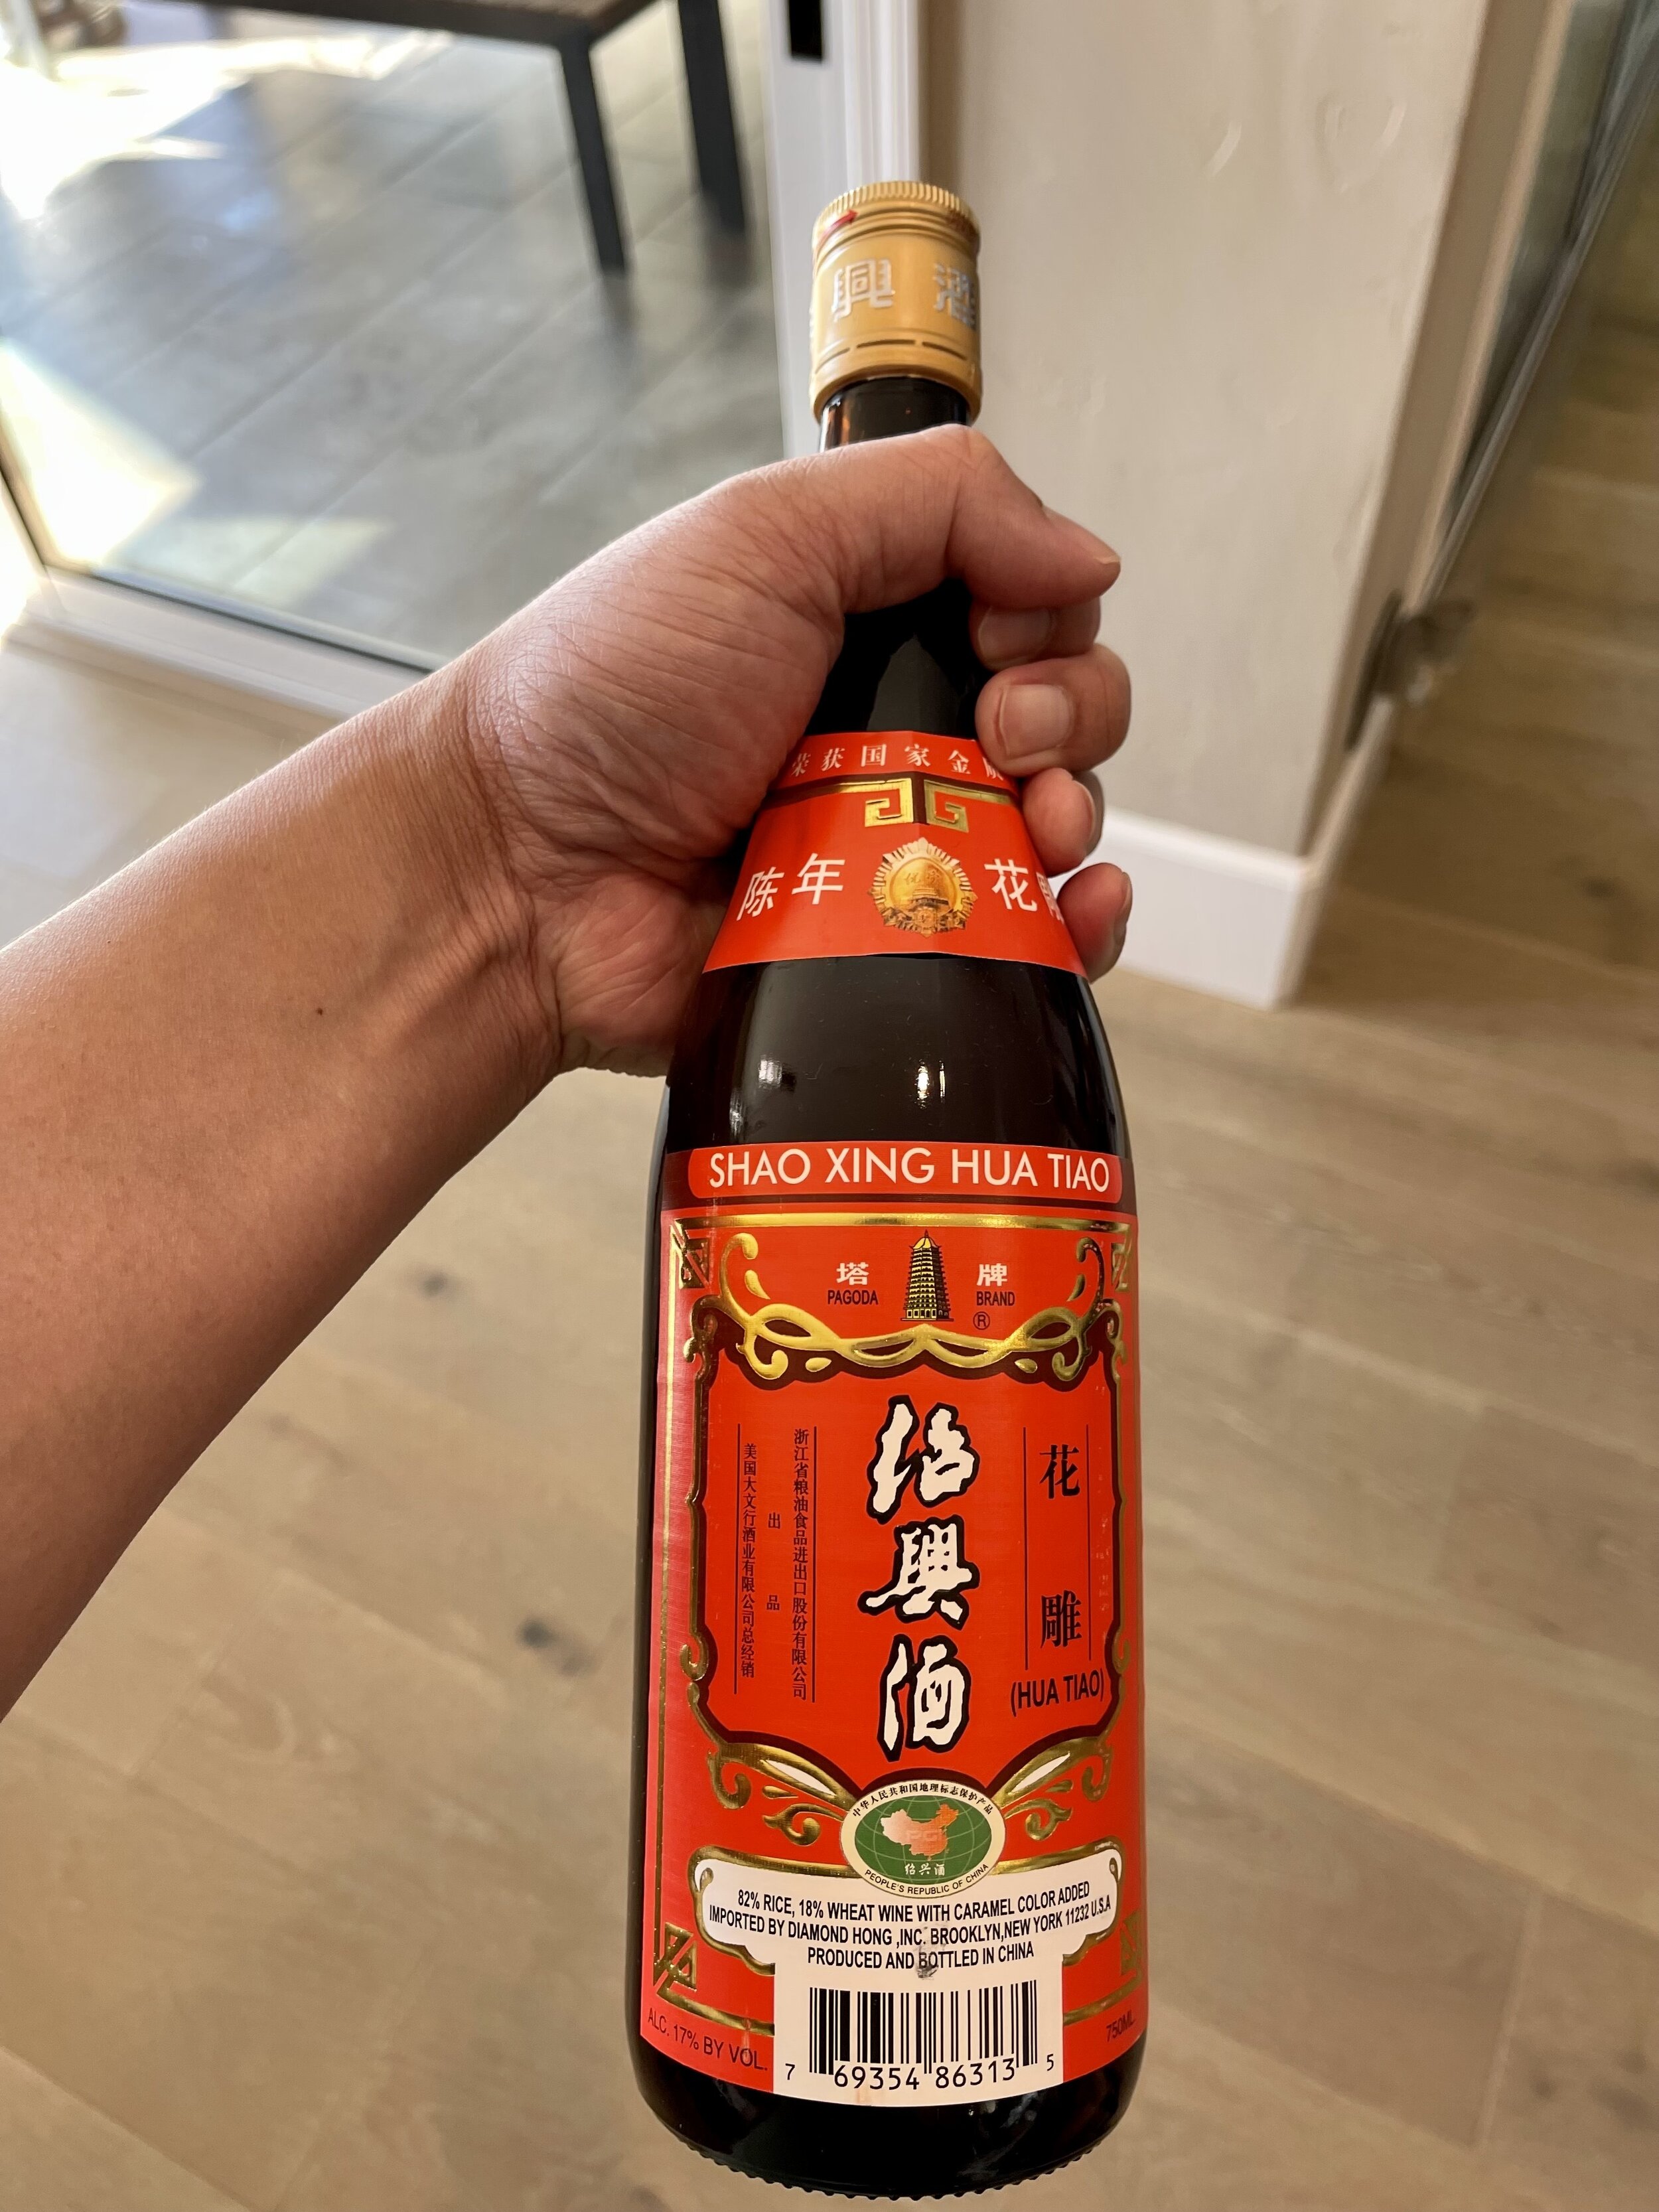
  • 1/2 cup shao xing wine

  • 1/2 tbs minced ginger

  • 1/2 tbs minced garlic

  • 2 tsp sugar

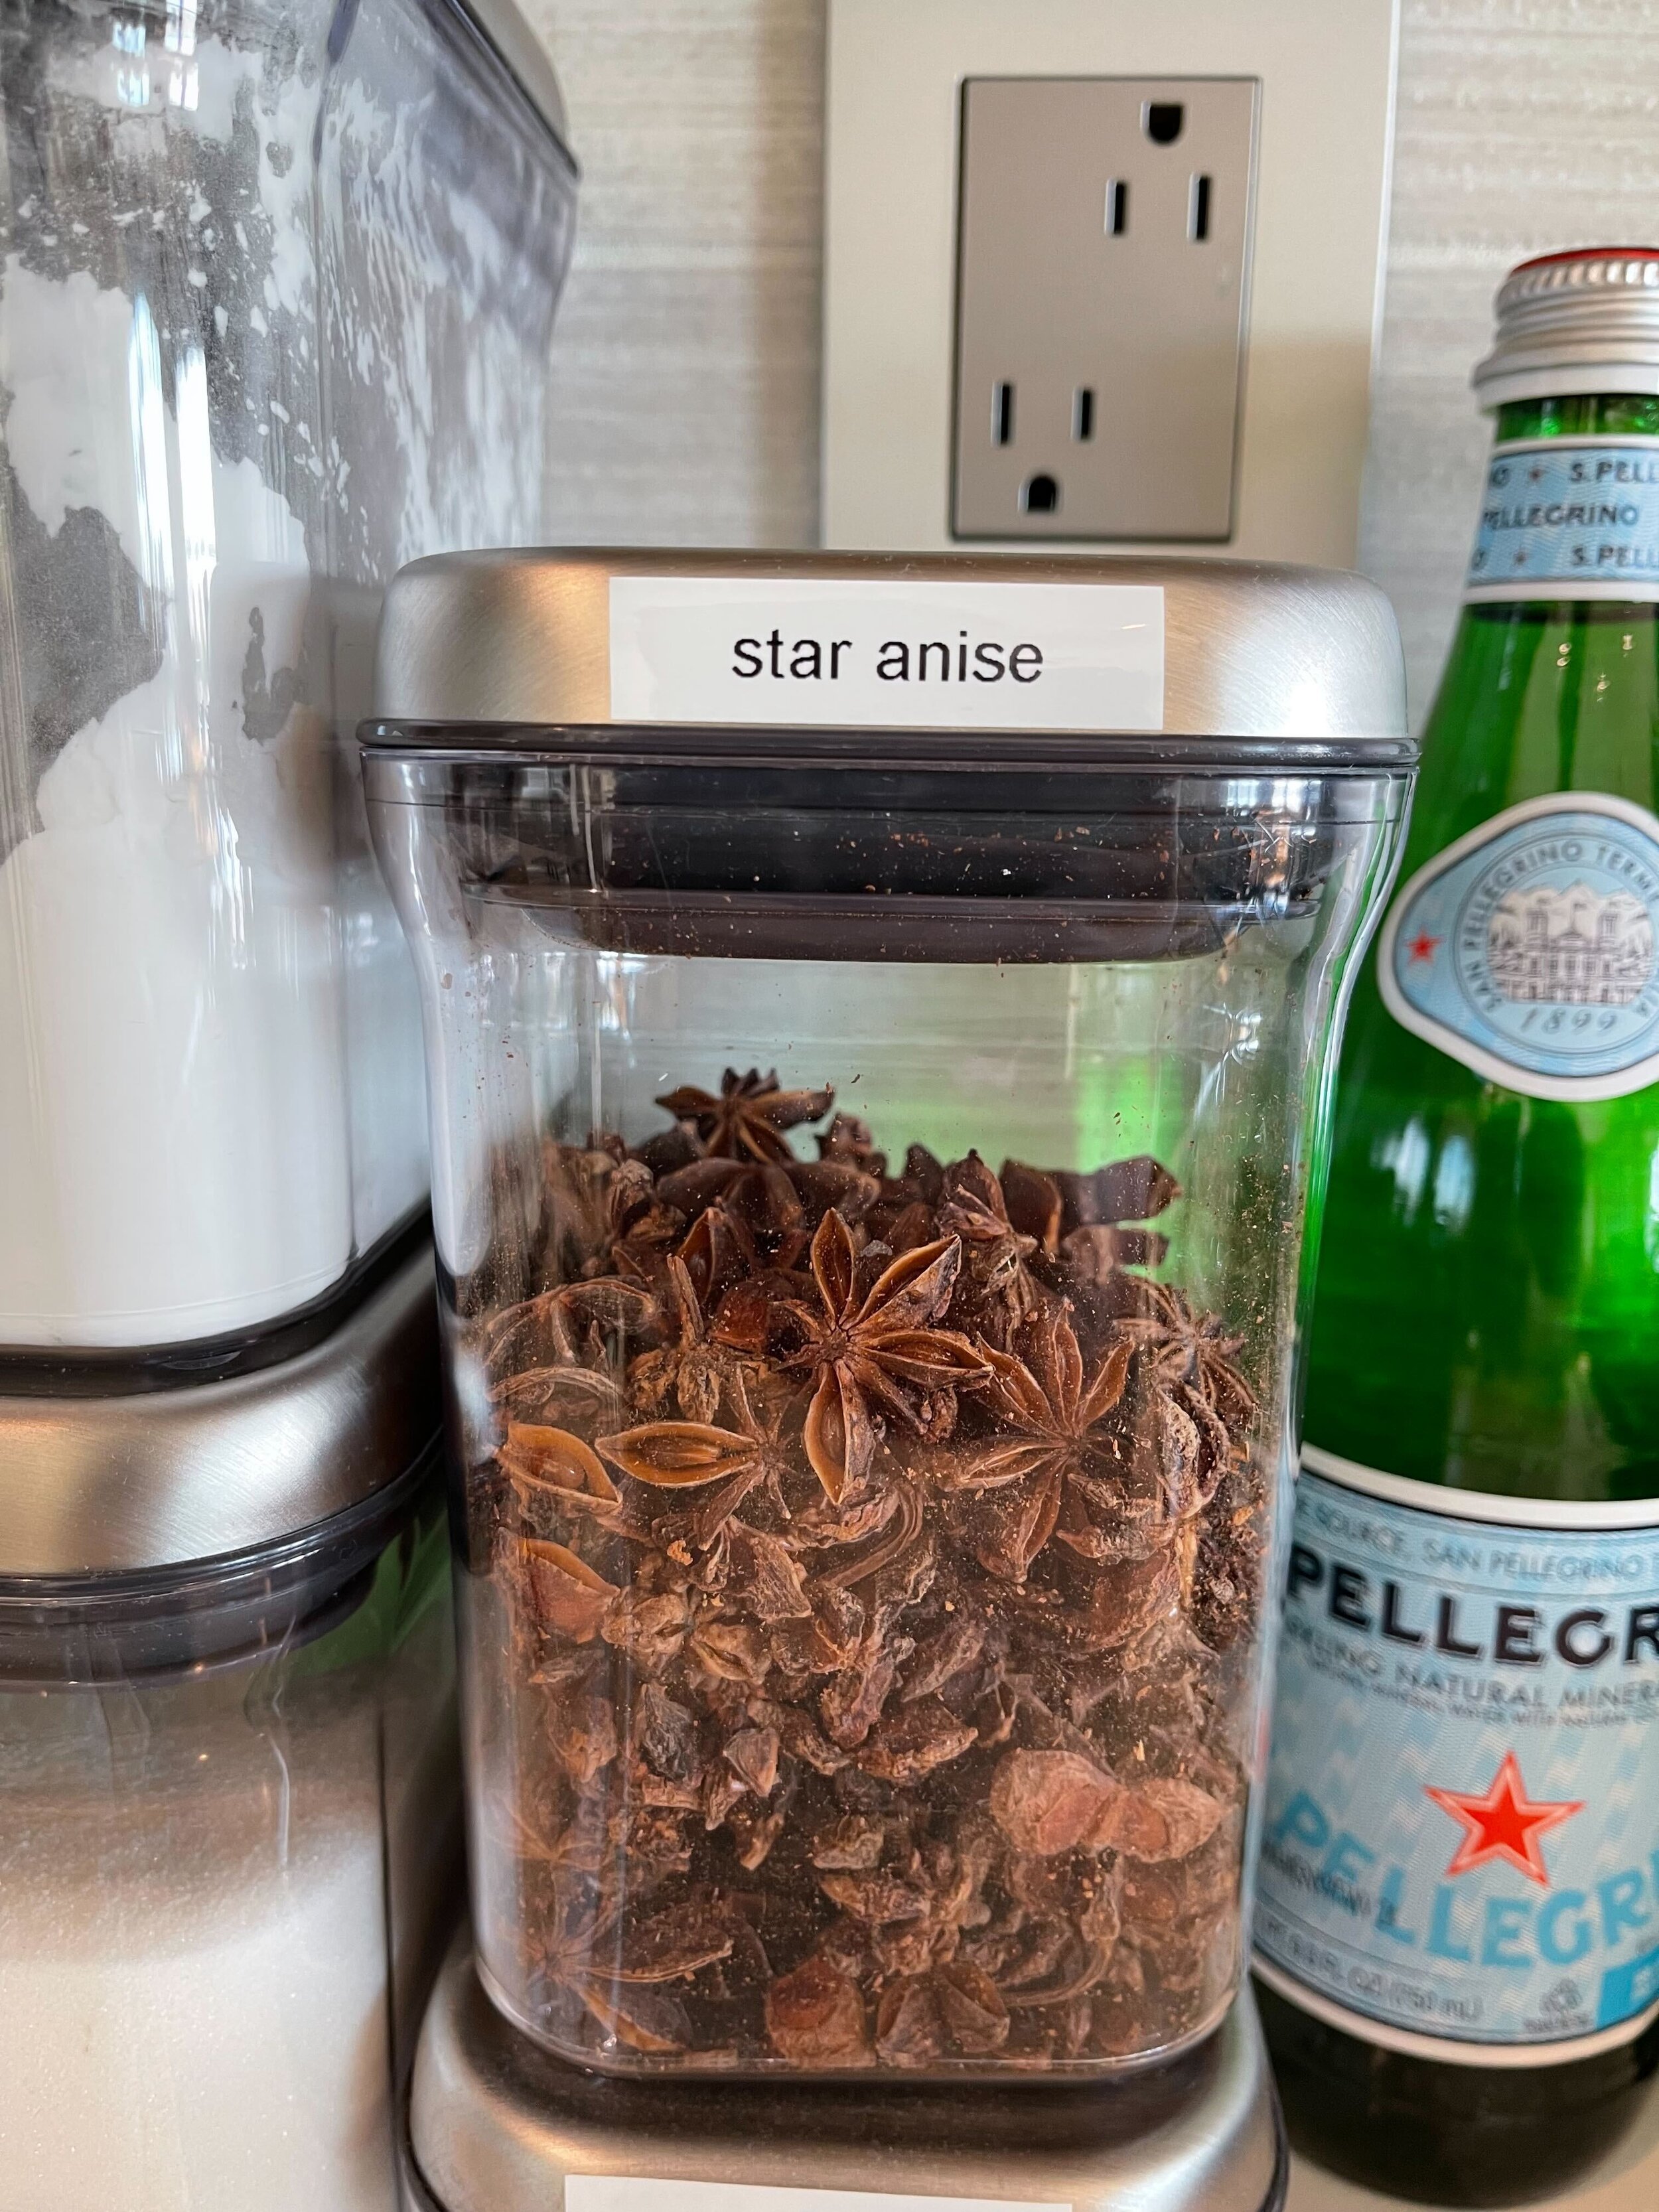
  • 8 pieces star anise


  • green onions for garnish (optional)

  • cilantro for garnish (optional)


INSTRUCTIONS

Step 1

In a small bowl, mix together the black soy sauce, shao xing wine, minced ginger, minced garlic and sugar. Mix until sugar has mostly dissolved.


Step 2

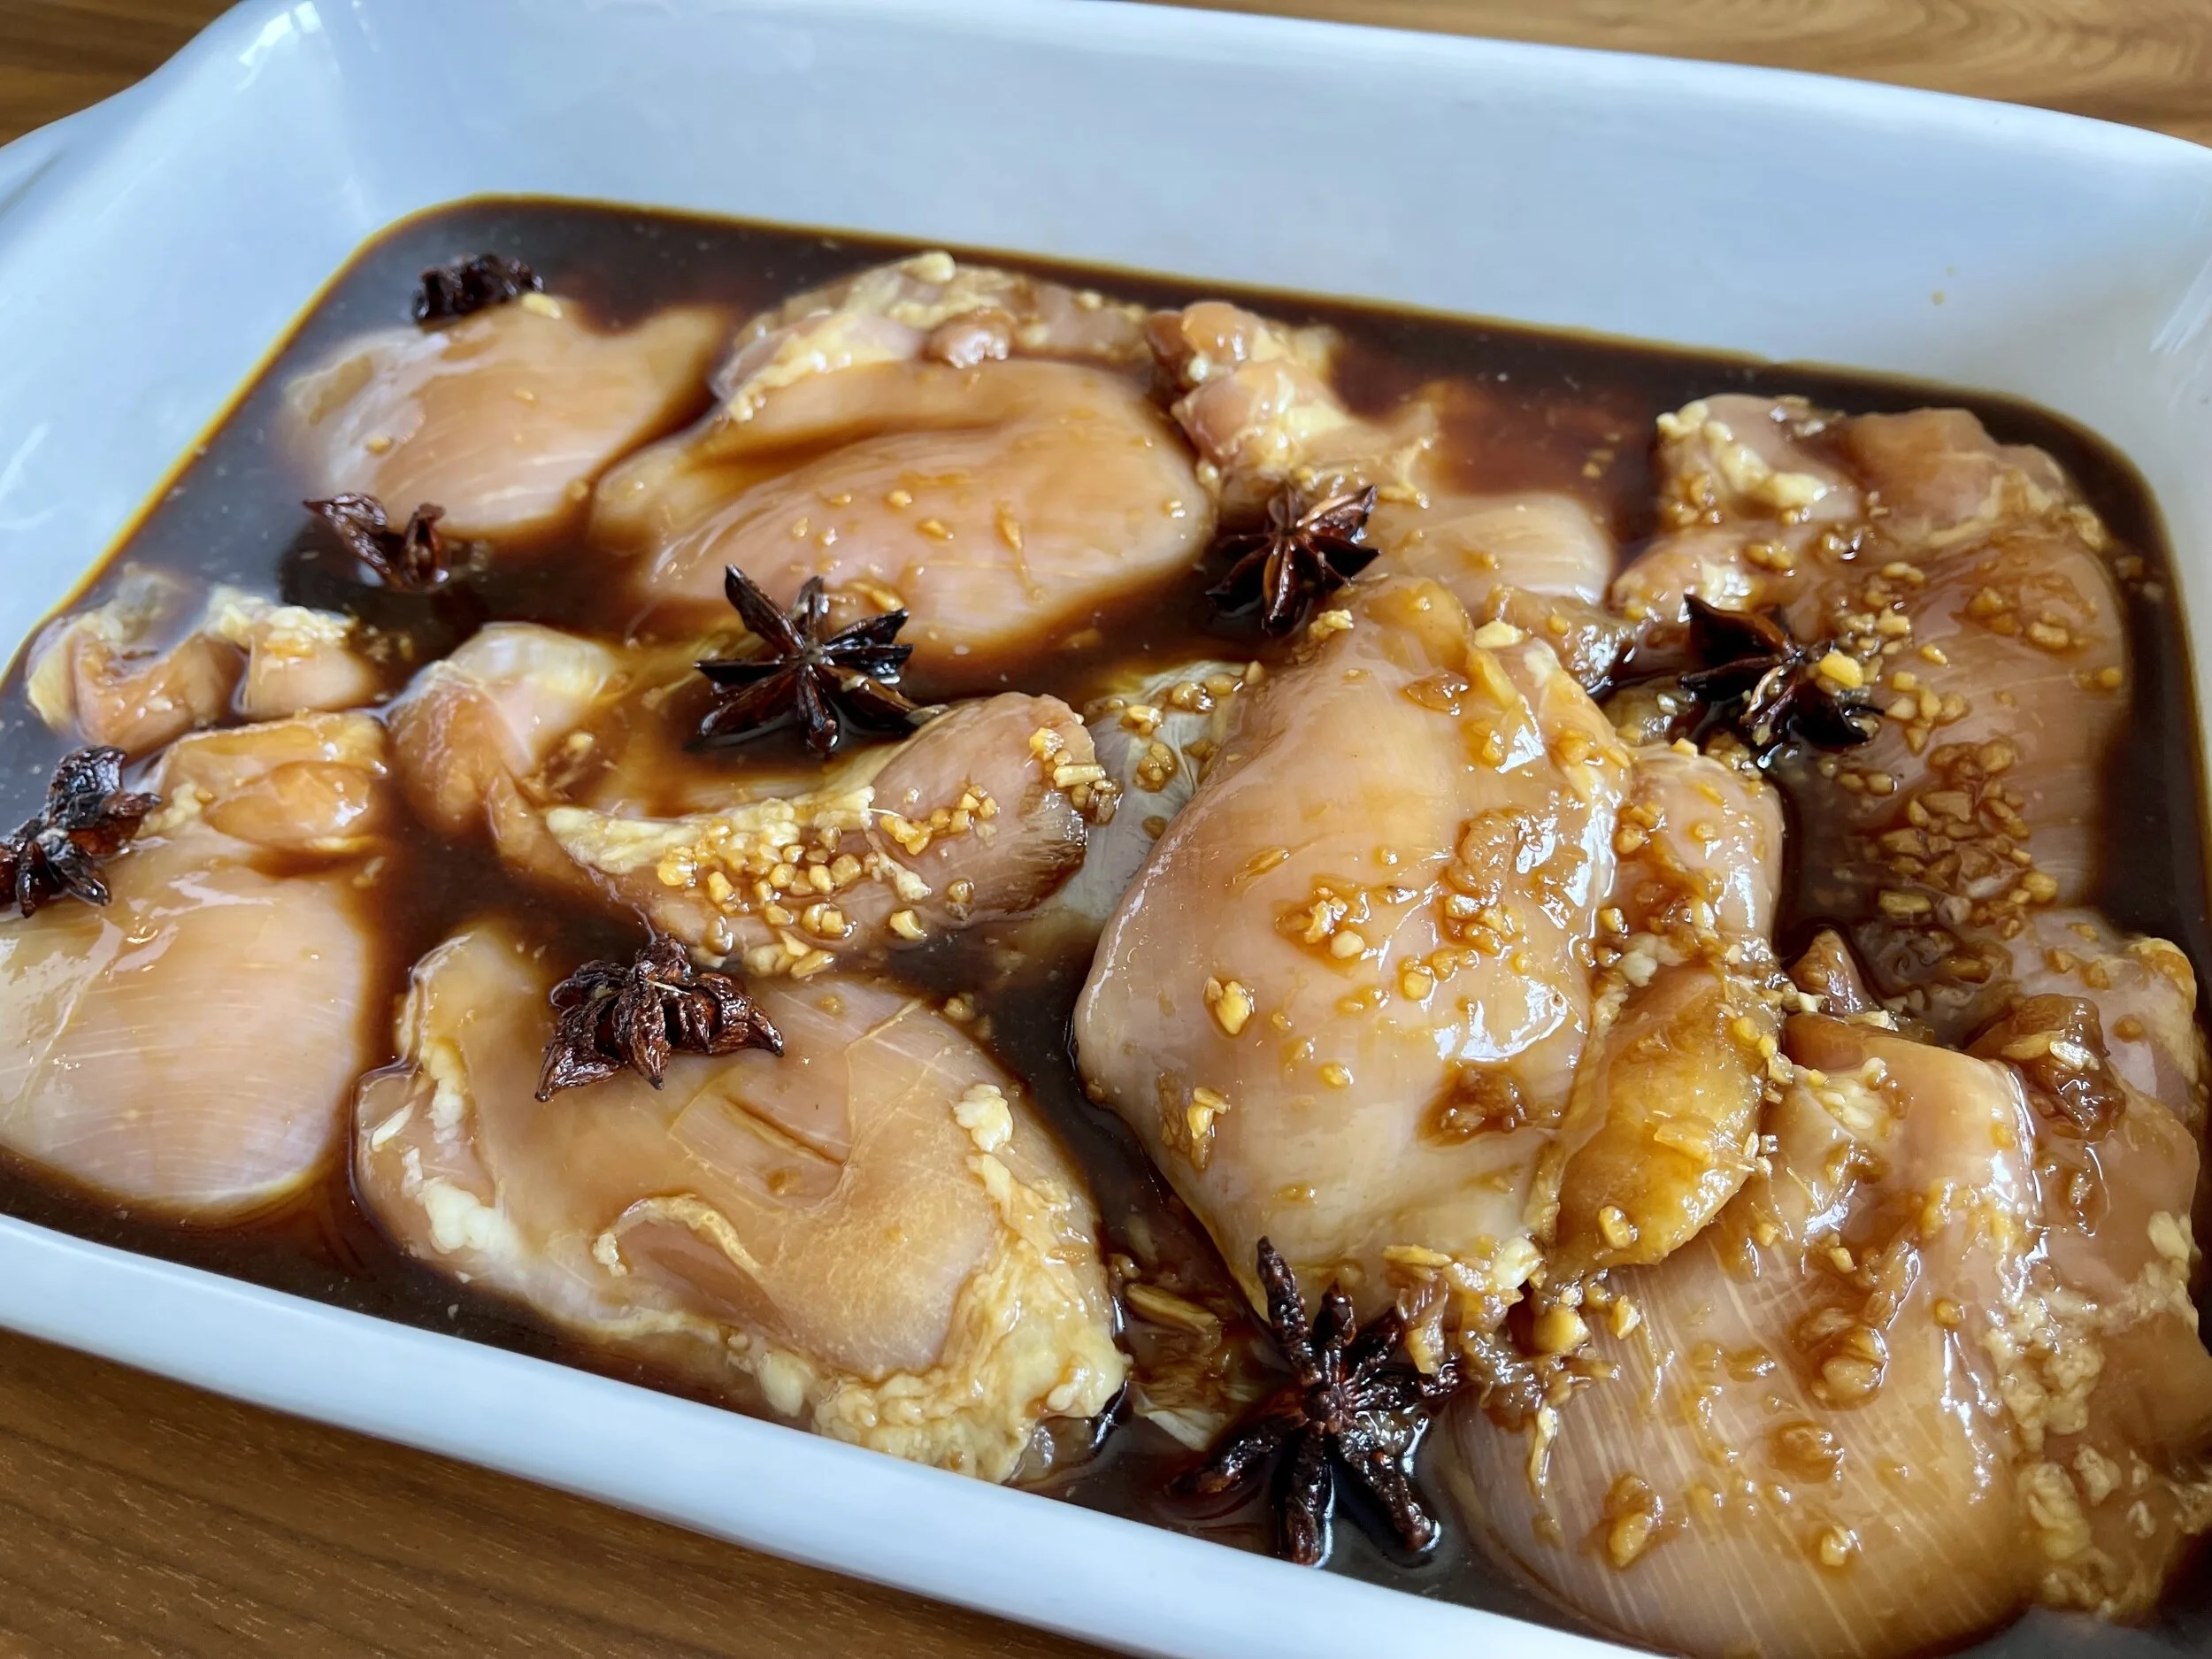
In a large oven-safe pot or baking dish, add chicken wings, marinade and the 8 pieces of star anise. Use your hands to toss wings and make sure everything is coated thoroughly. Arrange wings into one layer, skin side up, as much as possible. Let marinate for 20 minutes. Then flip wings skin side down and marinate for another 10 minutes.

Wings skin side down

Step 3

Bake wings skin side down at 350 degrees F for 40 minutes or until chicken is cooked through. Baking wings skin side down ensures the skin will absorb all of the marinade and develop a nice brown color.

Also, distribute star anise pieces under chicken wings so they can flavor the chicken evenly.


Step 4

When wings are done cooking, transfer them to a shallow bowl or a plate with a lip and pour remaining juice all over the wings.  

If desired, garnish with green onions and cilantro.

Serve and enjoy!


Watch Video


Hong Kong Style Salt & Pepper Chicken Wings

Crispy, delicious, a party favorite!

INGREDIENTS

16-20 party chicken wings

Seasoning

  • ½ tsp salt

  • ½ tsp black pepper

  • ½ tsp sugar

  • 1 tsp five spice seasoning

  • ½ tsp garlic powder

  • ¼  tsp msg (optional)


Coating

  • ¼ cup corn starch

  • 1 tsp black pepper

  • ¼ tsp salt


Garnish

  • 2 stalks green onion (chopped)

  • 1 jalapeño (½ sliced, ½ chopped)

  • ½ tsp black pepper

  • ¼ tsp salt

  • ¼ tsp msg (optional)

INSTRUCTIONS

Step 1

Fill a deep pot ½ way with vegetable oil. Bring to 350 degrees F over medium heat.

Step 2

While oil is heating, mix together the seasonings and season all sides of chicken.

Step 3

In a shallow bowl, mix together the ingredients for the coating.

Step 4

Chop green onions. Then roughly chop ½ of the jalapeño. Do whole slices of the other ½ of the jalapeño for a variety of texture.

Step 5

When oil is at 350 degrees F, lightly coat seasoned chicken with the cornstarch mixture. Don’t let the chicken sit for too long or the moisture from the chicken will absorb the cornstarch and it won’t be as crispy. Drop chicken into hot oil and cook for 7 minutes or until chicken is cooked through. Work in batches depending on how many wings you have so you do not overcrowd the pot.

Step 6

Remove from oil and immediately toss with green onions and jalapeños. Toss with more salt, pepper and msg to your own taste.

Serve and enjoy!


Watch Video


Extra Crispy Southern Fried Chicken

Crispy, juicy, flavorful!

INGREDIENTS

Serves 4

  • 4 chicken legs

  • 4 bone-in chicken thighs

  • 3 eggs

  • 1 cup Crystal hot sauce

  • 1 cup self rising flour

  • 1 cup cornstarch

  • granulated garlic

  • onion powder

  • kosher salt

  • black pepper

INSTRUCTIONS

Step 1

Prepare the chicken by removing excess fat and skin. Then season all sides evenly with kosher salt, black pepper, granulated garlic and onion powder.

Step 2

In a large bowl, prepare the marinade by beating the eggs and then mixing in 1 cup of Crystal hot sauce. Then add all of the chicken to the bowl so that all pieces are mostly covered. Marinate for at least 3 hours. If you’re in a pinch, 30 minutes will do.

Step 3

Heat a deep pot filled halfway with peanut or canola oil to 350 degrees F. Do not fill pot more than halfway. I recommend using a thermometer to check the oil temperature. While oil is heating, whisk together the flour and cornstarch in another large bowl. 

When the oil is 350 degrees F, remove each chicken leg from the marinade and dredge straight into the flour and cornstarch mixture until well coated. You don’t want to overcrowd the pot so I recommend frying legs first, then the thighs. Rather than dredging all legs and thighs at once, I recommend dredging each batch of chicken right before you fry it so that the flour doesn’t have time to absorb too much moisture from the chicken.

Once dredged, tap off excess flour and place legs into the preheated oil and fry until golden brown and cooked through. This should take about 13-15 minutes. Chicken is cooked through at an internal temperature of 165 degrees F. I recommend using a meat thermometer to check if chicken is done by inserting it into the thickest part of the meat not touching the bone. If you don’t have a meat thermometer, you will need to cut into a piece of chicken down to the bone to see if it is cooked through. Repeat the same process with the remaining 4 thighs.

I recommend resting chicken on a wire rack over paper towels for the most crisp result.

Serve and enjoy!


Watch Video


Baked Chicken Katsu

Crispy, tender, delicious!

INGREDIENTS

Serves 4

  • 4 boneless skinless chicken breasts

  • 2 beaten eggs

  • 4 tbs flour

  • 1 1/2 cup panko

  • kosher salt

  • black pepper

  • olive oil

  • Tonkatsu sauce

INSTRUCTIONS

Step 1

Preheat oven to 350 degrees F. Prepare a baking sheet by lining it with foil.

Step 2

Preheat a frying pan/skillet over medium heat for 2 1/2 minutes. Add 2 tbs of olive oil to the pan and move pan around to coat the bottom. Add panko and toast until light golden brown. Keep the panko moving in the pan so that it toasts evenly. Keep an eye on it and do not walk away so it does not burn. Transfer toasted panko into a shallow dish and allow to cool.

Step 3

Use a meat mallet or rolling pin to tenderize and flatten each chicken breast to create an even layer of meat so that it cooks evenly. Once flattened, the breast should be about 3/4 inch thick. Do not over tenderize. Sprinkle both sides with kosher salt and black pepper.


Step 4

Next, put eggs, flour and toasted panko into 3 separate shallow bowls. Then place each breast top-side down into the flour, then the egg, then the toasted panko, pressing gently to make sure the bread crumbs adhere. Then, place the breast panko-side up on a foil lined baking sheet.

Step 5

Bake the chicken for 30 minutes or until cooked through.

Remove chicken from oven and serve with Tonkatsu sauce.


Easy Boneless Soy Sauce Chicken Thighs

EASY, TENDER, DELICIOUS

INGREDIENTS

Makes 4 servings

  • 8 boneless skinless chicken thighs

  • 1/2 cup black soy sauce

  • 1/2 cup shao xing wine

  • 1/2 tbs minced ginger

  • 1/2 tbs minced garlic

  • 2 tsp sugar

  • 16 star anise

  • green onions and cilantro for garnish (optional)

INSTRUCTIONS

Step 1

In a bowl large enough to fit all 8 chicken thighs, mix together the soy sauce, wine, ginger, garlic and sugar. Mix until the sugar is dissolved as much as possible. Add star anise to the bowl and stir to coat all of the pieces.

Add chicken thighs to the marinade and let marinate for 30 minutes. Don’t marinate for more than an hour or chicken may become too salty. Depending on your bowl, the chicken may not be completely submerged in the marinade. If that is the case, you may want to flip the chicken pieces after 15 minutes so they are evenly marinated.


Step 2

Transfer chicken and all of the marinade to a 13x9 baking dish. Arrange star anise pieces so that there is 1 piece under each thigh. Then arrange the remaining 8 pieces in between and on top of the chicken.

IMG_9787.jpg

Step 3

Bake at 350 degrees F for 35 minutes or until chicken is cooked through. If using bone-in thighs, cook for 40 minutes or until cooked through.

Slice the chicken and place on a plate. Pour remaining juice from the baking dish all over the chicken and garnish with green onions and cilantro.

I also like to serve this with steamed white rice and pour some of the sauce over the rice for extra flavor.

Enjoy!


Watch Video


Crispy Rosemary Chicken Breasts with White BBQ Sauce

Blog Image - Crispy Rosemary Chicken.png

CRISPY, TENDER, DELICIOUS

INGREDIENTS

Makes 4 servings

CRISPY ROSEMARY CHICKEN

  • 4 boneless skinless chicken breasts

  • 4 fresh rosemary sprigs

  • 1 tbs minced fresh rosemary leaves

  • zest from 1 lemon

  • dijon mustard (grey poupon preferred)

  • 1 cup panko

  • kosher salt

  • black pepper

  • ghee or olive oil

WHITE BBQ SAUCE

  • 1 cup mayo

  • 2 tbs apple cider vinegar 

  • (or red wine vinegar)

  • 3/4 tsp black pepper

  • 3/4 tsp granulated garlic

  • 3/4 tsp granulated sugar

  • 1/2 tsp kosher salt

  • 1/8 tsp or a pinch cayenne pepper

  • juice from 1 lemon

INSTRUCTIONS

Step 1

Preheat oven to 350 degrees F. Prepare a baking sheet by lining it with foil. Then arrange rosemary sprigs on the pan spaced out so that each chicken breast can sit on its own rosemary sprig. The rosemary will perfume the chicken as it bakes in the oven.

Step 2

In a bowl, gently mix together panko, minced rosemary, lemon zest, 1 tsp kosher salt and 1/2 tsp of black pepper.

Preheat a frying pan/skillet over medium heat for 2 1/2 minutes. Add 1 tbs of ghee or olive oil to the pan and move pan around to coat the bottom. Add panko mixture and toast until light golden brown. Keep the panko moving in the pan so that it toasts evenly. Keep an eye on it and do not walk away so it does not burn. Transfer toasted panko into a shallow dish and allow to cool.

Step 3

Use a meat mallet or rolling pin to tenderize and flatten each chicken breast to create an even layer of meat so that it cooks evenly. Once flattened, the breast should be about 3/4 inch thick. Do not to flatten the meat completely. Do not over tenderize. Sprinkle both sides with kosher salt and black pepper. Sprinkle both sides with kosher salt and black pepper.

Step 4

Next, rub enough dijon mustard all over the chicken to create a light even coating (about 2 tbs). The mustard will both add flavor and help the panko adhere to the chicken. Place each breast top-side down into the toasted panko, pressing gently to make sure the bread crumbs adhere. Then, place the breast panko-side up on a foil lined baking sheet (if there are spots on the chicken missing the panko, scoop a little bit of the panko mixture onto it and use the back of the spoon to press on it so that it adheres).

Bake the chicken for 30 minutes or until cooked through.

While the chicken is baking, make the white bbq sauce by mixing all listed ingredients together in a bowl with a whisk until fully incorporated.

Remove chicken from oven and serve with white bbq sauce.


Watch Video


Lemon Quinoa Salad with Roasted Shrimp

Blog Image - Lemon Quinoa with Roasted Shrimp.png

Healthy and Delicious!

INGREDIENTS

Serves 4

QUINOA

  • 2 cups uncooked quinoa

DRESSING

  • zest and juice from 3 lemons

  • 2/3 cup shaved parmesan cheese

  • 1/2 cup extra-virgin olive oil

  • 2 tsp kosher salt

  • 1 tsp black pepper

  • 2 cups arugula

  • 2 tbs capers, drained

ROASTED SHRIMP

  • 20 large shrimp, peeled and deveined (16-20 count)

  • garlic powder

  • smoked paprika

  • kosher salt

  • black pepper

  • extra-virgin olive oil

INSTRUCTIONS

*This dish can be served warm OR chilled. I prefer chilled but my fiancé prefers warm so we just decide based on the situation that day. For warm, just skip the refrigeration for step 1 and 3*

Step 1: Prep Quinoa

Cook quinoa according to package instructions. Refrigerate until cooled completely.

Step 2: Mix Dressing and Quinoa

Place cooled quinoa in a large mixing bowl. Add arugula, lemon zest, lemon juice, capers, cheese, olive oil, 2 tsp salt and 1 tsp pepper. Toss everything together. Adjust salt, pepper and amount of cheese to your own taste.

[If concerned about salt level, try 1 1/2 tsp salt first and add from there]

Step 3: Roast Shrimp

Preheat oven to 400 degrees F. Place shrimp in 1 layer on a foil lined sheet pan. Sprinkle with one light layer of garlic powder, paprika, salt and pepper. Drizzle with olive oil. Use your hands to toss and mix everything so the shrimp is coated on all sides with seasoning and oil. Roast in oven for 8-10 minutes, just until pink and firm and cooked through (I do 8 minutes). Refrigerate until ready to serve.

When ready to serve, plate quinoa first and arrange shrimp on top.

[Note: This can also be served as a warm dish. Just skip the refrigeration for step 1 and 3]


Watch Video


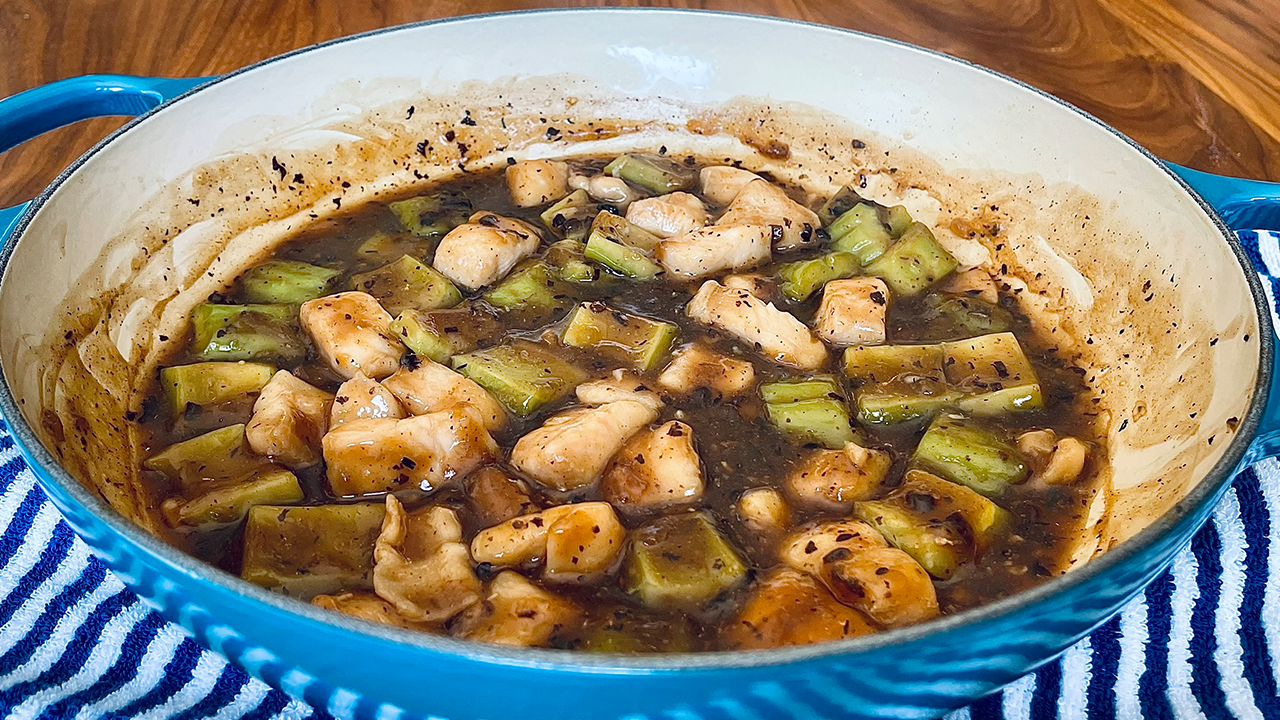
Bitter Melon with Fish and Black Bean Sauce

Blog Image - Bitter Melon with Fish.png

Simple Comfort Food

INGREDIENTS

Serves 2-4

  • 1 large bitter melon

  • 2 tbs chinese salted black beans

  • 2 cups chicken broth

  • 2 Basa Swai fish fillets (Basa Swai, Tilapia, Catfish will work)

  • 4 tbs corn starch mixed with 1/4 cup chicken broth or water

    (to thicken sauce)

  • Serve with steamed white rice

INSTRUCTIONS

Step 1: Prep Fish

Roughly slice fish fillets into 1 inch pieces. Set aside.

Step 2: Prep Bitter Melon

Cut off each end and slice melon in half lengthwise. Use a spoon to remove seeds and pith. Roughly slice melon into 1 inch pieces at an angle (watch youtube video for reference). Cutting the melon this way creates a nice mouth feel and carries the black bean sauce nicely.

Step 3: Make Black Bean Sauce

In a small bowl, stir together corn starch and 1/4 cup of chicken broth or water until fully incorporated and set aside (this will be added later to thicken the sauce). Next, roughly smash black beans in mortar and pestle or roughly smash them with the back of a spoon in a bowl. Then in a sauté pan, bring chicken broth to a boil on high heat. Next add smashed black beans and stir until evenly distributed. Let boil for 30 seconds and continue to step 4.

Step 4: Cook Bitter Melon and Fish

Add bitter melon to the sauté pan which is still at a boil. Lower to medium heat, cover and cook for 1 minute. Next, add sliced fish fillet and evenly distribute into 1 layer. Cover and cook for 2 minutes. Remove cover, stir a bit and cook until melon and fish is cooked through. (Cover helps to steam everything but if you don’t have one it will be ok).

Step 5: Thicken Sauce

Next, you may need to re-stir the corn starch slurry a bit to make sure the corn starch hasn’t settled.

While gently stirring the pan with a silicone spatula or wooden spoon, slowly pour in the slurry a little at a time to thicken the sauce to your desired thickness (after each pour, stir it a bit to incorporate well and gauge how much it thickens).

[Don’t dump slurry in all at once in one spot or you’ll have a clumpy mess]

Be careful not to mangle the fish pieces when you’re stirring the pot.

Serve with steamed white rice and enjoy!


watch the video

Miso Glazed Salmon

Blog Image - Miso Glazed Salmon.png

Quick, easy and delicious!

INGREDIENTS

Makes 2-4 Fillets

  • 1/4 cup brown sugar

  • 2 tbs soy sauce

  • 2 tbs hot water

  • 2 tbs miso paste

  • 2-4 (6oz) salmon fillets (about 1 inch thick)

  • 1/4 cup green onions (thinly sliced or chopped)

INSTRUCTIONS

Step 1: Marinate Salmon

In a large bowl, stir together the brown sugar, soy sauce, hot water and miso paste until thoroughly combined. Place salmon in the bowl and cover fillets with marinade. Cover and let marinate for 30 minutes.

Step 2: Broil Salmon

When placing the salmon on the foil lined baking sheet, be careful not to get marinade all over the pan or it will burn and smoke while broiling. If you drop any marinade, wipe it up clean so only the fish has marinade on it.

Be careful not to get marinade all over the pan or it will burn and smoke while broiling.

Place salmon on a foil lined baking sheet in the center of the oven. It needs to be on the center rack so the marinade does not burn too quickly. The fillets should be coated with the marinade but not have any excess puddling of it on the top of the fish. As the marinade can burn easily, remove any excess puddles of marinade.

It needs to be on the center rack so the marinade does not burn too quickly.

Broil at 500 degrees F for 8 minutes or until cooked through.

Once salmon is done cooking, immediately remove from the oven and transfer fillets to a plate. Garnish with green onions.

Serve with steamed white rice and enjoy!


WATCH THE VIDEO

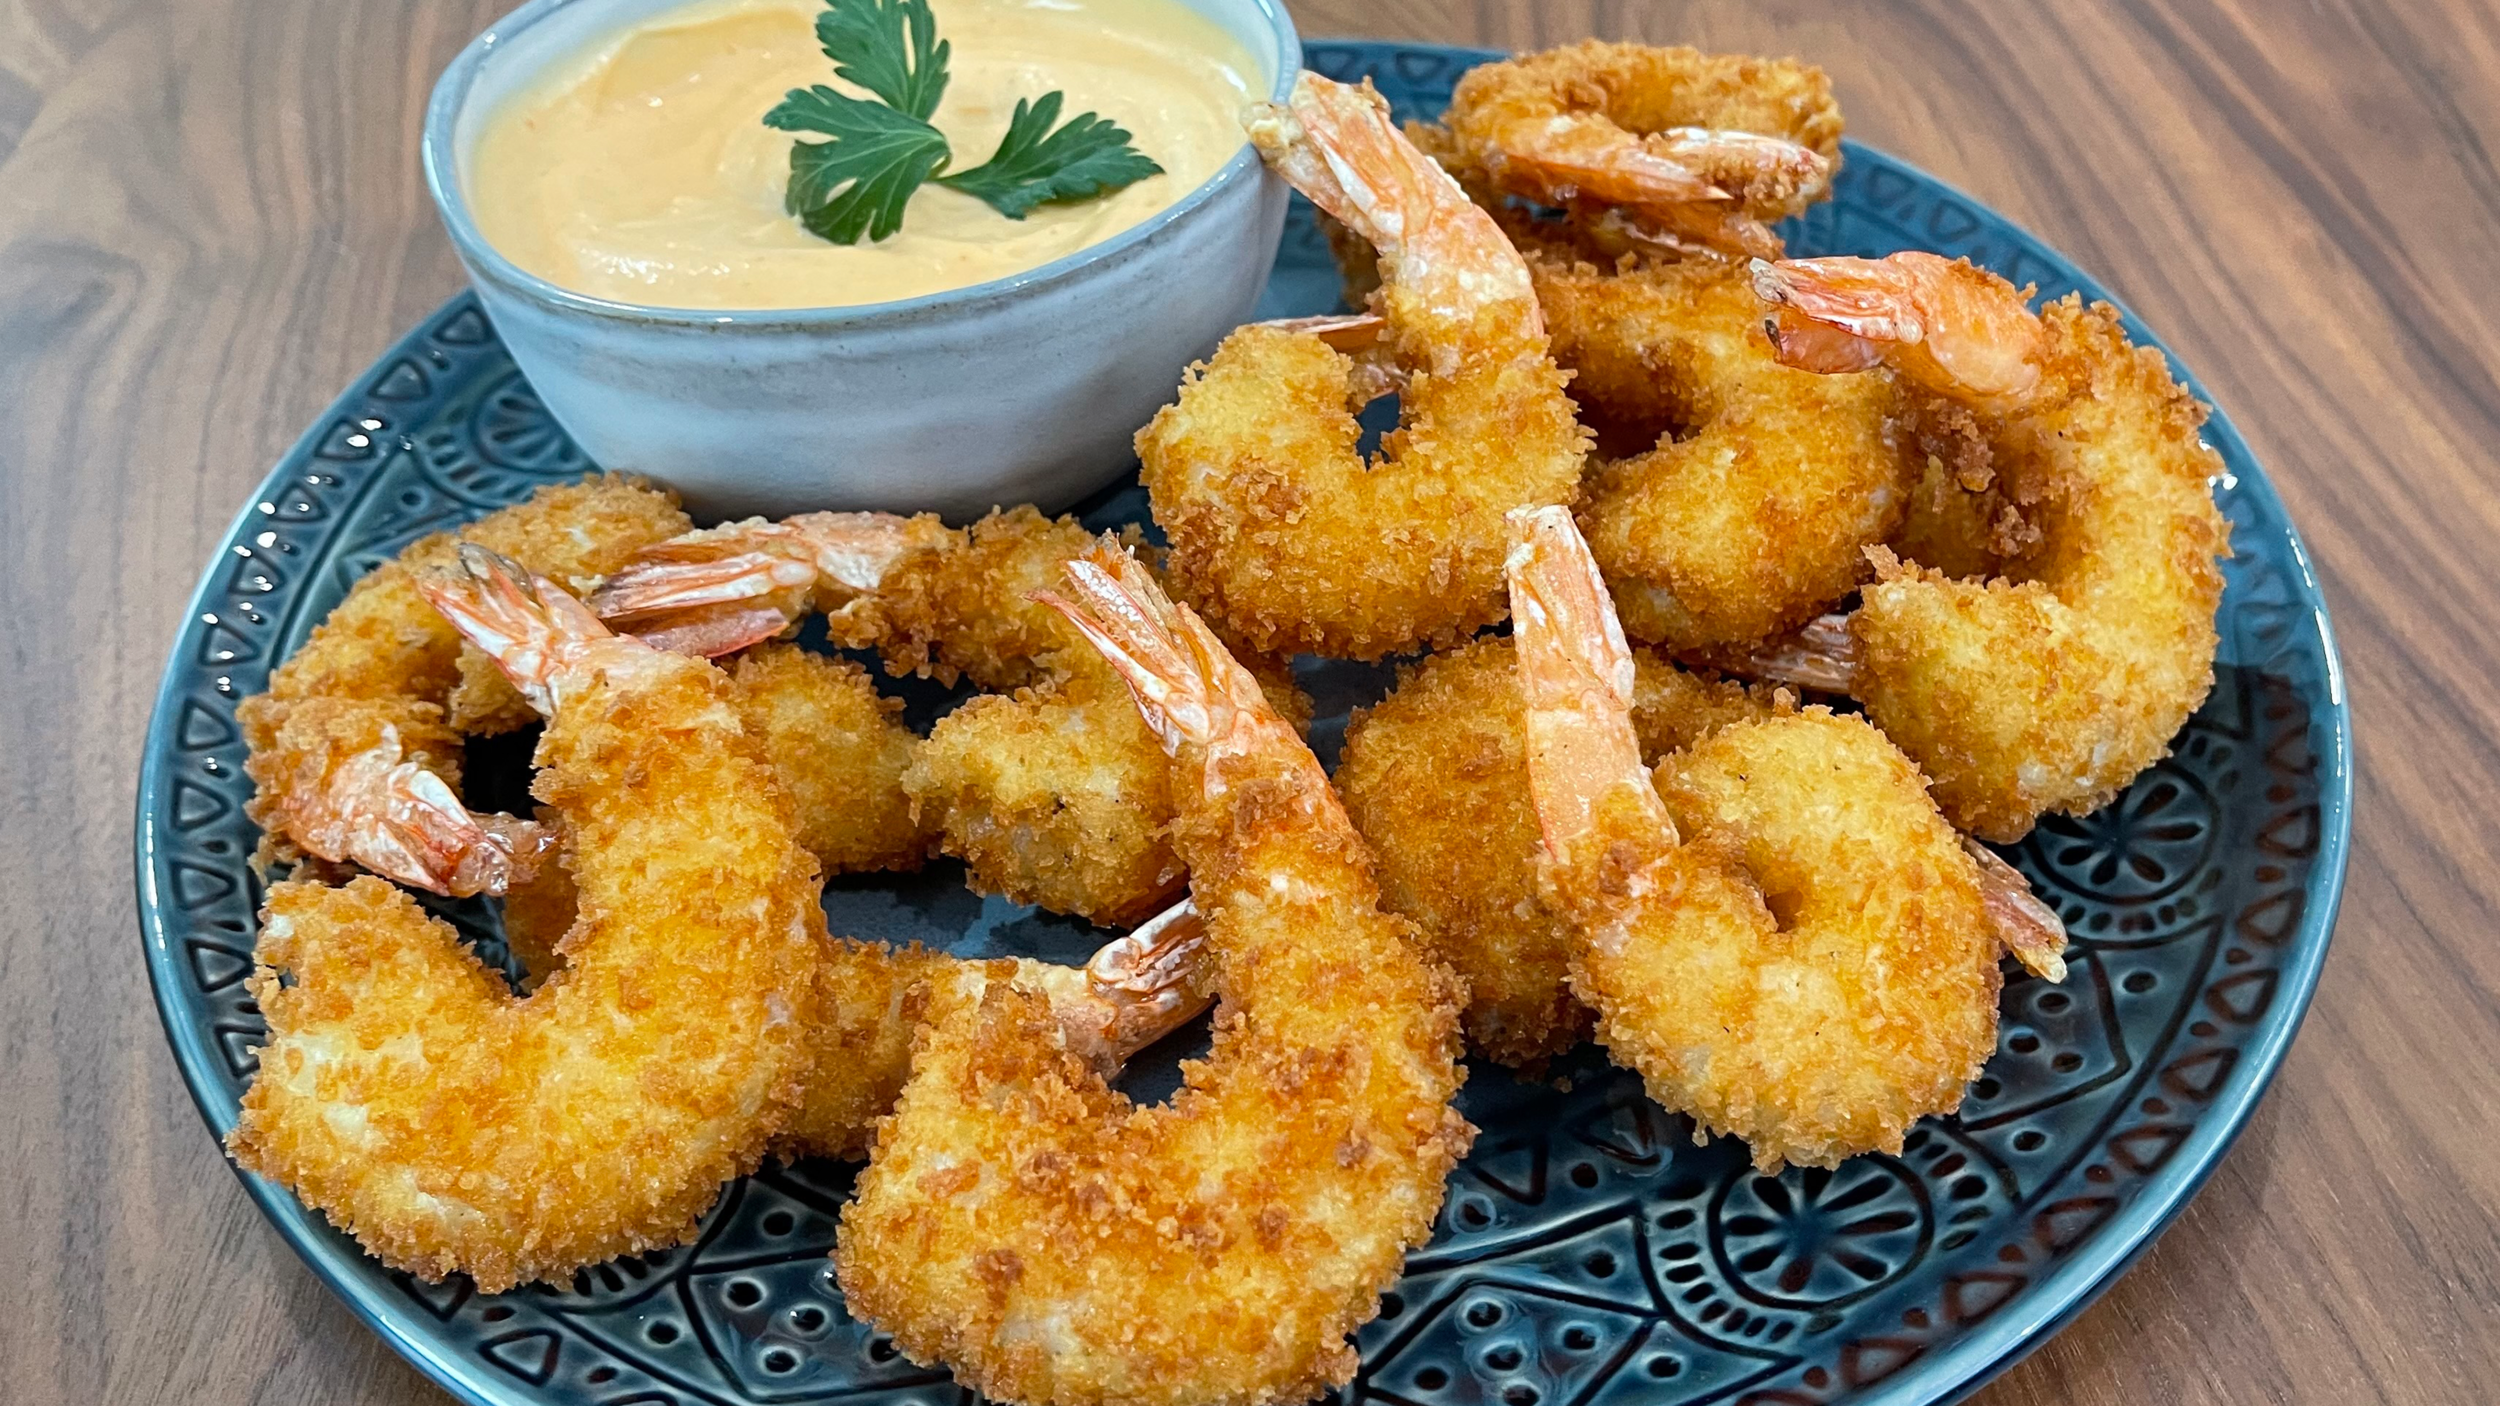
Panko Fried Shrimp with Sriracha Mayo

Blog Image - Panko Fried Shrimp.png

Crispy and Delicious!

INGREDIENTS

Makes 16-20 pieces

Sriracha Mayo

  • Sriracha sauce (amount to taste)

  • 1 cup mayo

  • parsley for garnish (optional)

Fried Shrimp

  • 1/2 cup all-purpose flour

  • 1/2 cup corn starch

  • 2 eggs

  • 1-2 cups Panko breadcrumbs

  • vegetable oil, for deep frying

  • 1 pound large peeled and deveined shrimp (16-20 count)

  • kosher salt

  • black pepper

INSTRUCTIONS

Step 1: Prep Sriracha Mayo

Stir 1 to 3 tbs of Sriracha sauce into the mayo. Adjust to your own taste. Refrigerate until ready to use.

Step 2: Prep the Shrimp

Pat shrimp dry and sprinkle with one light layer of Kosher salt and pepper. Toss shrimp so all the pieces are coated.

Step 3: Coat Shrimp with Panko Breadcrumbs

Thoroughly mix flour and cornstarch in a shallow bowl. Beat eggs in a second bowl. Add Panko to a third bowl. Holding the tail, dredge each shrimp in the flour/cornstarch mixture to coat the whole shrimp except the tail. Then dip whole shrimp including tail into the beaten egg and finally coat with the Panko breadcrumbs. Press Panko on the shrimp to make sure they adhere to the shrimp.

Step 4: Deep fry Shrimp

Fill a medium pot half way with oil and heat to 320-350 degrees. Use a cooking thermometer to check temperature.

Don’t have a thermometer?

Drop a piece of Panko in the oil. If it sizzles and floats to the top, your oil should be ready.

Deep fry 4-5 pieces for about 1 minute or until cooked through. Continue to do them in batches of 4-5 so you don’t overcrowd the pot which will drop the oil temperature. If doing a larger quantity, consider using a larger pot.

Place cooked shrimp on a plate with a paper towel to absorb the excess oil while you cook the rest. If you wish, try a bite and decide if you would like to sprinkle the rest with some Kosher salt.

Serve with Sriracha Mayo and enjoy!


Watch the video


Chicken with Black Bean Sauce

img_chicken_with_black_bean_sauce.jpg

INGREDIENTS

4 Servings

  • 3 regular or large chicken breasts

  • 2 tbs salted black beans from chinese grocery store - example

  • 1/4 cup brandy

  • 2 cups chicken broth (Swanson brand is preferred)

  • 1/4 cup black or dark soy sauce (Do not substitute with regular soy sauce or dish will be bland and have different flavor)

  • 1/4 cup dry sherry wine

  • 5 slices of ginger

  • 3 garlic cloves

  • 1 medium yellow onion

  • 1 yellow bell pepper

  • 1 red bell pepper

  • 1 good size bundle of asparagus

  • cornstarch

  • olive oil

INSTRUCTIONS

Step 1: Prepare the chicken

  1. Smash 3 cloves of garlic with knife

  2. Matchstick the 5 slices of ginger

  3. In a bowl, add smashed garlic, matchstick ginger, brandy, and black soy sauce - set aside

  4. Cut chicken breast into bite size pieces and place pieces in the marinade

  5. Add 1/2 a tbs of cornstarch to the marinade

  6. Mix chicken in marinade well so it is all coated

  7. Marinate the chicken for 30 minutes

Step 2: Prepare salted black beans

IMG_9920.JPG
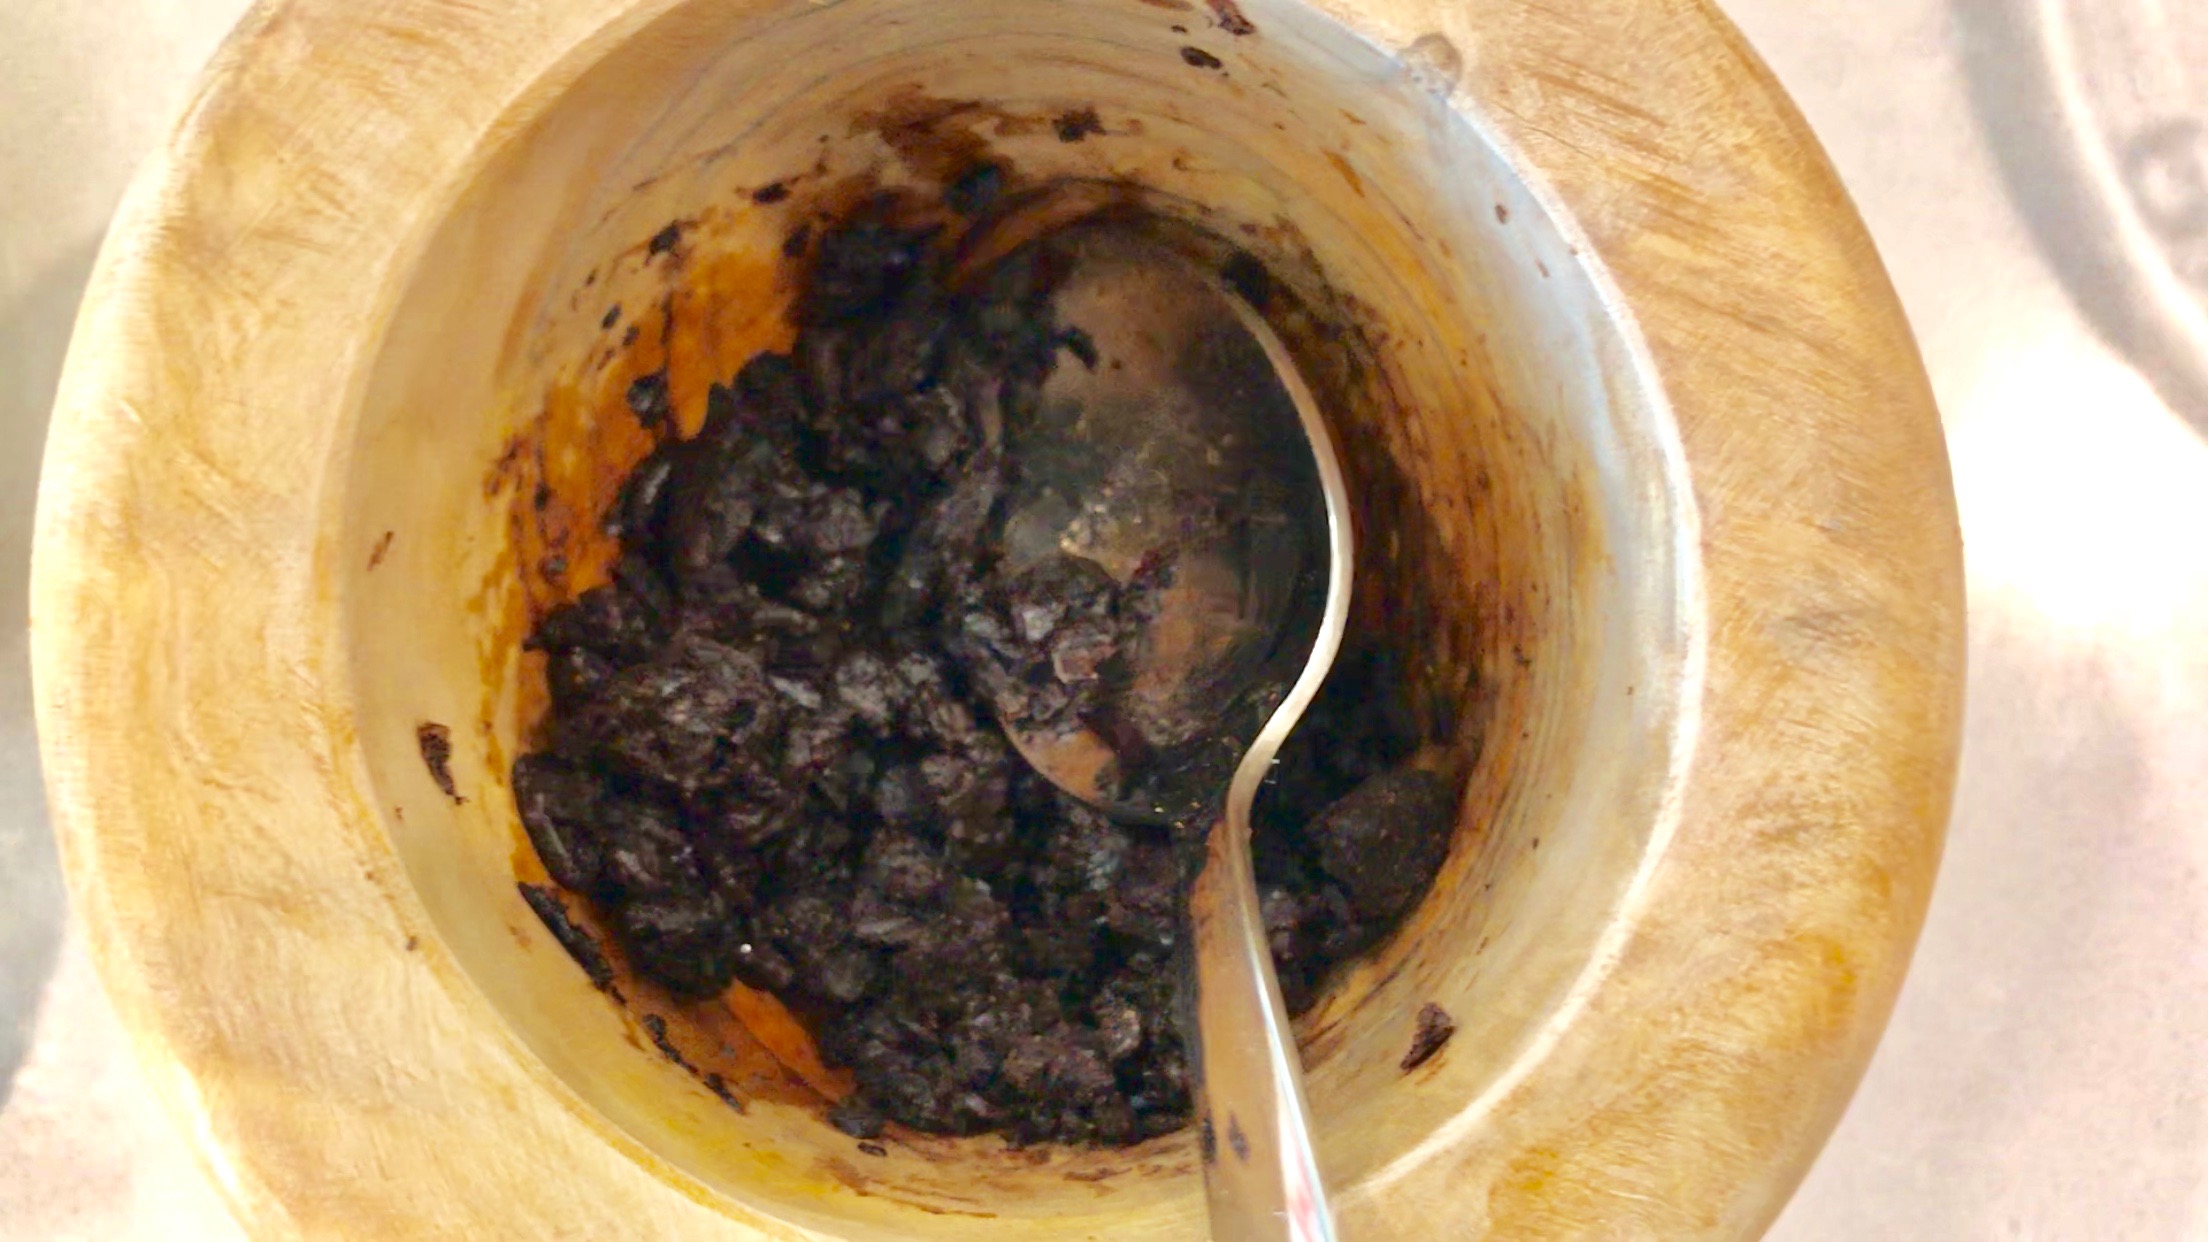
  1. In a small bowl, smash black beans with the back of a spoon into a thick paste or use a mortar and pestle. It is ok if not all the beans are smashed but they should be mostly smashed.

  2. Mix in a dash of black soy sauce and set aside to use later.
     

Step 3: Cut vegetables

  1. Slice bell peppers into 1-2 inch skinny slices

  2. Cut asparagus into bite size pieces about 1-2 inches long (remove tough ends first)

  3. Slice onion into thin pieces about 1 inch wide

Step 4: Make cornstarch mixture

  1. In a small bowl, mix together 4 tbs of cornstarch with 1/4 cup of water

  2. Set aside

Step 5: Cook chicken

  1. Preheat large pan or wok to medium high or high heat depending on your stove (Takes about 2:30-3 minutes). Needs to be hot enough so that it sizzles when you add in chicken. 

  2. Mix 2 tbs of olive oil into the chicken and dump entire bowl of chicken and marinade into the pan.

  3. Stir fry for 4 minutes stirring constantly. Set a timer so you don't overcook it or it will be dry. Chicken will also continue to cook later when added to the sauce later on.

  4. Take off heat and set aside

Step 6: Cook vegetables and finish dish

1. Make sure pan is hot like when doing the chicken.

2. Mix 2 tbs of olive oil into the vegetables and dump entire bowl into hot pan.

3. Stir fry for 4 minutes stirring constantly.

4. Add in sherry wine, black beans, chicken broth, and cooked chicken - stir

5. Bring to boil

6. Once boiling, give cornstarch mixture a final stir to make sure it is all smooth and add it to the pan pouring it evenly so it is not concentrated in one spot.

7. Quickly mix everything well and let sauce thicken which only takes 1-3 minutes

8. Cut into a piece of chicken to make sure it is cooked through

9. Take off heat and enjoy

Cajun Broiled Salmon with Caesar Salad

cajun-broiled-salmon.jpg

Cooks in 8 minutes!

INGREDIENTS

Serves 2

Cajun Broiled Salmon

  • Olive oil

  • Your favorite store bought cajun seasoning

  • 2 6-8oz salmon fillets

Caesar Salad

  • Either romaine, arugula, or baby kale lettuce

  • Your favorite store bought caesar dressing

  • 1 avocado

  • 2 red radishes

  • Shredded Parmesan cheese

INSTRUCTIONS

Step 1: Broil the Salmon

  1. Preheat the broiler.

  2. Line a heavy rimmed baking sheet with foil.

  3. Arrange the salmon fillets on the baking sheet.

  4. Lightly coat both sides with olive oil.

  5. Season both sides with the cajun seasoning. 

  6. Broil the salmon for 8 minutes exactly with the rack 5-6 inches away from the broiler.

  7. While salmon is cooking, do step 2 - make the Caesar Salad

  8. When time is up, immediately transfer the fillets to the salad.

  9. Sprinkle with shredded Parmesan cheese

Step 2: Make the Caesar Salad

  1. Use a plate to measure out how much salad you need and put it in a large bowl.

  2. Add the dressing and toss until lettuce is lightly coated.

  3. Plate the salad.

  4. Add chopped avocado and red radishes or whatever you have on hand.


Crispy Peruvian Chicken

crispy-peruvian-chicken-blog.jpg

Crispy, zesty... delicious!

INGREDIENTS

Serves 4

Cilantro Lime Dipping Sauce

  • 1/2 cup of mayo

  • 1 cup fresh cilantro

  • 3 cloves of garlic

  • 1 chopped bell pepper

  • 1/4 cup of sour cream

  • 1 tbs fresh lime juice

  • 1/4 tsp black pepper

  • 1/2 tsp Kosher salt (Do not substitute or will be too salty with regular salt)

Crispy Peruvian Chicken

  • 8 bone-in, skin-on chicken thighs (organic, free-range)

  • 2 cups panko (Japanese bread crumbs)

  • 1 tbs cumin

  • 2 tsp Kosher salt (Do not substitute or will be too salty with regular salt) 

  • 2 tsp sugar

  • 1 tsp pepper

  • 2 tsp paprika

  • 1 tsp oregano

  • 4 tbs olive oil

  • 1 tbs grated Lime zest

  • 1/2 cup dry white wine

  • 1/2 cup dijon mustard

INSTRUCTIONS

Step 1: Make the Cilantro Lime Dipping Sauce

  1. In a blender or food processor, add in the mayo, sour cream, cilantro, bell pepper, garlic, lime juice, salt and pepper and blend until smooth.

  2. Once it is smooth, drizzle in the olive oil and blend more until it is incorporated. You can refrigerate the sauce until it is ready to use.

Step 2: Make the Chicken

  1. Preheat the oven to 350 degrees.

  2. In a large bowl, whisk together the panko, cumin, salt, sugar, oregano, paprika, olive oil and lime zest. Make sure to break up any clumps of seasonings and mix well.

  3. In another large bowl, whisk together the mustard and wine.

  4. Cut off the excess skin from the chicken and pat dry with paper towels. Sprinkle generously all over with salt and pepper.

  5. Dip each piece in the mustard mixture on both sides, and then place skin-side down only into the crumb mixture, pressing gently to make the crumbs adhere. Place the chicken on a sheet pan crumb-side up.

  6. Use a spoon to add more crumbs to missed spots on the chicken and use the back of the spoon to press the crust in place.

  7. Bake the chicken for 40 minutes.

  8. Raise the heat to 400 degrees and bake for another 10 minutes to help brown the crust.

  9. Serve hot, warm, or at room temperature.


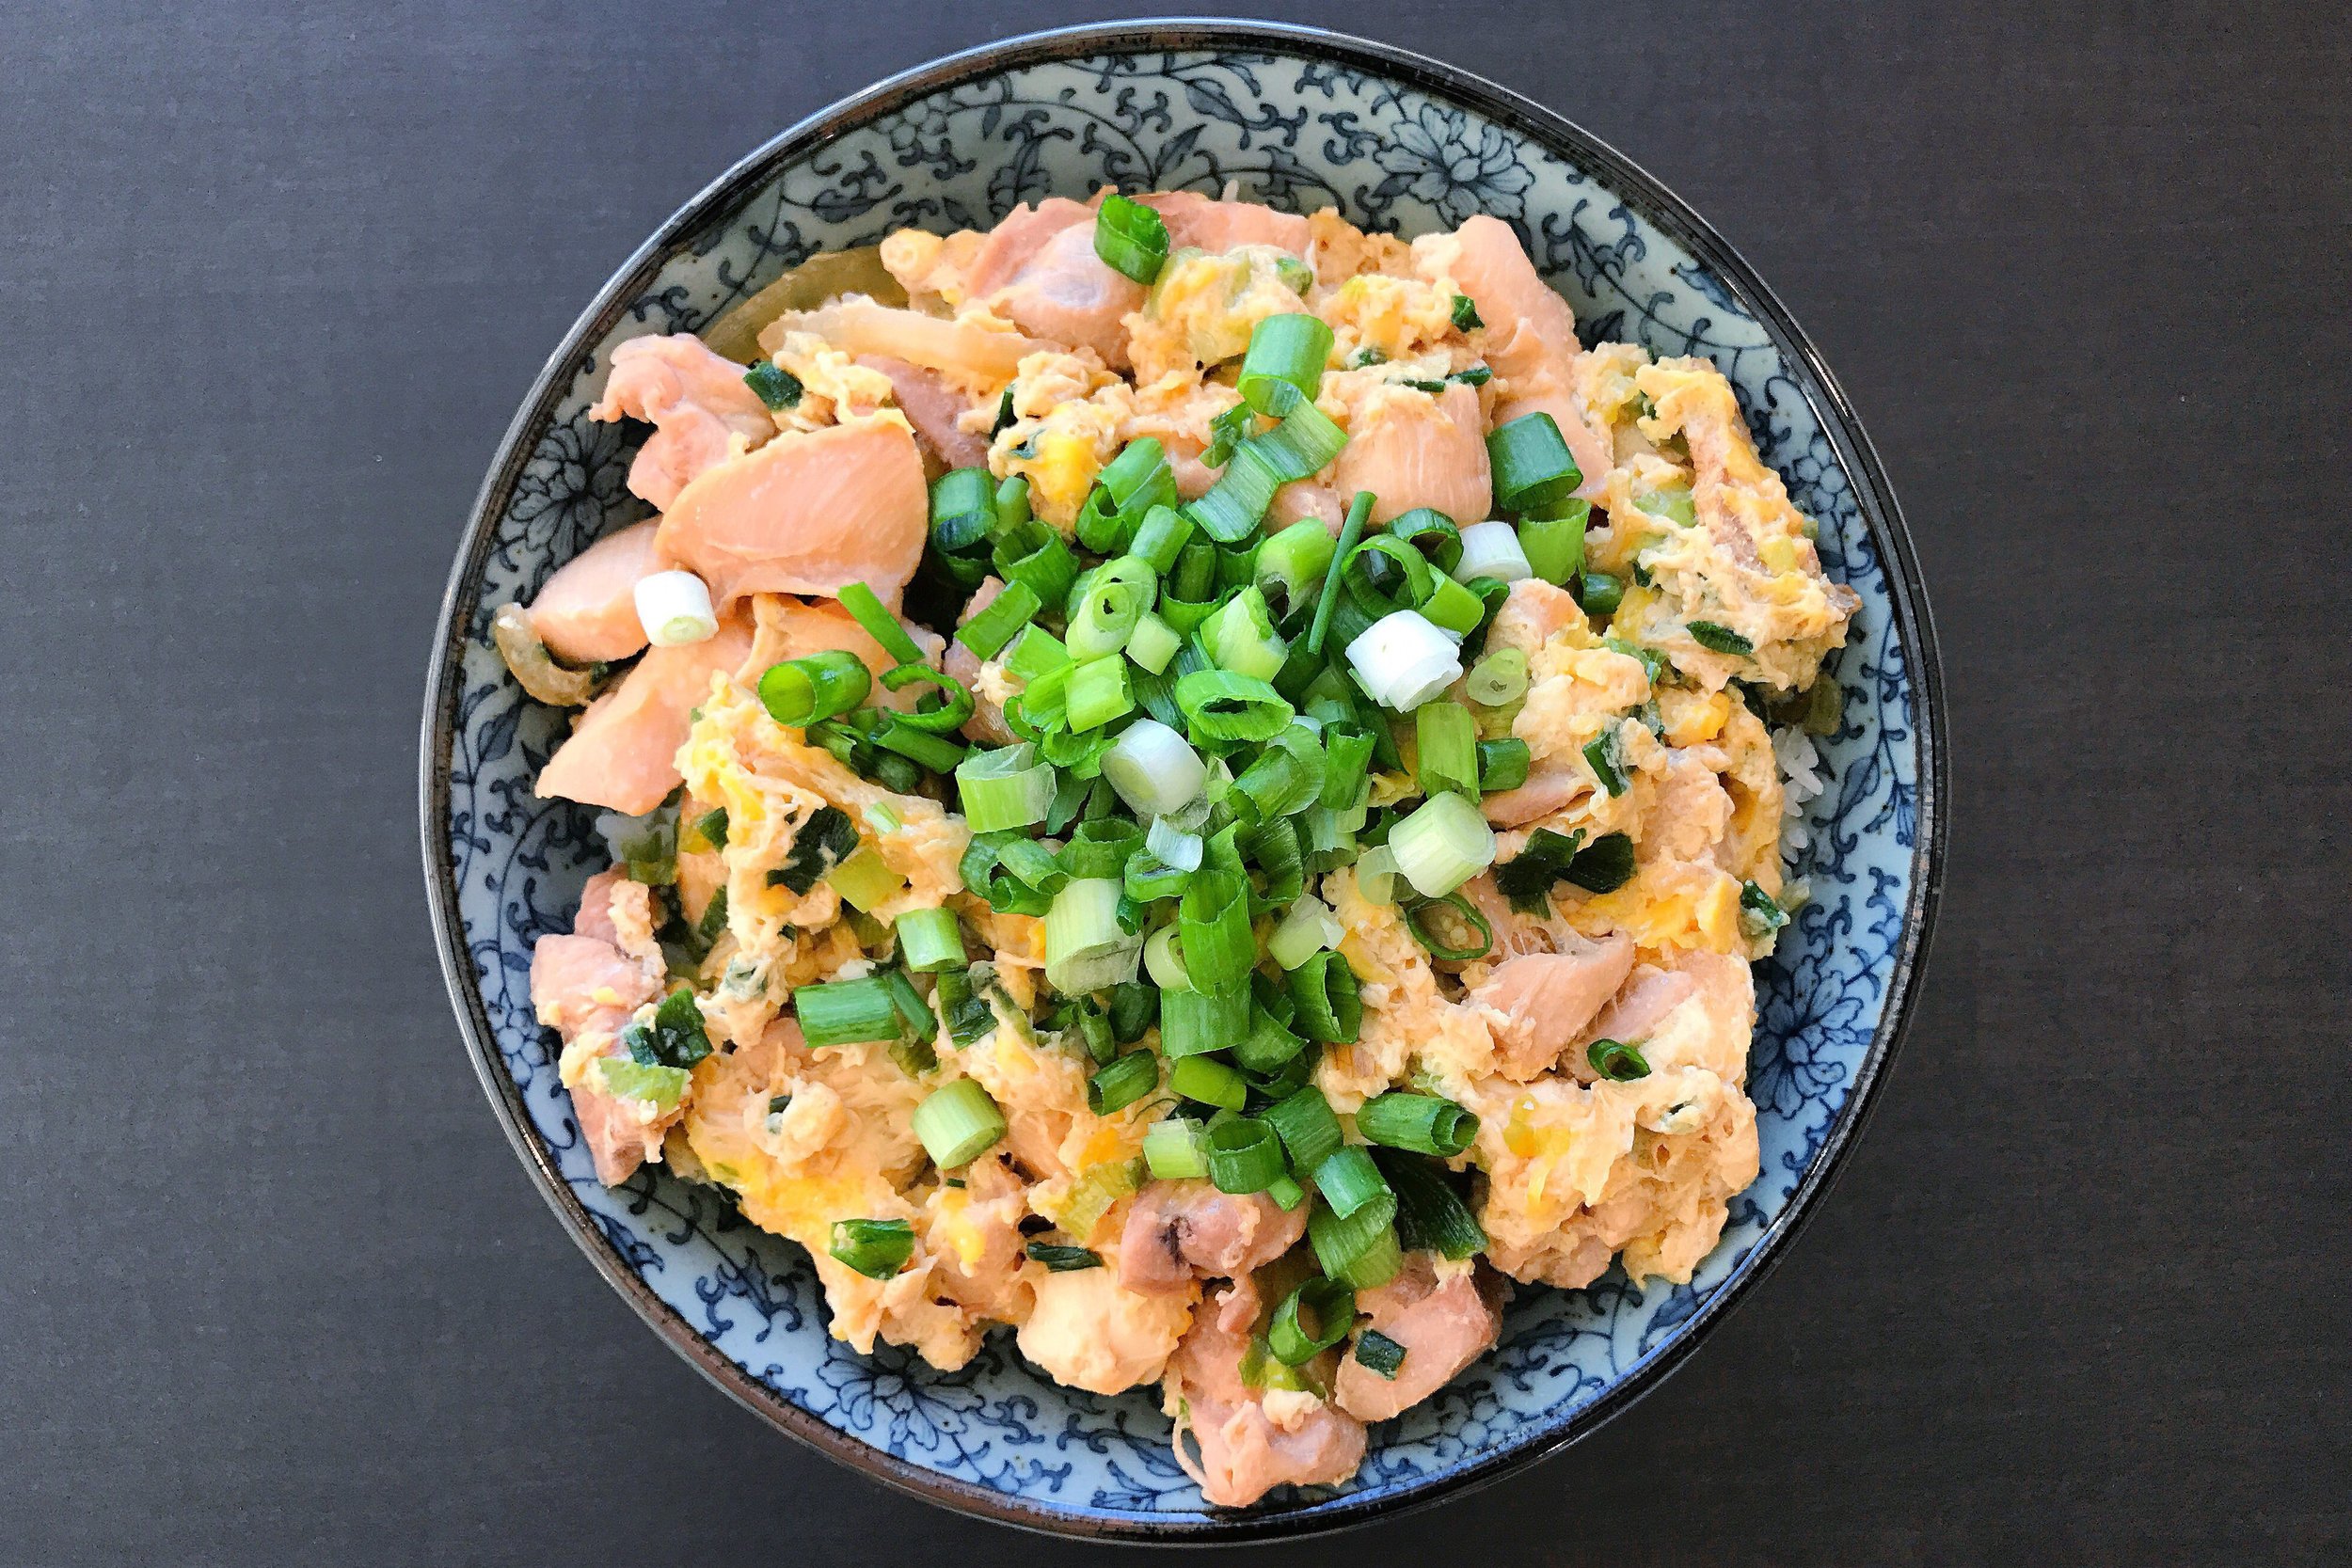
Chicken Donburi

Hearty and easy!

INGREDIENTS

Serves 4

  • 5 boneless skinless chicken thighs

  • 2 slices of ginger

  • 1 yellow onion (sliced into 1-2 inch pieces)

  • 1 cup chopped green onions (use more depending on preference)

  • 5 eggs lightly beaten (don't over mix so you get a combination of soft yellow and white eggs)

  • 2 cups chicken broth/stock

  • 1/2 cup soy sauce

  • 1/2 cup sugar

  • vegetable oil

INSTRUCTIONS

Step 1: Cook the chicken and eggs

  1. Coat the bottom of a saute pan with vegetable oil and heat on medium-high

  2. Saute ginger, chicken, and yellow onions for about 5 minutes until chicken is browned and mostly cooked through. Chicken will still have time to cook when sauce boils.

  3. Once chicken is cooked, add in chicken broth, sugar, and soy sauce and stir

  4. When it starts to boil, lower heat and add green onions

  5. Pour lightly beaten eggs all over chicken and cover until egg is cooked. Do not mix eggs. Let eggs cook standing still so they can somewhat solidify with rest of ingredients. Should take just a few minutes to cook.

Step 2: Make rice bowls

  1. Get a bowl of rice and top with the chicken, eggs, and sauce

  2. Spoon juice from the pan all over to add more flavor to the chicken and rice

  3. Garnish with more green onions


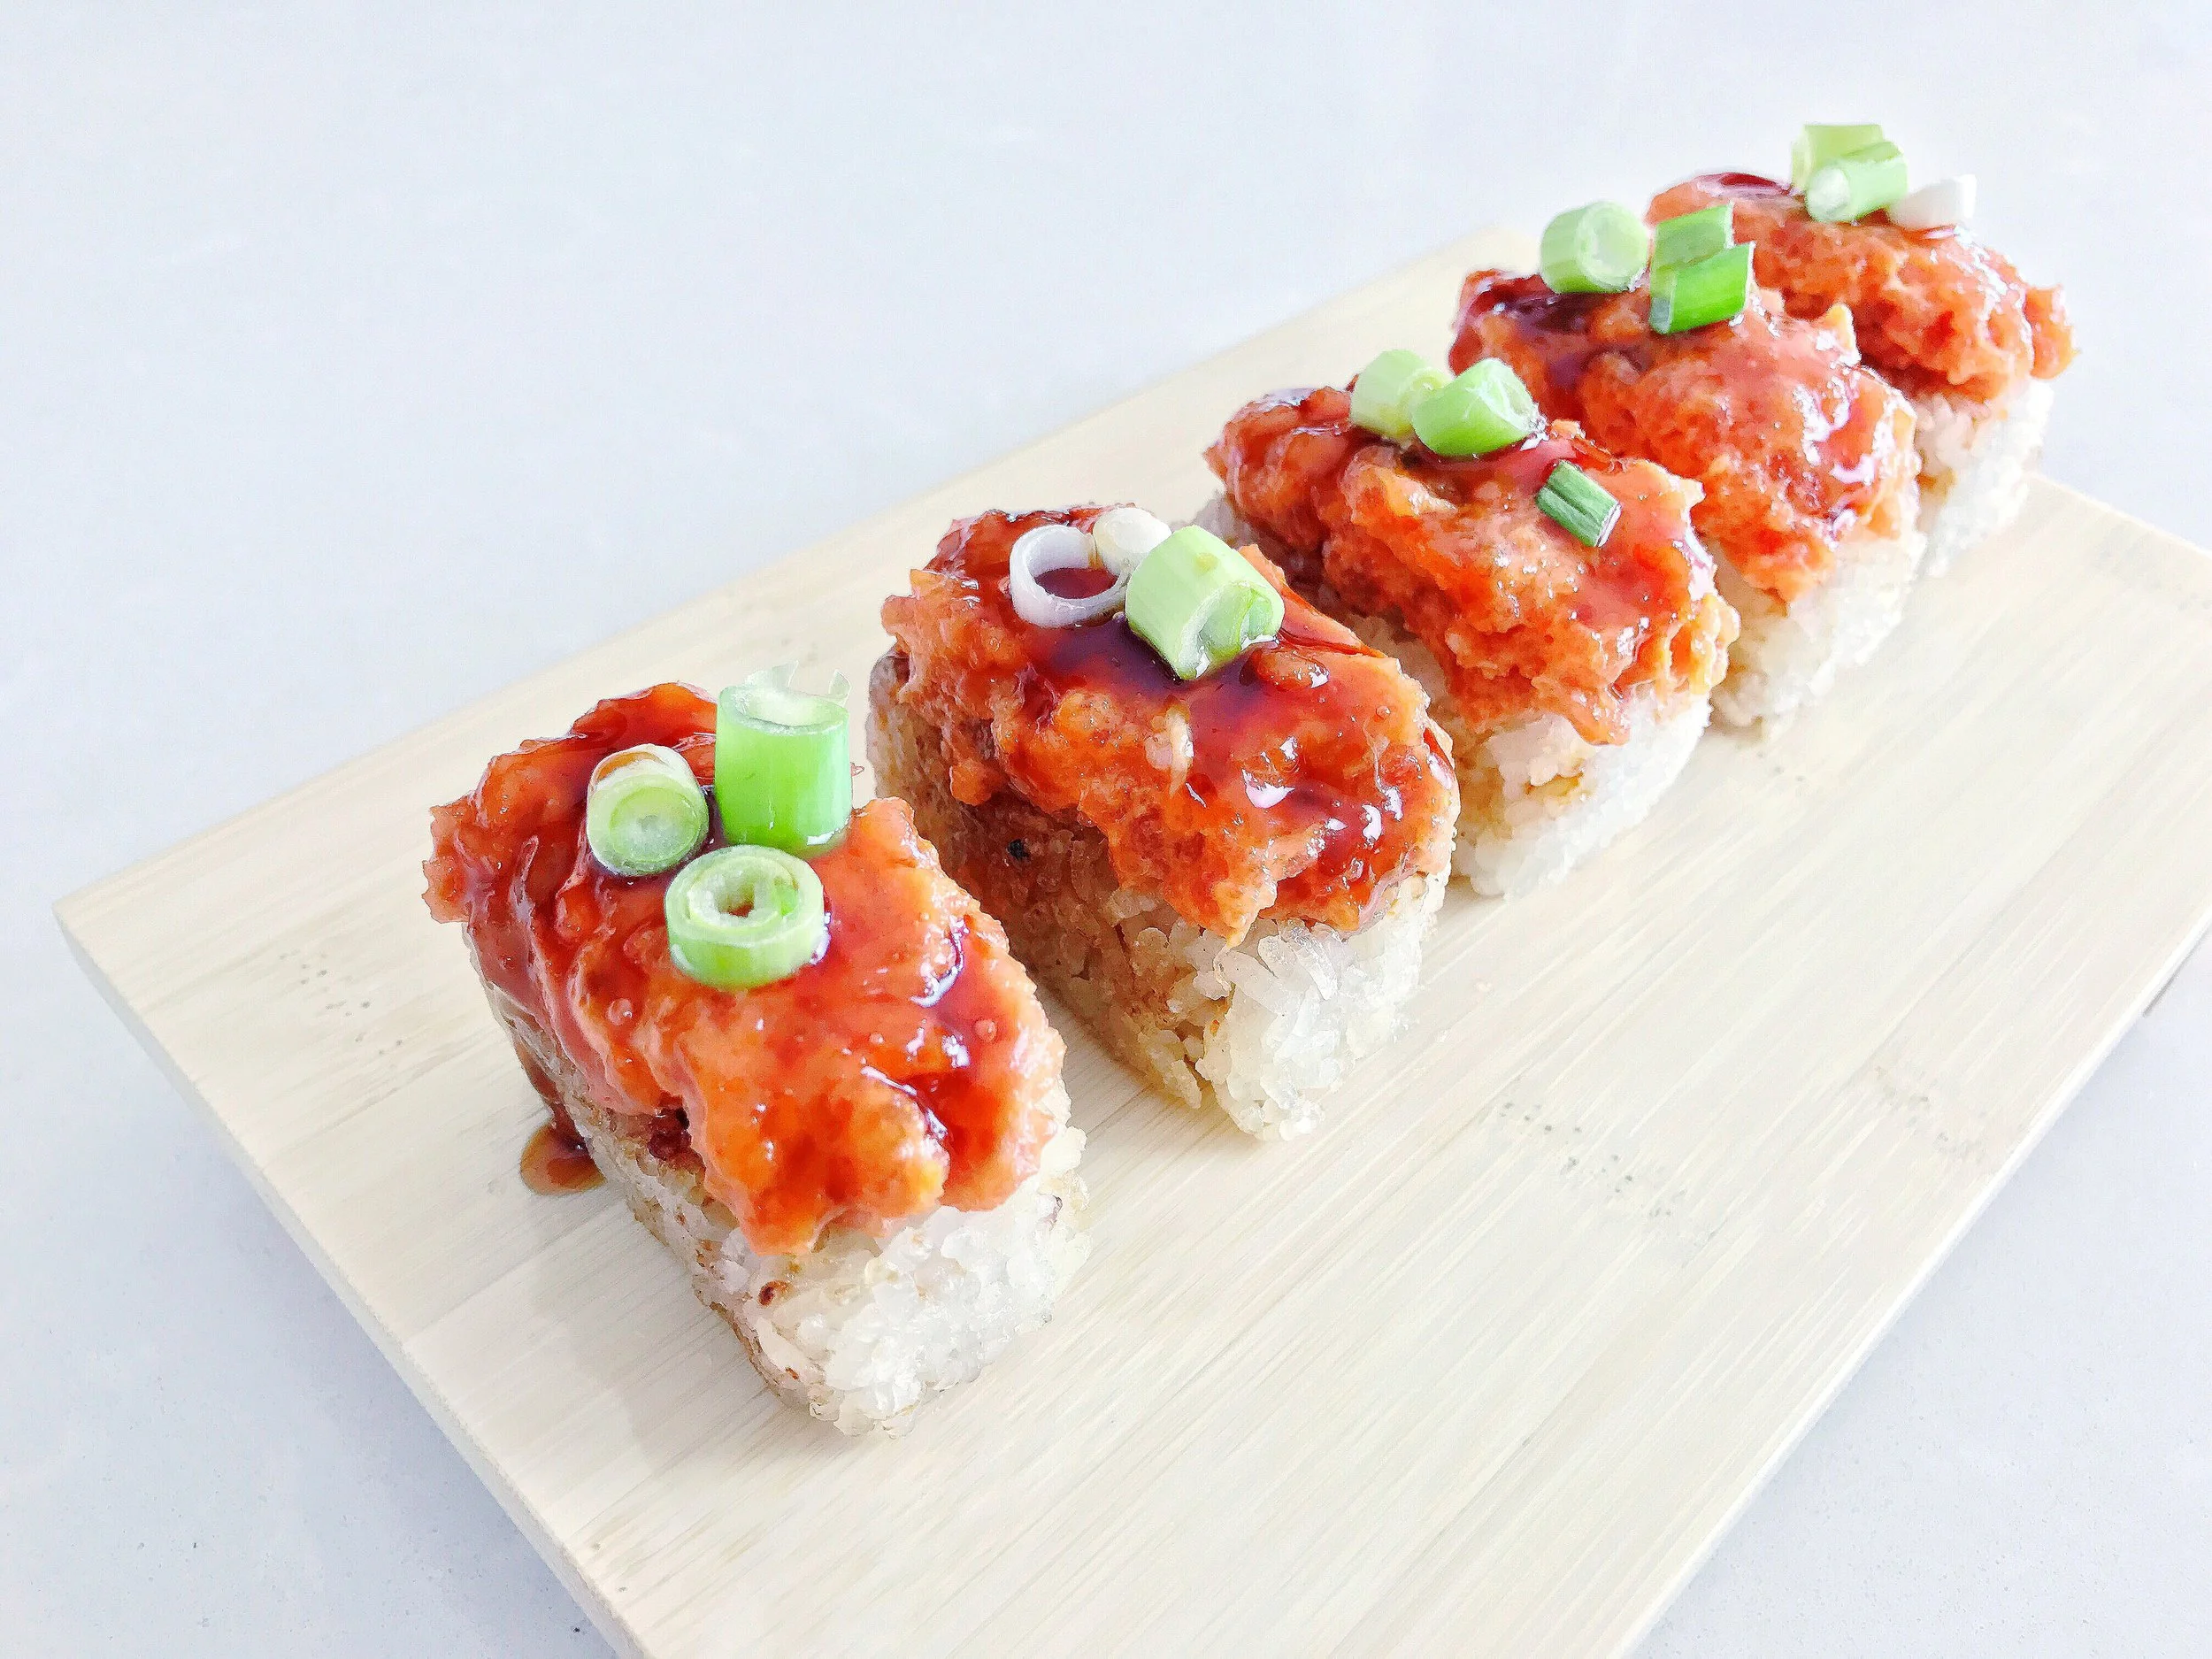
Crispy Rice With Spicy Tuna

One of my favorite appetizers!

INGREDIENTS

Makes approx. 24 pieces

  • 1 lb fresh sushi-grade ahi tuna

  • 2 tbs Sriracha sauce

  • 1 tbs sesame oil

  • 1 tsp hot chili oil

  • 1/4 cup mayonnaise

  • 1/2 cup chopped green onion

  • soy sauce

  • unagi sauce

  • 3 cups freshly cooked Japanese white rice (short or medium grain)

SPECIAL TOOLS: Japanese rice mold Link to product

INSTRUCTIONS

Step 1: Prepare the spicy tuna mixture

  1. Roughly chop the tuna

  2. Use a food processor to chop the tuna into a soft consistency. (You can also do by hand if you don't have a food processor)

  3. Combine the tuna, Sriracha sauce, sesame oil, hot chili oil and mayo and mix it well

  4. Refrigerate until ready to use

Step 2: Make the crispy rice

  1. Form the rice into rectangle shapes using the rice mold Link to product

  2. Be sure to pack it tightly so they don't fall apart

  3. Cook the pieces in batches depending on your pan size. You don't want to overcrowd the pan or they the pieces won't crisp nicely.

  4. Gently cook the pieces in a pan over medium heat with a dash of sesame oil

  5. When the rice starts to crisp, lightly brush all sides with soy sauce (Don't overdo it or the pieces will fall apart from the moisture)

  6. Cook for another 2-3 minutes or until all the pieces are browned

  7. Remove from the heat

  8. Repeat this process for as many pieces as you need.

Step 3: Assemble them

  1. Use small spoon to top each rectangle of rice with the spicy tuna mixture

  2. Brush the top with unagi sauce

  3. Garnish with green onions